Acrylic sheets are relatively inexpensive, pretty, and can be heat-shaped very effectively. There are blades and tools made specifically for cutting, heating, and bending acrylic but [Marija] shows that even without them acrylic can be cut and bent with a bit of care and patience.
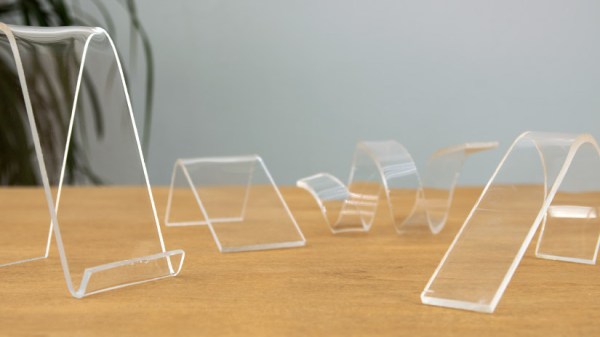
 Acrylic sheets are brittle and crack easily, but a hacksaw is a good way to cut it by hand. After cutting, [Marija] uses a small portable gas stove at its lowest setting to provide gentle heat until the acrylic becomes soft, then it can be formed into different shapes using common shop and household items. It’s a process that requires patience and practice, so she shares some useful tips:
- Remove the protective film after cutting, but before heat forming. Otherwise the film will be much harder to remove.
- Heating too aggressively will result in bubbles that ruin the acrylic.
- Uneven heating will result in a bad bend, or “hot spots” which can result in bubbles as mentioned above.
- This heating method naturally softens a wide area, but it’s still possible to get straight and flat bends by using wood forms and letting the acrylic cool before moving it.
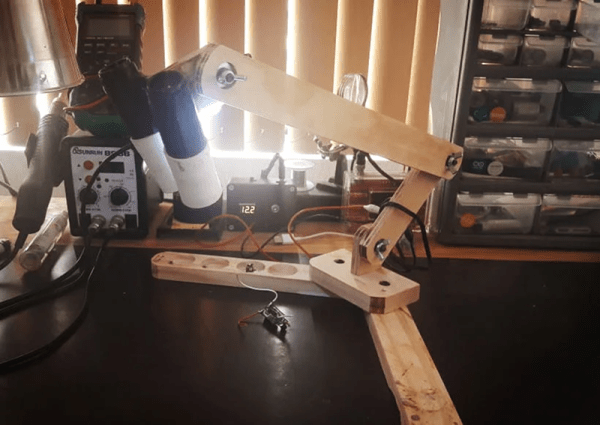
[Marija] used this method of heating and bending acrylic to complete an earlier lamp project of hers that we featured in the past. Acrylic might laser-cut beautifully, and there may be inexpensive tools for heating and bending it, but it’s always nice to have some tried and true techniques that don’t require anything special.
Continue reading “Basic Acrylic Bending, No Special Tools Needed”