Making narrative film just keeps getting easier. What once took a studio is now within reach of the dedicated hobbyist. And Neural Radiance Fields are making it a dramatic step easier. The guys from [Corridor Crew] give an early peek.
Filming and editing have reached the cell phone and laptop stage of easy. But sets, costumes, actors, lighting, and so on haven’t gotten substantially cheaper, and making your own short film is still a major project.
Enter 3D graphics. With a good gaming laptop, anybody can make a photorealistic scene in Blender and place live action actors in it. But it takes both a lot of skill and work. And often, the scene you’re making is available as a real place, but you can’t get permission to film or haul actors, props, crew, and so on to the set.
A new technology, NERF, for “NEural Radiance Fields”, has decreased the headaches a lot. Instead of making a 3D model of the scene and using that to predict what reaches the camera, the software starts with video of the scene and machine learns a “radiance field” – a model of how light is reflected by the scene. Continue reading “NERF – Neural Radiance Fields”
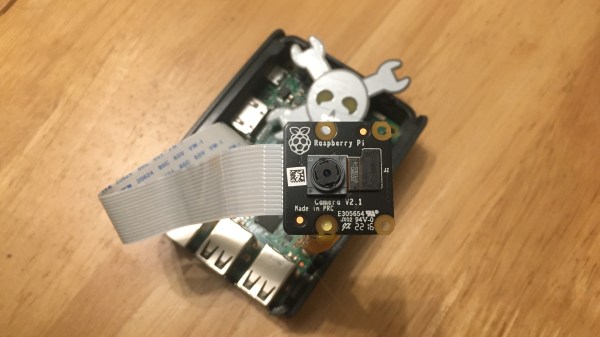
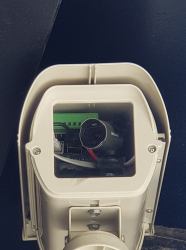 Five years later, I joined a hackerspace, and eventually found out that its CCTV cameras, while being quite visually prominent, stopped functioning a long time ago. At that point, I was in a position to do something about it, and I built an entire CCTV network around a software package called