Controlling the Internet of Things is all about passing information around. Realistically, it doesn’t matter what is used, be it MQTT, HTTP, serial data, whatever, and it doesn’t really matter what data is sent as long as the sender and receiver agree on what the data means. MIDI could be used to pass information back and forth, for example and while MIDI is good for some things, Open Sound Control is a more modern alternative and one area where OSC excels over MIDI is Internet connectivity. [Matt] used OSC to control the lighting he installed in his kitchen.
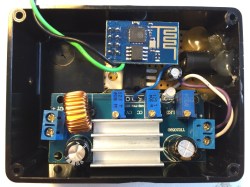
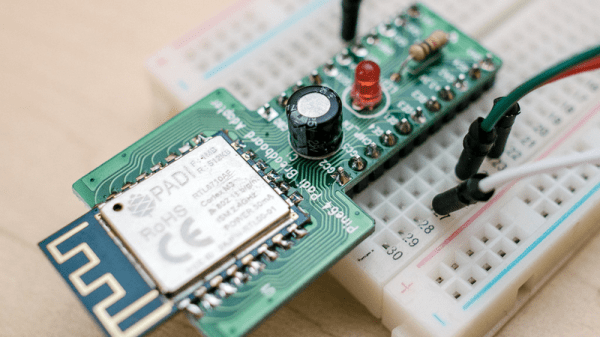
[Matt] had moved in to a new house and wanted some under-cupboard lighting for his kitchen. He got a few cheap warm white LED lights from the Internet and went about wiring them together. For the controller, an ESP8266-1 was used as well as a 12 volt constant-current buck converter. The software runs on the Sming framework, rather than the Arduino framework, and listens for incoming OSC messages. When it receives a command on a specific channel, a callback function turns the lights on and off. [Matt] also added a switch on the outside of the control box to manually turn the lights on and off.
OSC might not be the right choice for this project, and even [Matt] doesn’t know why he used it, but [Matt] got it working and uses an app on his phone to control it. If he wanted to, he could have used Ableton or another controller to control the lights. (He hasn’t wanted to yet.) OSC is an interesting alternative to MIDI and can also be used with an Arduino without an ethernet shield, or with RFID tags.