
GPS has become fairly common in our everyday lives, not only able to pinpoint our locations on Earth but also as an incredibly accurate timekeeping method. But since these satellites are around 20,000 km above Earth, the received signals on the surface of the planet can be incredibly weak. This makes them prone to jamming and spoofing, a weakness of the technology that has long been known. Although attempts to mitigate these problems have been ongoing, there has recently been a large-scale attempt to interfere with these signals that put all mitigation efforts to the test.
One proposed way to improve resilience is to supplement existing GNSS systems with low-Earth-orbit navigation satellites. In this example, a company called Xona is using a satellite called Pulsar-0 that operates in low-Earth orbit (LEO) and provides positioning and timing signals that are around 100 times stronger than standard signals from GPS/GNSS satellites. It is able to receive GPS signals as well, ensuring the two systems agree on one another. And, because Pulsar’s navigation signals originate from LEO and are much stronger than conventional GNSS signals, Xona expects them to be significantly more resistant to jamming.
Beyond geopolitics, spoofing GPS has some applications in finding legendaries in Pokemon Go as well as making it fairly trivial to steal GPS-guided drones.


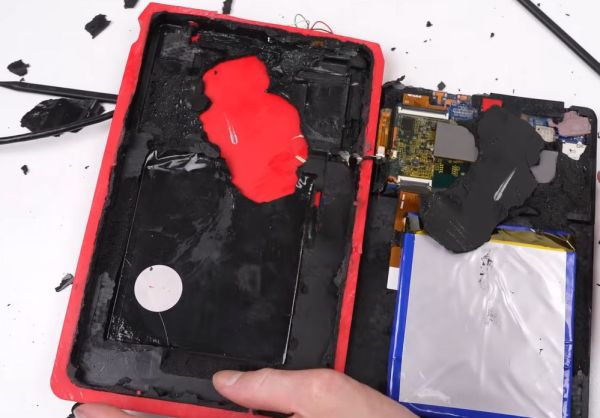
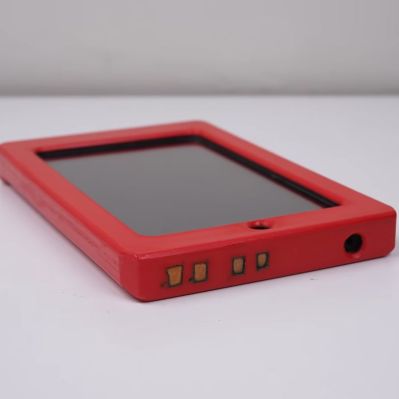 The first challenge was to see whether it could be booted at all, with just four metal pads visible on the side of the case. These turn out to correspond to USB pins, but the tablet only briefly tries to turn on with a charger connected. This means that a teardown is required, which ended up involving a hacksaw due to the sealed case.


