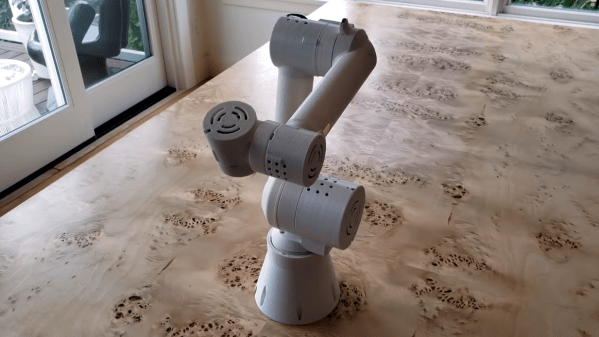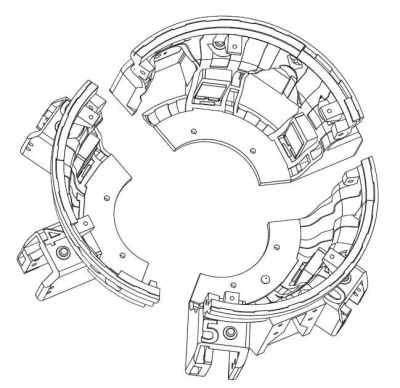
Despite being otherwise capable, not everyone is able to feed themselves. [Julien]’s robot arm project aims to bring this crucial independence back to those people. Assistive devices in this space do exist, but as always they’re prohibitively expensive and the approval process is a nightmare. The development of the arm started by working closely with people who needed it at a local hospital. We note with approval, quite a few cardboard mock-ups to get the size and shape right before more formal work was done in CAD.
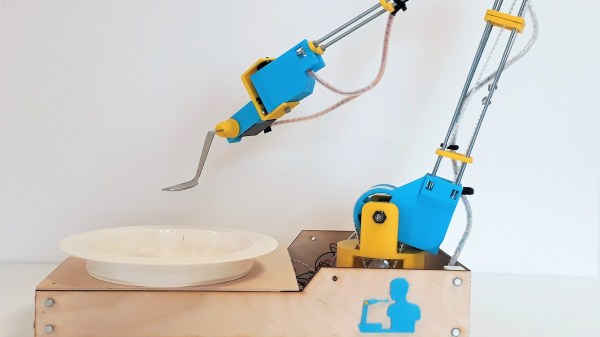
The robot arm only has to support a very light payload so its construction can be quite light. A frame of steel rods or plywood is all that’s required. We like how the motion is transferred from stepper motors to the joints of the arm by generously sized timing belts allowing the weight of the arm to remain towards the base. The team behind the project has gotten it to a point, but they’re hoping it will inspire community involvement as they move forward with it.
It’s worth noting, this is not the first assistive eating aid we’ve covered.