Die Casting Comes Home

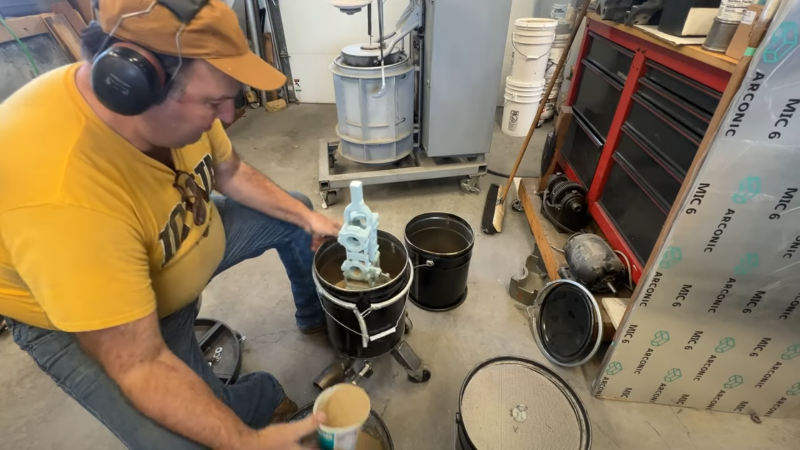
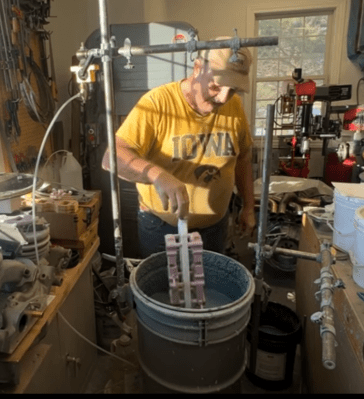
You don’t normally think of die casting as something to do at home. Pressurized fluids demand respect at all times, which is perhaps in part why we see most projects skipping hydraulics for linear actuators. When the pressurized fluid is molten metal? Well, we’d say don’t try this at home, except that’s exactly what this video by [Know Art] is making us want to do. He’s doing die-cast aluminum, and it looks way easier than we thought it would.

If you’re wondering why anyone would attempt such a thing, it’s for the same reason die-casting has been an industrial powerhouse for the last couple hundred years — you can crank out a lot of parts, very quickly, with excellent detail and dimensional stability. You just need a mold, which in this process is called a die, and a way to squeeze metal into it with some force.

In this case the die was carved on a desktop CNC machine. Depending on how long you want your die to last, you’ll need something hard and heat resistant, like the graphite used in this video. Graphite is also used in constructing the piston for the injector, which is made from a modified hydraulic cylinder and a couple of old trampoline springs.

He first tests the setup with molten wax before moving onto aluminum, as the process is the same regardless: pour the hot liquid in, release the springs to provide the pressure that forces it into the die, and a part is made. It looks easy, if a bit frantic, as you have to work fast before the metal cools in the cylinder.

After CNC milling, EDM machining and all the fun things we’ve learned how to do with lasers and 3D printers, and now this we’ve got to wonder– is there any industrial process you can’t hack onto your desktop? We’ve even seen the chemists get in on the game.
Continue reading “Die Casting Comes Home”

Massive Aluminum Snake Casting Becomes Water Cooling Loop For PC

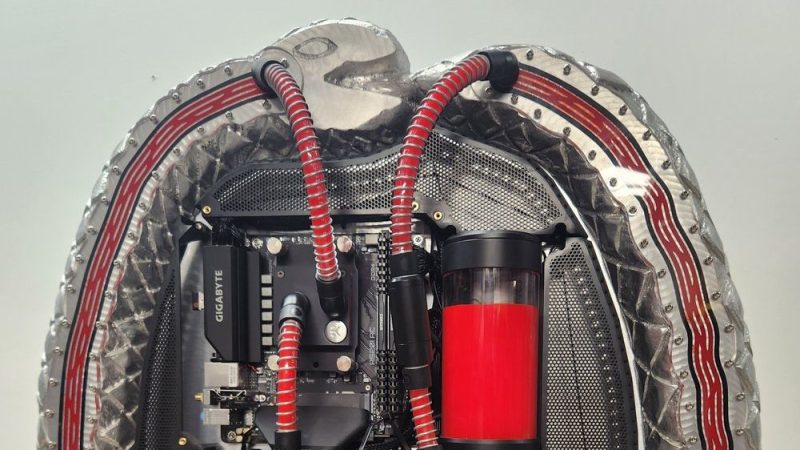
Water cooling was once only the preserve of hardcore casemodders and overclockers. Today, it’s pretty routinely used in all sorts of performance PC builds. However, few are using large artistic castings as radiators like [Mac Pierce] is doing. 

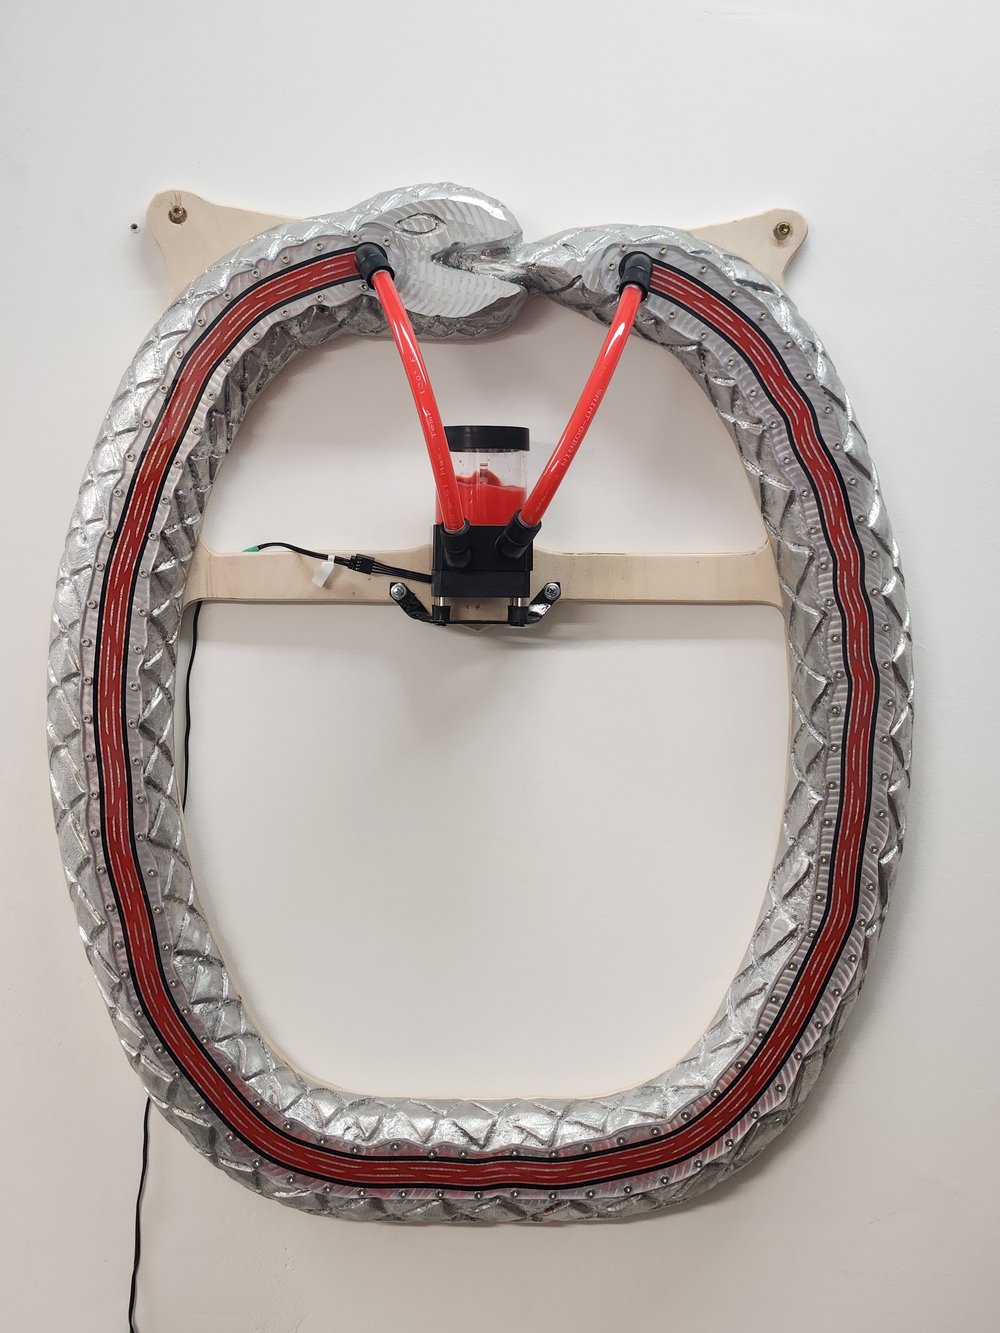
The casting itself was inspired on the concept of the ouroboros, the snake which eats its own tail if one remembers correctly. [Mac] built a wooden form to produce a loop approximately 30″ tall and 24″ wide, before carving it into the classic snake design. The mold was then used to produce a hefty sand cast part which weighed in at just over 30 pounds.

The next problem was to figure out how to create a sealed water channel in the casting to use it as a radiator. This was achieved by machining finned cooling channels into the surface of the snake itself. A polycarbonate face plate was then produced to bolt over this, creating a sealed system. [Mac] also had to work hard to find a supply of aluminum-compatible water cooling fittings to ensure he didn’t run into any issues with galvanic corrosion.

The final product worked, and looked great to boot, even if it took many disassembly cycles to fix all the leaks. The blood-red coolant was a nice touch that really complemented the silvery aluminum. CPU temperatures weren’t as good as with a purpose-built PC radiator, but maxed out at 51 C in a heavy load test—servicable for [Mac]’s uses. The final touch was to simply build the rest of the PC to live inside the ouroboros itself—and the results were stunning.

We’ve featured a few good watercooling builds over the years. If you’ve found your own unique way to keep your hardware cool and happy, don’t hesitate to notify the tipsline!

Lost Foam Aluminium Alloy Casting

[Kelly Coffield] makes intake manifolds for old Ford throttle bodies for fun, demonstrating an excellent technique for making such things in the small shop. The mould patterns are CNC machined from a solid polystyrene block, with all the necessary gates to feed the aluminium into the mould. The principle is to introduce aluminium from a large central runner into the mould structure, which feeds the gates into the mould parts. The various foam mould components are then glued with an extra brace bar at the bottom to strengthen it.

Dip coating with a refractory slurry

The complete structure is then sprayed with surfactant (just plain old soapy water) and dip-coated in a refractory slurry. The surfactant adjusts the coating’s surface tension, preventing bubbles from forming and ruining the surface quality produced by this critical coating step.

Once a satisfactory coating has been applied and hardened, the structure is placed inside a moulding pan fitted with a pneumatic turbine vibrator, to allow sand to be introduced. The vibrations ease the flow of sand into all the nooks and crannies, fully supporting the delicate mould structure against the weight of the metal, and gases produced as the foam burns away. A neat offset pouring cup is then added to the top of the structure and packed in with more sand to stabilise it. It’s a simple setup that can easily be replicated in any hackerspace or backyard for those motivated enough. [Kelly] is using A356 aluminium alloy, but there’s no reason this technique won’t work for other metals.

It was amusing to see [Kelly] demould by just dumping out the whole stack onto the drive and throwing the extracted casting into a snow bank after quenching. We might as well use all that free Midwest winter cooling capacity! After returning to the shop, [Kelly] would typically perform any needed adjustments, such as improving flatness in the press, while the part was in the ‘as cast temper’ condition. We’ll gloss over the admission of cutting the gates off on the table saw! After these adjustments, the part is artificially aged to a T5-like specification, to give it its final strength and machinability properties. There are plenty more videos on this process on the channel, which is well worth a look.

Aluminium casting is nothing new here, here’s a simple way to cast using a 3D printed pattern. But beware, casting aluminum can be hazardous, it does like to burn.

Continue reading “Lost Foam Aluminium Alloy Casting”

1000 Aluminium Cans Cast Into A Guitar

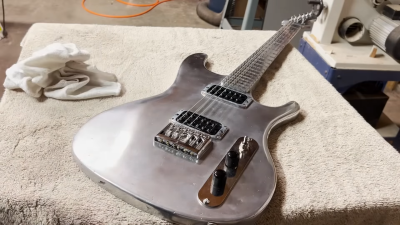
Aluminium cans are all around us, and are one of readily recyclable. While you can turn them into more cans, [Burls Art] had other ideas. Instead, he turned roughly 1000 cans into a custom aluminium guitar.

Both the body and neck of the electric guitar are made out of aluminium. It’s an impressive effort, as manufacturing a usable neck requires care to end up with something actually playable when you’re done with it.
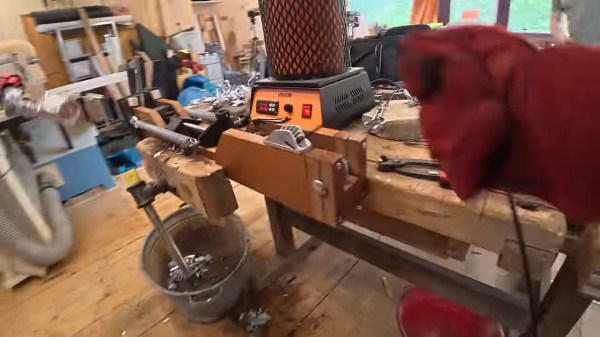
Producing the guitar started with a big propane furnace to melt all the cans down so they could be cast into parts for the guitar. 38 lbs of cans went into the project, and were first dried out before being placed into the furnace for safety reasons. Aluminium cans aren’t made of the best alloy for casting, but you can use them in a pinch. The cans were first melted down and formed into ingots to be later used for producing the neck and body.

[Burls Art] then built sand casting molds for his parts with a material called Petrobond. Wood plugs were used to form the sand into the desired shape. The neck casting came out remarkably well, and was finished with a grinder, hacksaw, and sandpaper to get it to the right shape and install the frets. The body proved more difficult, with its multiple cavities, but it came together after a second attempt at casting.

Fully kitted out with pickups and hardware, the finished product looks great, and weighs 12.3 pounds. It sounds remarkably like a regular electric guitar, too. It does pick up fingerprints easily, and does have some voids in the casting, but overall, it’s a solid effort for an all-cast guitar.

We’ve seen some other great casting projects over the years before, too. Video after the break.

Continue reading “1000 Aluminium Cans Cast Into A Guitar”

bolt with maze threads

Maze Bolt Toy By Lost PLA Casting

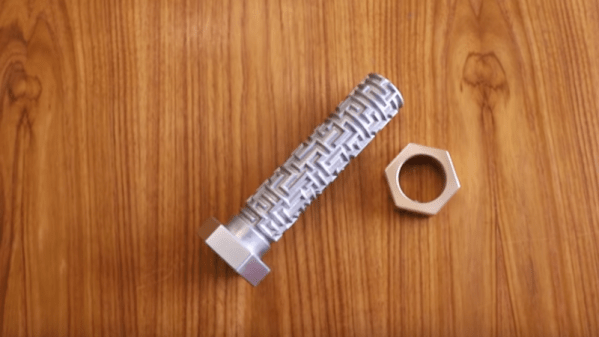
Maze bolts, a bolt which has a maze along its shaft traversed by a pin on its nut, are great fun. Here’s a really beautiful metal version by [Robinson Foundry], made by a process more makers should know about – lost PLA casting.

His basic method is to 3D print in PLA, and then use more or less the same process as lost wax casting.

He 3D printed the part, along with the sprues and risers that go along with casting, in PLA, then dipped the parts in slurry ten (10) times.  He heated in a kiln to 500°F (260°C), the PLA melted and ran out or burned away. With the PLA gone, after repairing a few cracks, he raised the temperature to 1500°F (815°C) and vitrified the slurry into a ceramic. He now had molds.

The nut is bronze. The bolt is aluminum.  He poured the metal with the molds hot, held in heated sand, so the metal can flow into all the small details. The rest of the project is just cleanup, but we learned that you can vary the finish produced by glass bead blasting just by varying the air pressure.

A great demo of a useful technique and a fun toy at the end.

We covered a great technique for doing lost PLA casting using a microwave.

Continue reading “Maze Bolt Toy By Lost PLA Casting”

Casting A Simple 3D Print In Aluminium

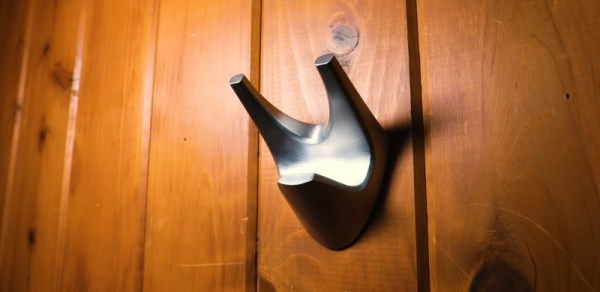
3D printing with plastics and resins is great for quickly prototyping parts with all manner of geometries, but strength and durability of the parts produced is often limited. One way around this is to use your 3D printed parts as patterns for casting in something tougher like aluminium. That’s precisely what [Brian Oltrogge] did to produce an attractive wall hook from a 3D printed design.

The process starts with the design and printing of a wall hook, with [Brian] taking care to include the proper draft angles to allow the pattern to be properly removed from the mold. The print is carefully sanded down and post-processed to be highly smooth, so that it doesn’t spoil the mold when its removed for the casting process. From there, a sand casting mold is built around the pattern using sodium silicate in a 3-4% mix by weight with fine masonry sand. Once ready, the pattern is removed, and the mold is assembled, ready for the pour.

[Brian] completes the process with a simple gravity casting method using molten aluminium. The part is then removed from the mold, and filed down to improve the surface finish from the sand casting process. It’s then polished up to a nice shine and hung on the wall.

[Brian] does a great job of explaining the basics of what it takes to get gravity casting right; draft angles in particular are something often ignored by beginners, yet are crucial to getting good results. You needn’t just settle for casting inanimate objects though; we’ve featured DIY casting processes for gears before, too. Video after the break.

Continue reading “Casting A Simple 3D Print In Aluminium”

Water And Molten Aluminium Is A Dangerous Combination

It is not uncommon for a Hackaday writer to trawl the comments section of a given article, looking for insights or to learn something new. Often, those with experience in various fields will share kernels of knowledge or raise questions on a particular topic. Recently, I happened to be glazing over an article on aluminium casting with interest, given my own experience in the field. One comment in particular caught my eye.

 And no, the water won’t cause a steam explosion. There’s a guy on youtube (myfordlover, I think) who disproves that myth with molten iron, pouring the iron into water, pouring water into a ladle of molten iron and so on. We’ll be happy to do a video demonstrating this with aluminum if so desired.

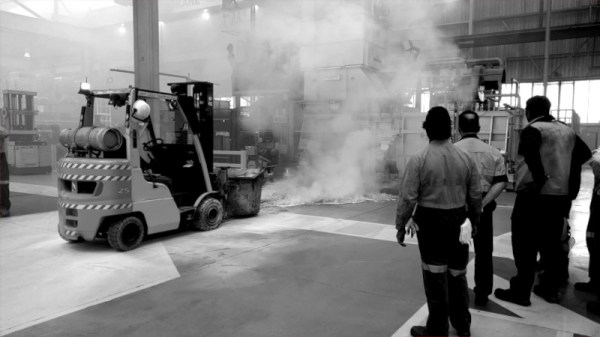
Having worked for some time in an aluminium die casting plant, I sincerely hope [John] did not attempt this feat. While there are a number of YouTube videos showing that this can be done without calamity, there are many showing the exact opposite. Mixing molten aluminium and water often ends very poorly, causing serious injury or even fatalities in the workplace. Let’s dive deeper to see why that is.

Continue reading “Water And Molten Aluminium Is A Dangerous Combination”