The Amiga was a great game system in its day, but there were some titles it was just never going to get. Sonic the Hedgehog was one of them– SEGA would never in a million years been willing to port its flagship platformer to another system. Well, SEGA might not in a million years, but [reassembler] has started that process after only thirty four.
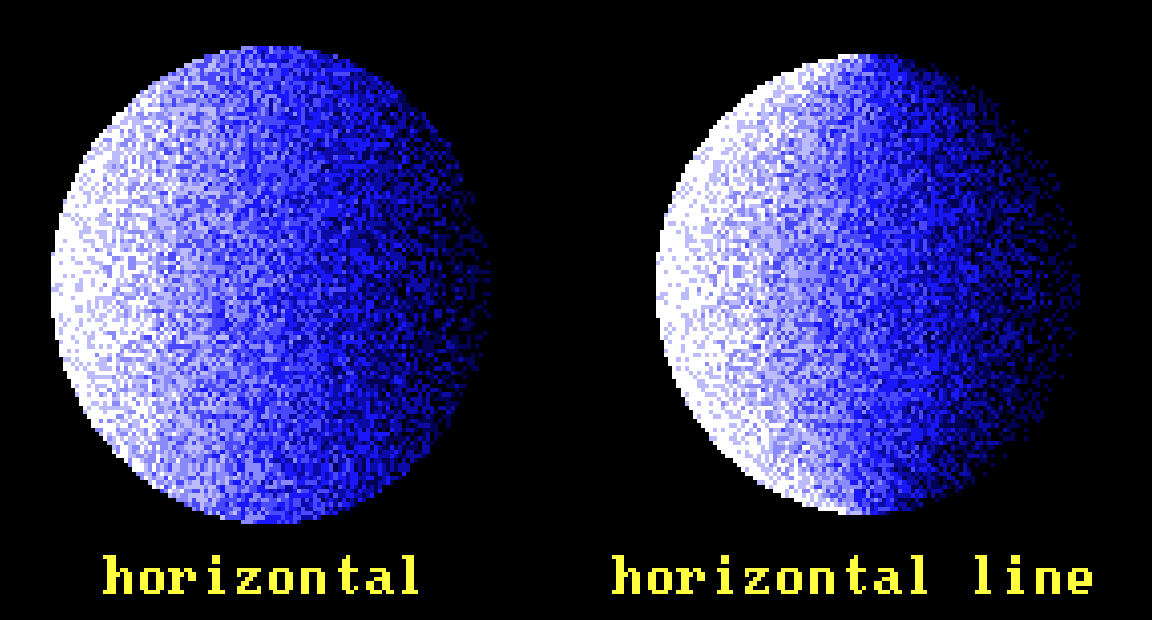
Both the SEGA Mega Drive (that’s the Genesis for North Americans) and Amiga have Motorola 68k processors, but that doesn’t mean you can run code from one on the other: the memory maps don’t match, and the way graphics are handled is completely different. The SEGA console uses so-called “chunky” graphics, which is how we do it today. Amiga, on the other hand, is all about the bitplanes; that’s why it didn’t get a DOOM port back in the day, which may-or-may not be what killed the platform.
In this first video of what promises to be a series, [reassembler] takes us through his process of migrating code from the Mega Drive to Amiga, starting specifically with the SEGA loading screen animation, with a preview of the rest of the work to come. While watching someone wrestle with 68k assembler is always interesting, the automation he’s building up to do it with python is the real star here. Once this port is done, that toolkit should really grease the wheels of bringing other Mega Drive titles over.
It should be noted that since the Mega Drive was a 64 colour machine, [reassembler] is targeting the A1200 for his Sonic port, at least to start. He plans to reprocess the graphics for a smaller-palette A500 version once that’s done. That’s good, because it would be a bit odd to have a DOOM-clone for the A500 while being told a platformer like Sonic is too much to ask. If anyone can be trusted to pull this project off, it’s [reassembler], whose OutRun: Amiga Edition is legendary in the retro world, even if we seem to have missed covering it.
If only someone had given us a tip off, hint hint.
Continue reading “Blue Hedgehog, Meet Boing Ball: Can Sonic Run On Amiga?”