FPGA Retrocomputer: Return To Moncky

Part of the reason that retrocomputers are still so popular despite their obsolescence is that it’s possible to understand the entire inner workings of a computer like this, from the transistors all the way up to the software. Comparatively, it will likely be a long time (if ever) before anyone is building a modern computer from discrete components. To illustrate this point, plenty of 8-bit computers are available to either restore from original 80s hardware or to build from kits. And if you’d like to get even deeper into the weeds you can design your own computer including the instruction set completely from the ground up using an FPGA.

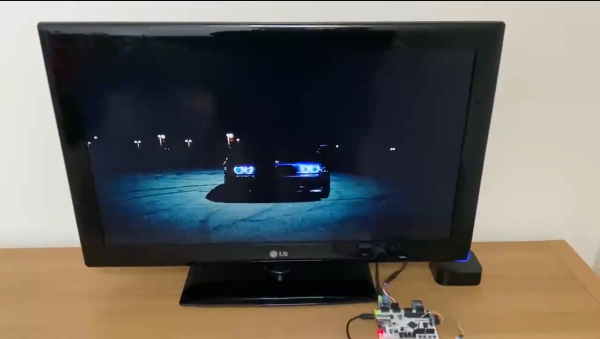
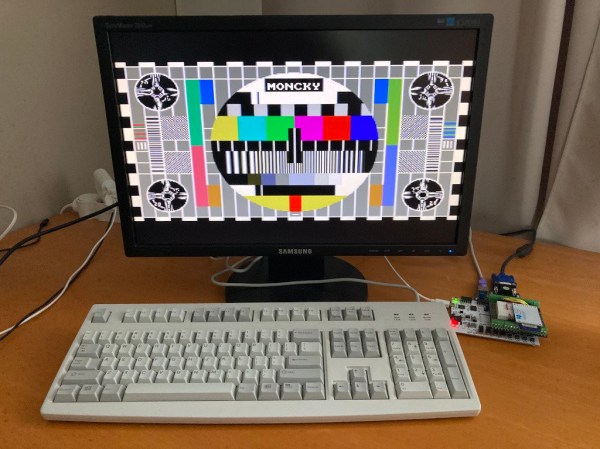
This project, called the Moncky project, is a step above the usual 8-bit computer builds as it is actually a 16-bit computer. It is built around an Arty Spartan-7 FPGA dev board running around 20 MHz and has access to 2 x 128 kB dual-port RAM for memory. To access the outside world there is a VGA output, PS/2 capability, SPI, and uses an SD card as a hard drive. This project really shines in the software, though, as the project creator [Kris Demuynck] builds everything from scratch in order to illustrate how everything works for educational purposes, and is currently working on implementing a C compiler to make programming the computer easier.

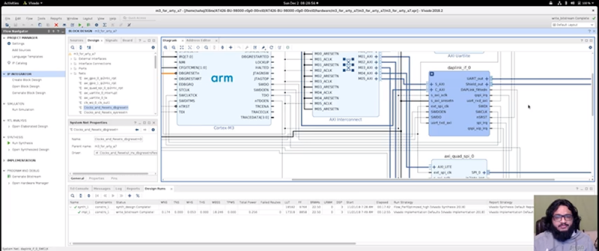
All of the project files, as well as all of the code, are available on the project’s GitHub page if you’d like to follow along or build on this homebrew 16-bit computer. It’s actually the third iteration of this computer, with the Moncky-1 and Moncky-2 being used to develop the more basic building blocks for this computer. While it’s not the first 16-bit computer we’ve seen implemented on an FPGA, it is one of the few that builds its own RISC instruction set and associated software rather than cloning a known existing processor. We’ve also seen some interesting x86 implementations on an FPGA as well.

Thanks to [koen-ieee] for the tip!

Pushing The FPGA Video Player Further

A fact universally known among the Hackaday community is that projects are never truly done. You can always spin another board release to fix a silkscreen mistake, get that extra little boost of performance, or finally spend the time to track down that weird transient bug. Or in [ultraembedded’s] case, take a custom FPGA player from 800 x 600 to 1280 x 720. The hardware used is a Digilent Arty A7 and PMOD boards for I2S2, VGA, and MicroSD. We previously covered this project back when it was first getting started.

Getting from 800 x 600 to 1280 x 720 — 31% more pixels — required implementing a higher performance JPEG decoder that can read in the MPJEG frames, pushing out a pixel every 2.1 clock cycles. The improvements also include a few convenience features such as an IR remote. The number of submodules inside the system is just incredible, with most of them being implemented or tweaked by [ultraembedded] himself.

For the FPGA Verilog, there’s the SD/MMC interface, the JPEG decoder, the audio controller, the DVI framebuffer, a peripheral core, and a custom RISC-V CPU. For the firmware loaded off the SD card, it uses a custom RTOS running an MP3 decoder, a FAT32 interface, an IR decoder, and a UI based on LVGL.

We think this project represents a wonderful culmination of all the different IP cores that [ultraembedded] has produced over the years. All the code for the FPGA media player is available on GitHub.

Continue reading “Pushing The FPGA Video Player Further”

Getting Started With Free ARM Cores On Xilinx

We reported earlier about Xilinx offering free-to-use ARM Cortex M1 and M3 cores. [Adam Taylor] posted his experiences getting things working and there’s also a video done by [Geek Til It Hertz] based on the material that you can see in the second video, below.

The post covers using the Arty A35T or Arty S50 FPGA boards (based on Artix FPGAs) and the Xilinx Vivado software. Although Vivado will allow you to do conventional FPGA development, it also can work to compose function blocks to produce CPUs and that’s really what’s going on here.

Continue reading “Getting Started With Free ARM Cores On Xilinx”