Blackberry LCD Reverse Engineering

blackberry_lcd

[Scott] was looking to source some LCD screens for an upcoming project, and was considering buying them from SparkFun. While the Nokia panels they sell are not expensive, they aren’t necessarily the cheapest option either – especially when building in volume.

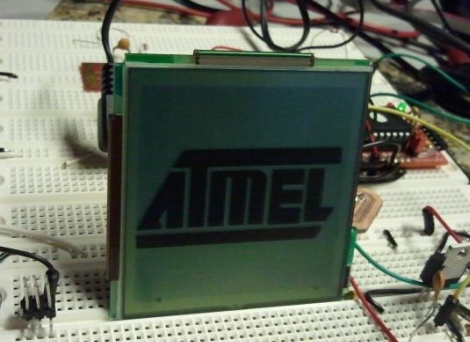
He searched around for something he could use instead, and settled on Blackberry screens. Old Blackberry models were even more durable than the current offerings, plus companies are trying to get rid of old handsets by the truckload. The only problem was that he could not find any information online that would show him how to write to the screens.

It took a bit of digging, but he eventually determined which ICs were used to drive the LCD screen. He had no luck finding screen pinout information online, so after spending a few hours testing things with his multimeter, he came up with a full listing on his own.

He wired up a connector so that he could use the screen on a breadboard, then got busy writing code to display some text on the screen. Everything came together nicely as you can see in the video below, and he has released his code in case anyone else is looking to repurpose some old Blackberry screens.

All we want to know is what sort of project all these screens are going to be used in.

Continue reading “Blackberry LCD Reverse Engineering”

Webcam Images Processed And Played Back On LED Display

[Mathieu] has bee working to refine the code running on an LED matrix, and added some neat display tricks along the way. He wanted to make the display directly addressable from a computer. The 96×64 bi-color LED display is powered by an Atmel FPSLIC and already used double-buffering. Enabling a PC to write directly to one of the buffers was not too hard, requiring just a bit of optimization to get the timing right. From the look of the video after the break, he nailed it.

The video feed is generated from a webcam stream using Matlab to process each image. Just 50 lines of code captures a frame, sizes it appropriately, converts the result to black and white for edge detection, then finishes the job by compressing image data for transmission to the embedded processor. We’d like to say it’s easier that it sounds but we’re pretty impressed with this work. The display manages about 42 Hz with the current setup.

Continue reading “Webcam Images Processed And Played Back On LED Display”

Reverse Engineering LED Vodka Bottle Displays

wireless_led_marquee

When [Tyler] heard about the LED matrix display that Medea Vodka was building into their bottles, he immediately wanted to get his hands on one. Who could blame him? Someone had finally combined two things we love dearly: booze and LEDs.

He struggled to find a bottle at any of his local stores for the longest time, but was absolutely stoked when he finally came across one of their reps promoting the brand while he was out shopping.

Once he got home, he pulled the display off the bottle and began poking around to see what made it tick. The display is made from a flexible PCB, and attached to the bottle with some clear elastic film. It is powered by two CR2032 batteries and controlled by a PIC16F chip, which pulls stored messages from a small Atmel EEPROM.

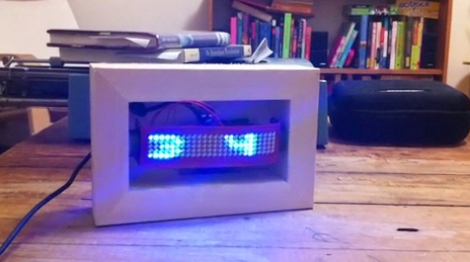
Once he figured out how to control the LED matrix, he uploaded his own fonts and added a LINX wireless module to remotely send messages to the board. He mounted it in a wooden frame and now uses it as a simple marquee display.

If you have one of these displays hanging around your house, be sure to swing by his site for schematics of his wireless interface board as well as the code he uses to drive the marquee. You can check out a video of the display in action there as well.

Racking Up Miles On A Bicycle Odometer

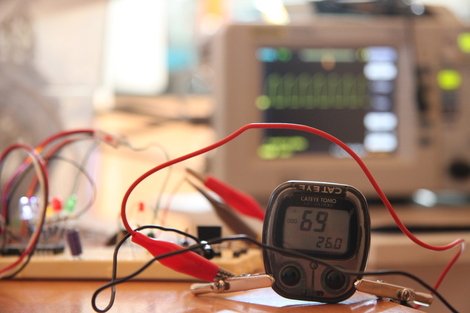
[jonh] religiously tracks the miles he rides on his bicycle. When his odometer’s battery started getting low, he wanted a way to run the miles up to where they were before, since replacing the battery resets everything to zero. [jonh] used an Atmel microcontroller to run up the miles on his bike computer so he could pick right back up where he left off. There is definitely a Ferris Bueller’s Day Off joke in here somewhere.

The bike computer itself is designed to plug into a base that connects to a magnet-triggered reed relay. It uses a wheel-mounted magnet to count the number of revolutions made and thus the distance traveled. [jonh] hooked up a simple microcontroller-driven circuit to these connectors to trick the bike computer into thinking it was moving, and moving fast! Since he knew the number of miles he wanted to sandbag onto the odometer, he was able to program it to run up the proper amount of miles and then stop. There’s no source code listing for the project, but this shouldn’t be too hard to reproduce. He provides a pencil-drawn schematic for the connection to the cyclometer from the microcontroller. At the end, there’s also some sage advice for those of you who are interested in building a decent hardware hacking lab on the cheap.

What Development Board To Use?

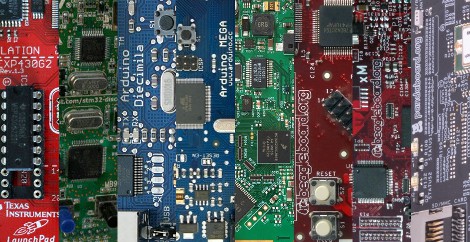
Here at Hackaday, we see microcontroller based projects in all states of completion. Sometimes it makes the most sense to design systems from the ground up, and other times when simplicity or a quick project completion is desired, pre-built system boards are a better choice. We have compiled a list of boards that we commonly see in your submitted projects, split up by price range and with a little detail for reference.

After reading our list, sound off in the comments or on this forum post, and we may include your board in a follow-up guide at a later date. We will also be giving away 10 Hackaday stickers to the most insightful, the most original, and most useful advice given on the forum, so if you haven’t registered yet, now would be a perfect time. Winners of the sticker giveaway will be selected from the forum thread, and the final decision for prizes will be judged by the wit and whim of the Hackaday writing team. More prize details to follow in the thread. Read on for our guide based on past project submissions.

Continue reading “What Development Board To Use?”

Roll The D’Icey

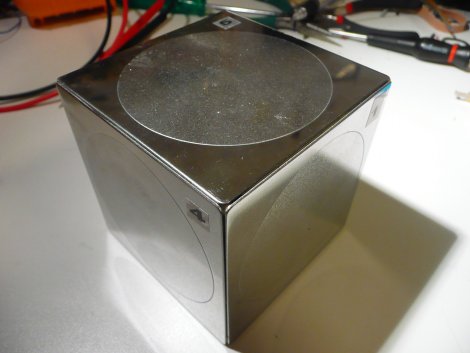
Most of the dice related hacks we run into have to do with pseudo random number generation, but today we saw something different. This sleek looking jumbo die is actually a prize holding box opened by a secret sequence of rotations. Using an accelerometer and an ATmega 328 with a sub-micro servo to control the locking mechanism. Worried about the batteries going flat and losing your treasure indefinitely? Good news! The batteries are accessable without giving away the secret inside.

It also turns out that this is an update to an earlier project from the same laboratory, so be sure to check that out as well to see where this build came from. Code is available for anyone looking to make their own, as well as a useful parts list.

[via Hacked Gadgets]

External RAM For An ATmega128

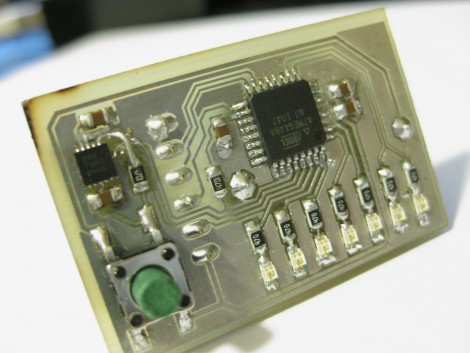
Those who are familiar with Atmel’s line of 8-bit AVR microcontrollers should already know that some of them have support for external RAM. But have you ever actually used this feature? We haven’t. Now you can learn how it’s done by reading through this guide. It touches on all of the hardware, but doesn’t dwell on it. Instead, you’ll get the background you need on how to write to, read from, and test an external module like the one sticking up in the image above. The test routine shows how to make sure everything’s working correctly with your memory mapping before you begin developing firmware around this increased capacity.

[Thanks Spman]