 [Neven Boyanov] says there’s nothing special about Tinusaur, the bite-sized platform for learning and teaching the joys of programming AVRs. But if you’re dying to gain a deeper understanding of your Arduino or are looking to teach someone else the basics, you may disagree with that assessment.
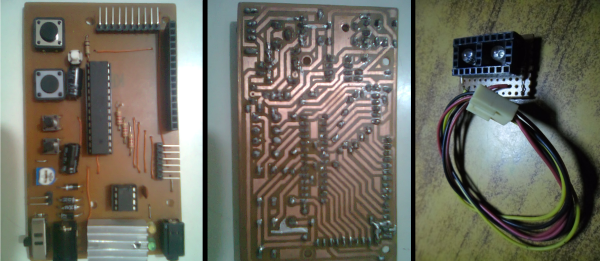
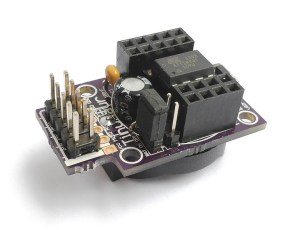
Tinusaur is easy to assemble and contains only the components necessary for ATTiny13/25/45/85 operation (the kit comes with an ’85). [Neven] saved space and memory by forgoing USB voltage regulator. An optional button cell mount and jumper are included in the kit.
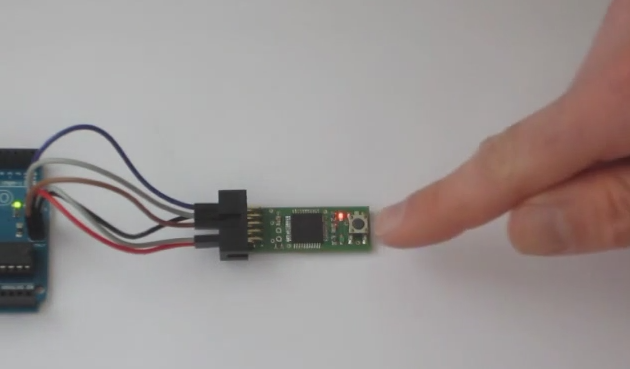
[Neven] is selling boards and kits through the Tinusaur site, or you can get the board from a few 3rd party vendors. His site has some projects and useful guides for assembling and driving your Tinusaur. He recently programmed it to play Conway’s Game of Life on an 8×8 LED matrix. If you’re looking for the zero-entry side of the AVR swimming pool, you can program it from the Arduino IDE. Be warned, though; they aren’t fully compatible.
![]() The project featured in this post is an entry in The Hackaday Prize. Build something awesome and win a trip to space or hundreds of other prizes.
The project featured in this post is an entry in The Hackaday Prize. Build something awesome and win a trip to space or hundreds of other prizes.