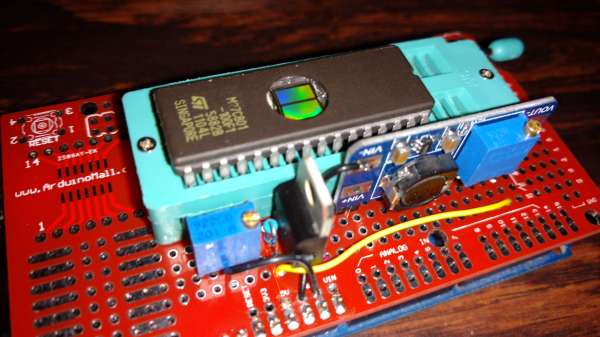
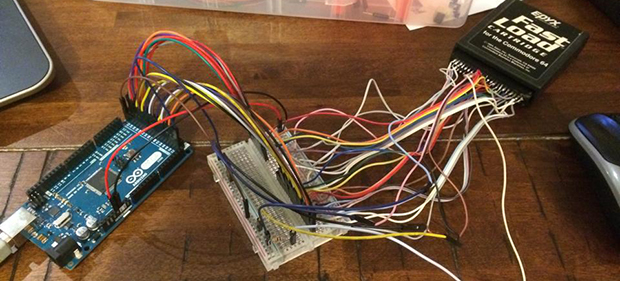
Game Boys may be old tech, but they still provide challenges to modern hackers. [Dhole] has come up with a cartridge emulator which uses an STMicroelectronics STM32F4 discovery board to do all the work. Until now, most flash cartridges used programmable logic devices, either CPLDs or FPGAs to handle the high-speed logic requirements. [Alex] proved that a microcontroller could emulate a cartridge by using an Arduino to display the “Nintendo” Game Boy boot logo. The Arduino wasn’t fast enough to actually handle high-speed accesses required for game play.
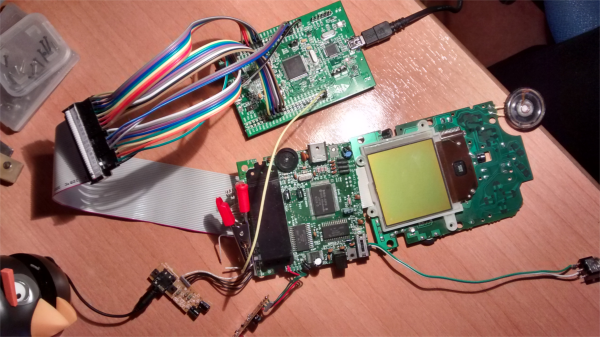
[Dhole] kicked the speed up by moving to the ARM Cortex-M4 based 168 MHz STM32F4. The F4’s 70 GPIO pins can run via internal peripherals at up to 100MHz, which is plenty to handle the 1MHz clock speed of the Game Boy’s bus. Logic levels are an issue, as the STM32 uses 3.3V logic while the Game Boy is a 5V device. Thankfully the STM32’s inputs are 5V tolerant, so things worked just fine.
Simple Game Boy cartridges like Tetris were able to directly map a ROM device into the Game Boys memory space. More complex titles used Memory Block Controller (MBC) chips to map sections of ROM and perform other duties. There were several MBC chips used for various titles, but [Dhole] can emulate MBC1, which is compatible with the largest code base.
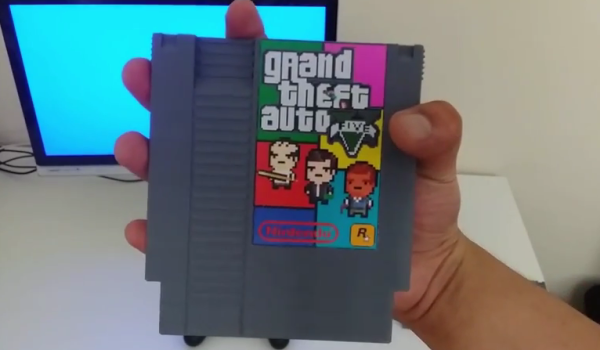
One of the coolest tricks [Dhole] implemented was displaying a custom boot logo. The Game Boy used the “Nintendo” logo as a method of copyright protection. If a cartridge didn’t have the logo, the Game Boy wouldn’t run. The logo is actually read twice – once to check the copyright info, and once to display it on the screen. By telling the emulator to change the data available at those addresses after the first read, any graphic can be displayed.
If you’re wondering what a cartridge emulator would be useful for (other than pirating games), you should check out [Jeff Frohwein’s] Gameboy Dev page! [Jeff] has been involved in Game Boy development since the early days. There are literally decades of demos and homebrew games out there for the Game Boy and various derivatives. .
Continue reading “Game Boy Cartridge Emulator Uses STM32” →