At its core, the RetroArch project exists to make it easier to play classic games on more modern hardware. The streamlined front-end with its tailored collection of emulators helps take the confusion out of getting your favorite game from decades past running on whatever gadget you please, from your smartphone to the venerable Raspberry Pi. But there’s always room for improvement.
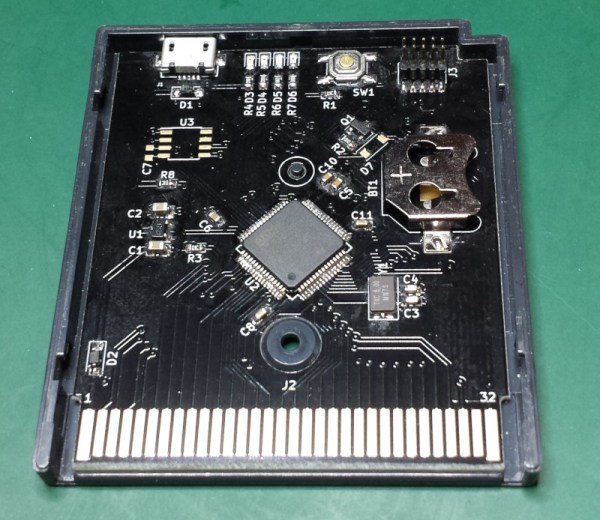
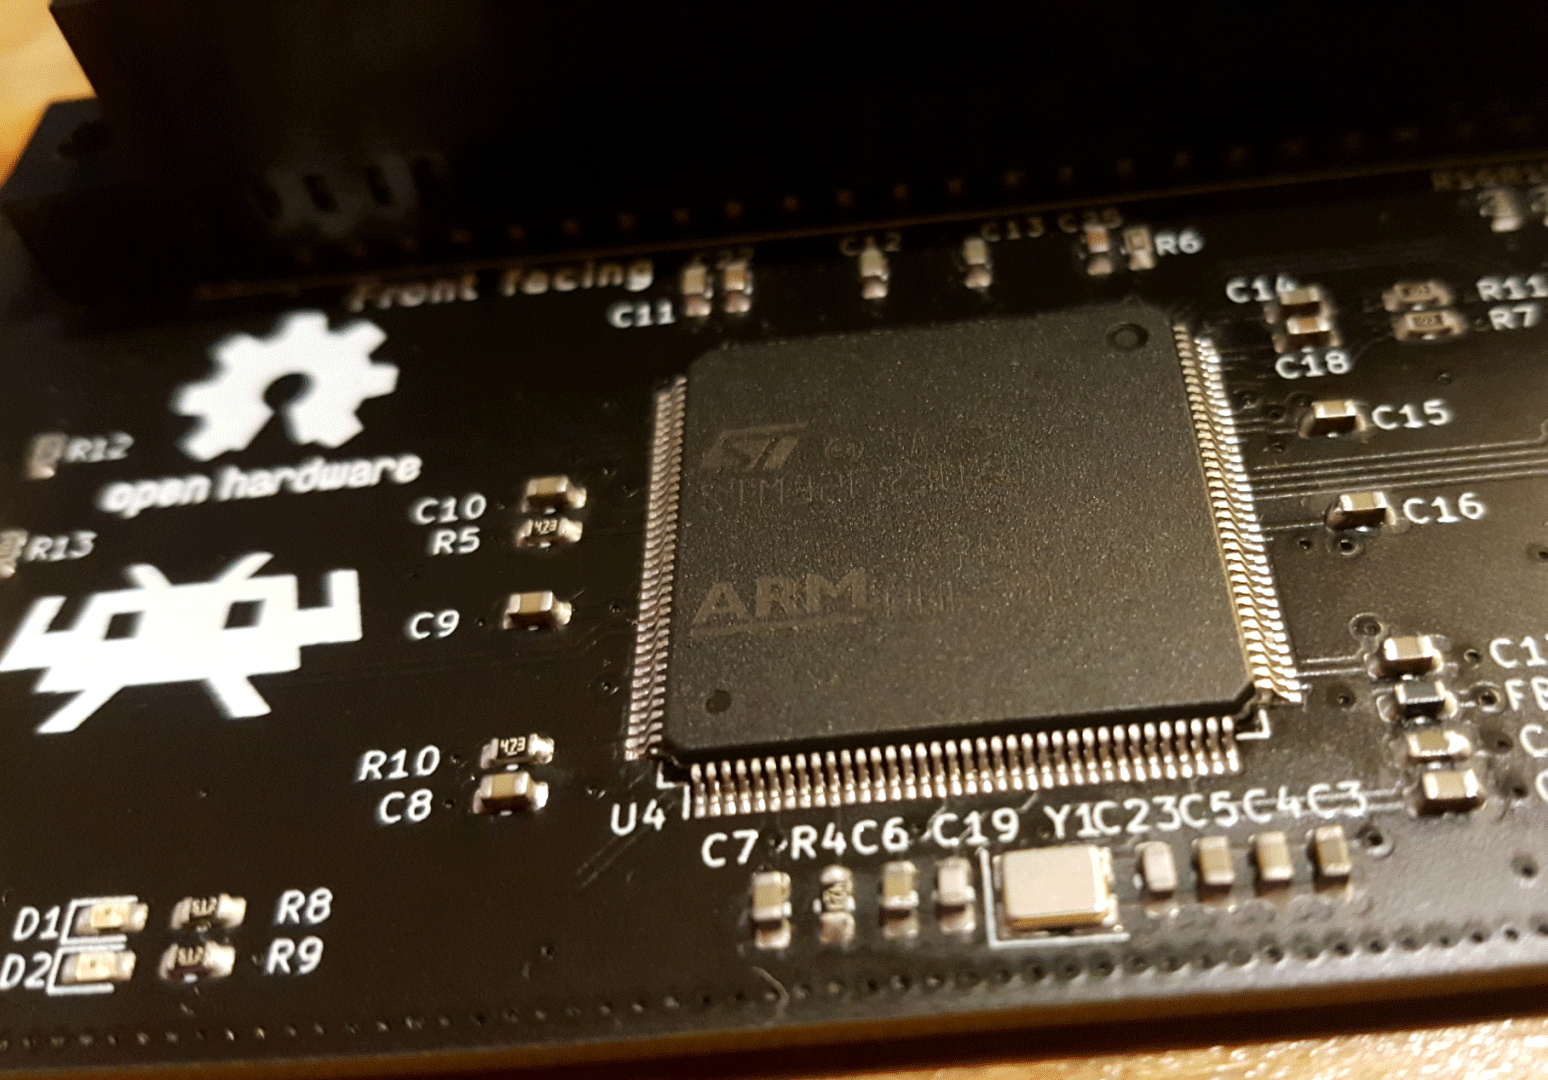
In a recent blog post, the folks behind RetroArch took the wraps off of an exciting hardware project that’s been in the works for about a year now. Referred to simply as “RetroArch Open Hardware”, the goal is to develop a fully open source cartridge adapter that will integrate seamlessly with the RetroArch software. Just plug in your original cartridge, and the game fires right up like back in the good old days.
 Now to be clear, this isn’t exactly a new idea. But the team at RetroArch explain that previous devices that blurred the line between hardware and emulation have been expensive, hard to find, and worst of all, proprietary. By creating an open hardware project, they hope to truly unleash this capability on the community. Instead of having to deal with one vendor, multiple companies will be free to spin up their own clones and potentially even improve the core design. Should none of the ones on the market fit your particular needs, you’d even be free to build your own version,
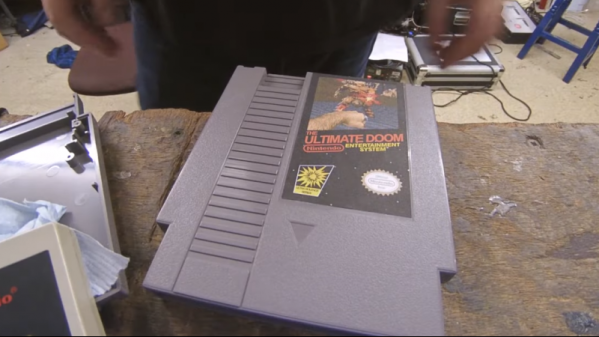
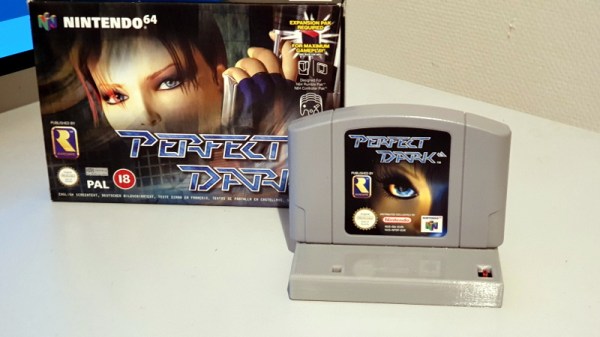
What’s more, the gadget will also make it easier to create your own ROMs from cartridges you own. By appearing to the operating system as a USB Mass Storage device, users can literally drag and drop a game ROM to their computer’s desktop. No arcane software fired off from the command line; as much as we might enjoy such things, it’s not exactly intuitive for the gaming community at large. The same technique will also allow users to backup their saved progress before it’s inevitably lost to the ravages of time. The device demonstrated by the team currently only works on Nintendo 64 games, but presumably compatibility with be expanded to other cartridges in the future.
Over the years, we’ve seen a number of hombrew devices designed to read and copy game cartridges. We’ve even seen some rather polished examples that were released as open hardware. But those devices never had the public backing of such a well known group in the emulation scene, and we’re excited to see what kind of development and adoption can be spurred on by this level of legitimacy.
[Thanks to Nick for the tip.]