
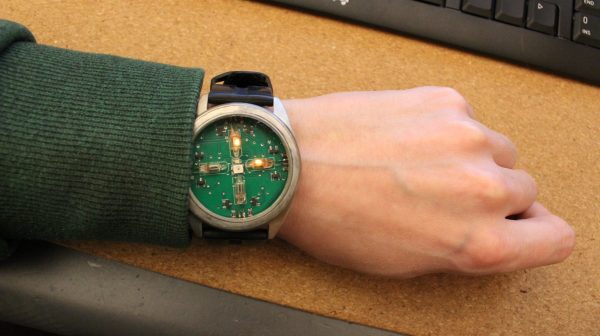
Younger electronic engineers may see resistors with old-style color codes to display their values a little less than those from previous years, but if there’s a shibboleth among those who wield a soldering iron it’s probably something similar to instinctively saying “1K” when asked “Brown-black-red?”. Colors as numbers can be used outside resistors, for example in a clock, as [Det Builds Stuff] shows us with an ESP32 TFT dev board.
It’s fair to say that this is more of a software project than a hardware one, but that’s not necessarily a bad thing as he takes us though the process of creating a Network Time Protocol (NTP) capable clock with the dev board. He claims it may be the world’s first resistor clock, something we’d have to disagree with, but beside that we can see this could make a neat little desk ornament with a 3D printed case.
Oddly though, we’d expect older engineers to face the same steep learning curve as younger ones when reading it, because it’s easier to recognize visual sequences of numbers as preferred resistor values than it is to visually decode each one every time.
Continue reading “Resistor Color Code Clock Is A Bit Of Fun”

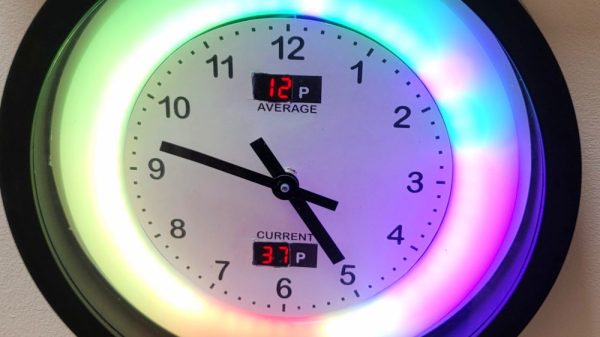
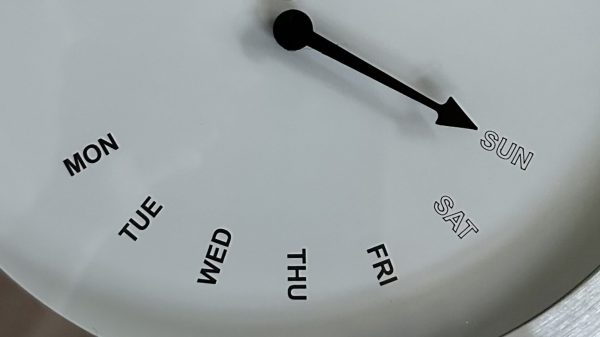
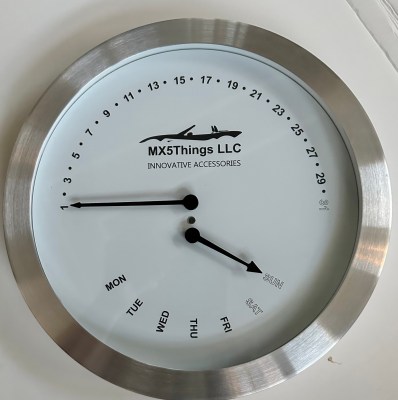 The build uses a pair of stepper motors to control the hands, a simple choice for accurate and reliable motion control. A Microchip PIC18F24J50 serves as the brains of the operation, chosen for its built-in RTC module and the fact that it has plenty of IO for controlling stepper motors. The built-in RTC is programmed with calendar information for the next 100 years, so there is no need to adjust the clock for leap years on the regular. The top hand of the wall calendar is driven in an arc to show days of the month, from 1 to 31. The bottom hand similarly steps through the 7 days of the week. If you’re unfamiliar with the concept of retrograde hands, they’re simply hands that sweep in an arc instead of moving in a whole continuous circle.


