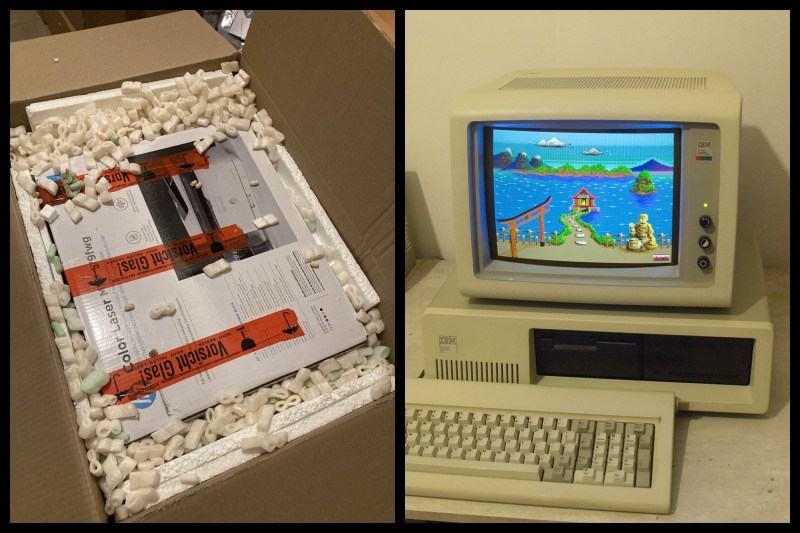
Remember the “suitcase” form-factor for PCs? In the time before latops, these luggable machines were just the thing for the on-the-go executive. OK, maybe not really — but the ability to have PC, monitor, and peripherals in a single package had real appeal, and a lot of that rationale is behind the cyberdeck phenomenon. So when we saw this retro portable TV turned into a cyberdeck, it really caught our eye.
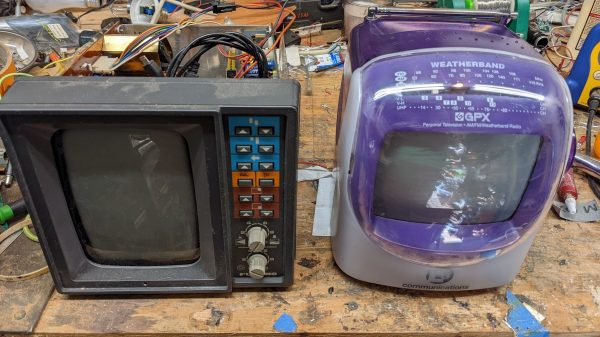
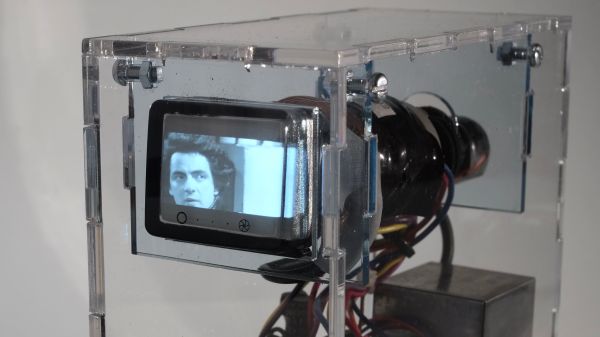
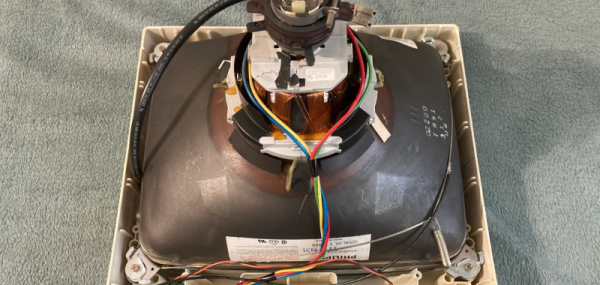
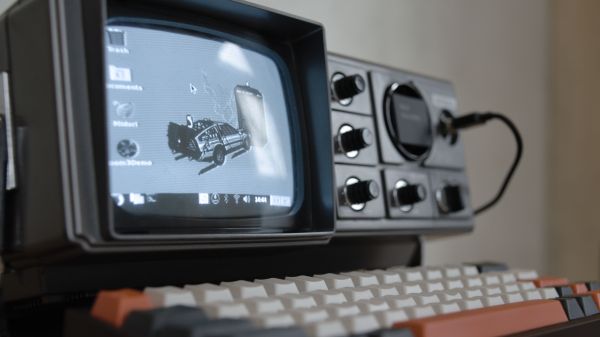
Ironically, the portable black-and-white TV that [Lucas Dul] chose as the basis for his cyberdeck hails from about the same period in time that luggable PCs were having their brief time in the sun. Scored from eBay, the Magnavox TV/radio combo had seen better days, and required a bit of surgery to repair what might have been drop damage. With the CRT restored and the video and audio paths located, the TV got a Raspberry Pi, a small touchpad, and a couple of concealed USB connectors. The Pi’s composite output drives the CRT, with about the results you’d expect. The keyboard appears to be just about the right size to serve as a cover, but [Lucas] said that’s a future project.
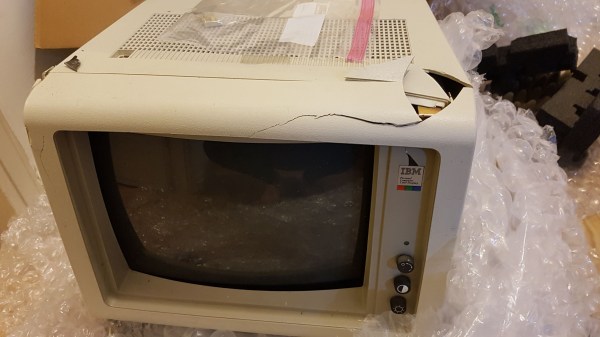
Still, with the TV’s original handle acting as a stand, this cyberdeck gives off a real Compaq or IBM portable PC vibe. We’ve seen a few luggable-lookalike cyberdecks before, but none that dared use a CRT monitor. It may be a far cry from HDMI, but we really appreciate that [Lucas] chose this way rather than slapping in an LCD.
Continue reading “Old Portable TV Becomes Unique CRT Cyberdeck”