Cloning Tektronix Application Modules

Tektronix’s MSO2000 line of oscilloscopes are great tools, and with the addition of a few ‘application modules’, can do some pretty interesting tasks: decoding serial protocols, embedded protocols like I2C and SPI, and automotive protocols like CAN and LIN. While testing out his MSO2012B, [jm] really liked the (limited time) demo of the I2C decoder, but figured it wasn’t worth the $500 price the application module sells for. No matter, because it’s just some data on a cheap 24c08 EEPROM, and with a little bit of PCB design <<removed because of DMCA takedown>>

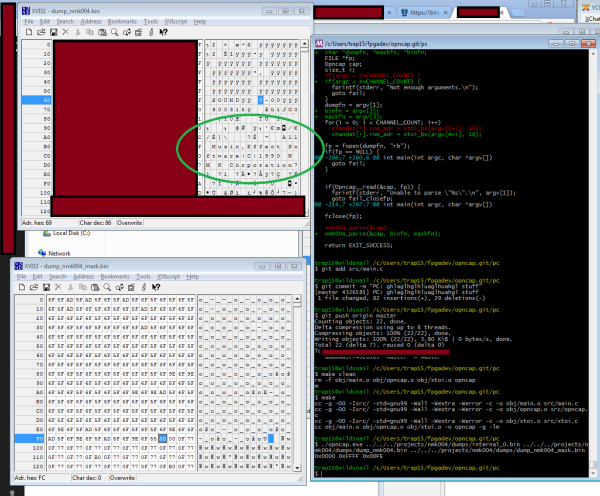
The application module Tektronix are selling is simply just a small EEPROM loaded up with an <<removed because of DMCA takedown>>. By writing this value to a $0.25 EEPROM, [jm] can enable two applications. The only problem was getting his scope to read the EEPROM: a problem easily solved with a custom board.

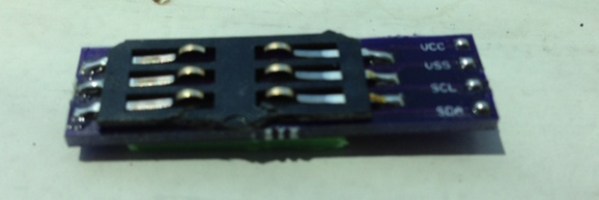
The board [jm] designed <<removed because of DMCA takedown>>, with the only additional components needed being an EEPROM, a set of contacts for reading a SIM card, and a little bit of plastic glued onto the back of the board for proper spacing.

UPDATE: Learn about the DMCA Takedown Notice that prompted this post to be altered: http://hackaday.com/2014/08/05/hardware-security-and-a-dmca-takedown-notice/

Door Lock Provides Peace Of Mind With Real-Time Security

arduino door lock

[HSP] got tired of locking his door with a key, so he decided to upgrade to a keypad system which he’s designed himself.

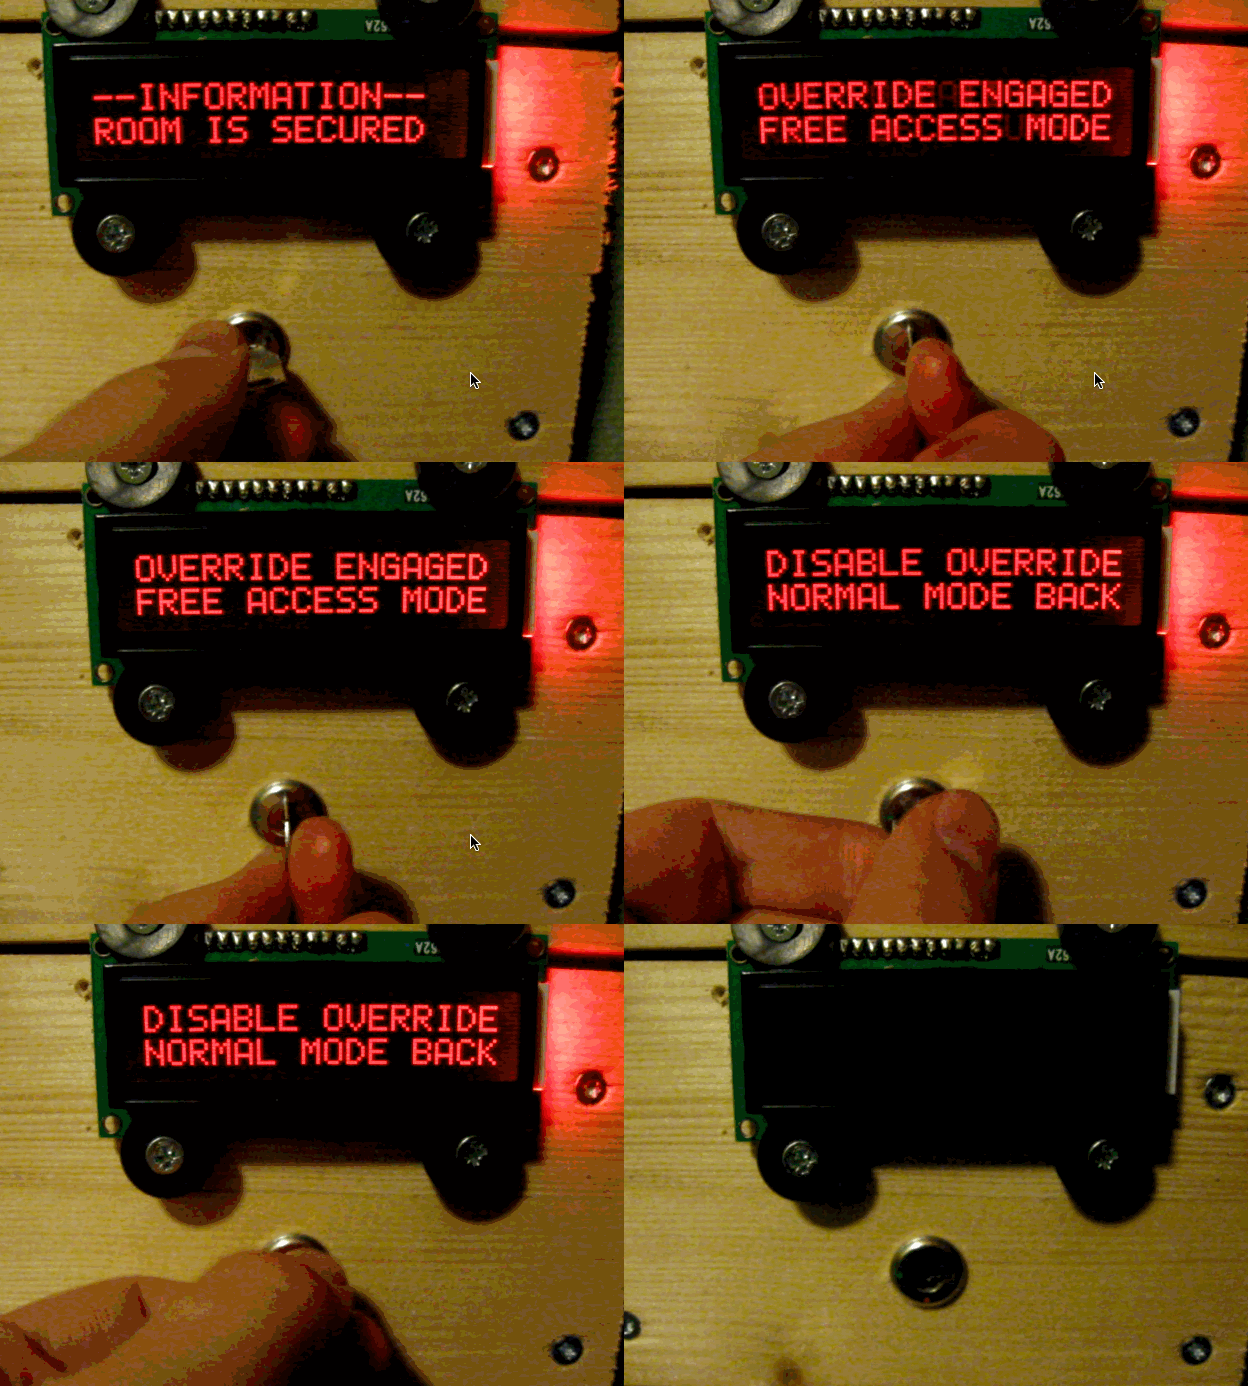
It uses an Arduino Mega with the standard 44780 display, a standard keypad, and the “key override” (shown above) for fun. The locking mechanism is a standard 12V actuator based lock which was modified to run off of only 7.5V, by softening up the spring inside and running it upside down (as to let gravity help do the work). The whole system draws less than half a watt on standby, and engaging the lock peaks at only 4-7W.

What’s really clever about this design is how he locks it from inside the room. He’s programmed the Arduino to write 1 to address 128 of the EEPROM — at power on it will increment this by 1, and after 5 seconds, it will reset to 1. This means it can detect a quick power cycle, so you can lock the door by turning it off, turning it on for a few seconds, and turning it off and on again — he did this so he didn’t have to make a button or console, or any kind of wireless control on the inside. Continue reading “Door Lock Provides Peace Of Mind With Real-Time Security”

Open Your Hackerspace Door With A Phone Call

elabHackerspaceDoor

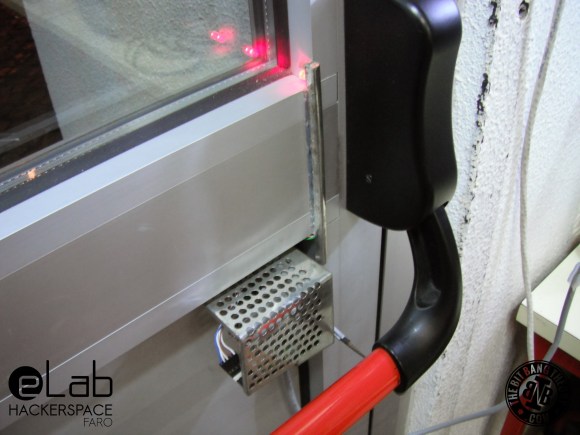
[Mário] sent us a tip detailing the access control system he and his friends built for the eLab Hackerspace in Faro, Portugal. The space is located in the University of Algarve’s Institute of Engineering, which meant the group couldn’t exactly bore some holes through campus property and needed a clever solution to provide 24/7 access to members.

[Mário] quickly ruled out more advanced Bluetooth or NFC options, because he didn’t want to leave out members who did not have a smartphone. Instead, after rummaging around in some junk boxes, the gang settled on hacking an old Siemens C55 phone to serve as a GSM modem and to receive calls from members. The incoming numbers are then compared against a list on the EEPROM of an attached PIC16F88 microcontroller, which directs a motor salvaged from a tobacco vending machine to open the push bar on the front door. They had to set up the motor to move an arm in a motion similar to that of a piston, thus providing the right leverage to both unlock and reset the bar’s position.

Check out [Mário’s] blog for more details and information on how they upload a log of callers to Google spreadsheets, and stick around for a quick video demonstration below. If you’d prefer a more step by step guide to the build, head over to the accompanying Instructables page. Just be careful if you try to reproduce this hack with the Arduino GSM shield.

Continue reading “Open Your Hackerspace Door With A Phone Call”

Interactive Boozeshelf Is Its Own Dance Party

boozeshelf

[Jeremy] refused to settle on your typical alcohol storage options, and instead created the Boozeshelf. Like most furniture hacks, the Boozeshelf began as a basic IKEA product, which [Jeremy] modified by cutting strips of wood to serve as wine glass holders and affixing the front end of a wine rack at the base to store bottles.

In its standard operating mode the Boozeshelf lies dark and dormant. Approaching it triggers a cleverly recessed ultrasonic sensor that gently illuminates some LEDs, revealing the shelf’s contents. When you walk away, then lights fade out. An Arduino Mega running [Jeremy’s] custom LEDFader library drives the RGB LED strips, which he wired with some power MOSFETS to handle current demands.

[Jeremy] didn’t stop there, however, adding an additional IR receiver that allows him to select from three different RGB LED color modes: simple crossfading, individual shelf colors (saved to the on-board EEPROM), or the festive favorite: “Dance Party Mode.” Stick around after the break to see [Jeremy] in full aficionado attire demonstrating his Boozeshelf in a couple of videos. Considering blackouts are a likely result of enjoying this hack, we recommend these LED ice cubes for your safety.

Continue reading “Interactive Boozeshelf Is Its Own Dance Party”

Fix A Keyboard’s Firmware With Trial, Error, And I2C

eepromKeyboardFlash

If the media shortcut keys on your keyboard don’t function correctly due to outdated firmware, the manufacturer may recommend you ship it to them for an update. [Alvaro] didn’t care to wait that long, so he cracked it open and taught himself how to mod the EEPROM. The result is a well-documented breakdown of sorting out the keyboard’s guts. Inside he finds a USB hub, which he ignores, and the keyboard controller chip, which he attacks. Two data sheets and a schematic later, [Alvaro] breaks out the logic analyzer to compare physical key presses to the keypad codes they output.

He dumps the entire EEPROM and follows up with a quick flash via I2C to change the “next song” key to instead output the letter “a”. That seems to work, so [Alvaro] combs through an HID USB usage table for some codes and has to guess which ones will properly control Spotify. He converts the media keys from “scan next” and “scan previous” to “rewind” and “fast forward.” Problem solved.

[Alvaro] had zero knowledge of keyboards prior to opening this one up. If you aren’t already taking things apart to see how they function and how to fix them, hopefully his success will persuade you to explore and learn about those “black boxes” in your home. And, if you’ve never used I2C before—or think it might be the name of a boy band—head over to [Kevin’s] tutorial on bitbanging I2C by hand.

Bitbanging I2C By Hand

I2C

Play around with electronics long enough, and eventually you’ll run into I2C devices. These chips – everything from sensors and memory to DACs and ADCs – use a standardized interface that consists of only two wires. Interacting with these devices is usually done with a microcontroller and an I2C library, but [Kevin] wanted to take that one step further. He’s bitbanging I2C devices by hand and getting a great education in the I2C protocol in the process.

Every I2C device is controlled by two connections to a microcontroller, a data line and a clock line. [Kevin] connected these lines to tact switches through a pair of transistors, allowing him to manually key in I2C commands one bit at a time.

[Kevin] is using a 24LC256 EEPROM for this demonstration, and by entering a control byte and two address bytes, he can enter a single byte of data by hand that will be saved for many, many years in this tiny chip.

Of course getting data into a chip is only half of the problem. By altering the control byte at the beginning of an I2C message by one bit, [Kevin] can also read data out of the chip.

This isn’t [Kevin]’s first experimentation in controlling chips solely with buttons. Earlier, we saw him play around with a 595 shift register using five push buttons. It’s a great way to intuit how these chips actually work, and would be an exceptional learning exercise for tinkerers young and old,

Continue reading “Bitbanging I2C By Hand”

EEPROM Hack Unlocks Crippled Features In Agilent Multimeter And LCR Meter

u1241a-agilent-hack

[Gnif] was doing what any good hacker does… poking around the insides of one of his tools to see how it works. While in there, he discovered that an EEPROM hack could make the Agilent U1241A function like the U1242A.

If you’re into this kind of thing the Rigol 1052e hack should have already popped to mind. That was a firmware crippled device that, when unlocked, made the cheaper model behave the same ways as it’s $400 more expensive sibling. This doesn’t have quite the same impact, as the price difference is somewhere between $20-$100. Still, this stuff is just cool, right?

A few posts down in the thread linked above [Gnif] shares the story of how he found the hack. After shorting the i2c lines of the EEPROM while powering up the meter he was able to see that the device initializes a lot of its values to 0xFF when it can’t find the stored data. The next step was to use an STM32 board to dump the EEPROM contents. With the backup file stored safely he started changing values and reflashing the chip. Through this process he discovered that switching one byte from 0x01 to 0x02 enabled the higher model’s features. It also works for upgrading the U1732C to the U1733C feature set.