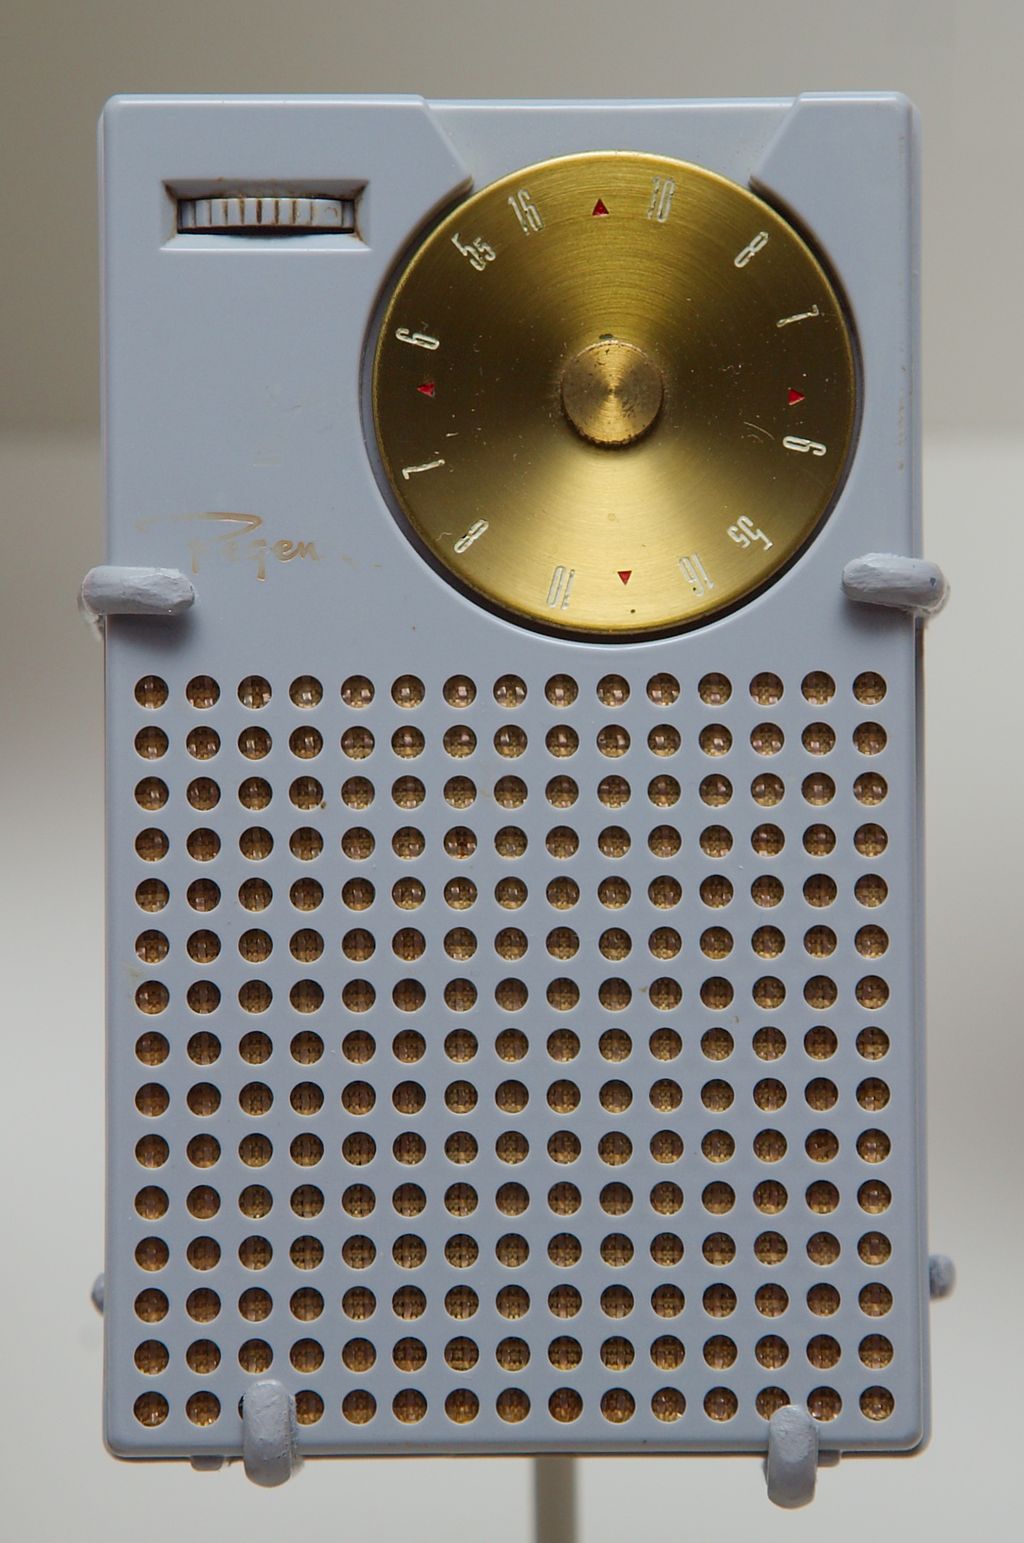
Transistors have come a long way. Like everything else electronic, they’ve become both better and cheaper. According to a recent IEEE article, a transistor cost about $8 in today’s money back in the 1960’s. Consider the Regency TR-1, the first transistor radio from TI and IDEA. In late 1954, the four-transistor device went on sale for $49.95. That doesn’t sound like much until you realize that in 1954, this was equivalent to about $441 (a new car cost about $1,700 and a copy of life magazine cost 20 cents). Even at that price, they sold about 150,000 radios.
Part of the reason the transistors cost so much was that production costs were high. But another reason is that yields were poor. In some cases, 4 out of 5 of the devices were not usable. The transistors were not that good even when they did work. The first transistors were germanium which has high leakage and worse thermal properties than silicon.
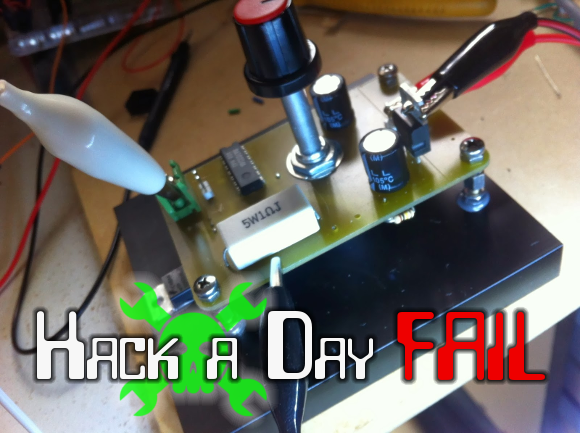
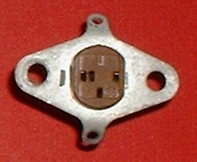 Early transistors were subject to damage from soldering, so it was common to use an alligator clip or a specific heat sink clip to prevent heat from reaching the transistor during construction. Some gear even used sockets which also allowed the quick substitution of devices, just like the tubes they replaced.
When the economics of transistors changed, it made a lot of things practical. For example, a common piece of gear used to be a transistor tester, like the Heathkit IT-121 in the video below. If you pulled an $8 part out of a socket, you’d want to test it before you spent more money on a replacement. Of course, if you had a curve tracer, that was even better because you could measure the device parameters which were probably more subject to change than a modern device.
Of course, germanium to silicon is only one improvement made over the years. The FET is a fundamentally different kind of transistor that has many desirable properties and, of course, integrating hundreds or even thousands of transistors on one integrated circuit revolutionized electronics of all types. Transistors got better. Parameters become less variable and yields increased. Maximum frequency rises and power handling capacity increases. Devices just keep getting better. And cheaper.
A Brief History of Transistors
The path from vacuum tube to the Regency TR-1 was a twisted one. Everyone knew the disadvantages of tubes: fragile, power hungry, and physically large, although smaller and lower-power tubes would start to appear towards the end of their reign. In 1925 a Canadian physicist patented a FET but failed to publicize it. Beyond that, mass production of semiconductor material was unknown at the time. A German inventor patented a similar device in 1934 that didn’t take off, either.
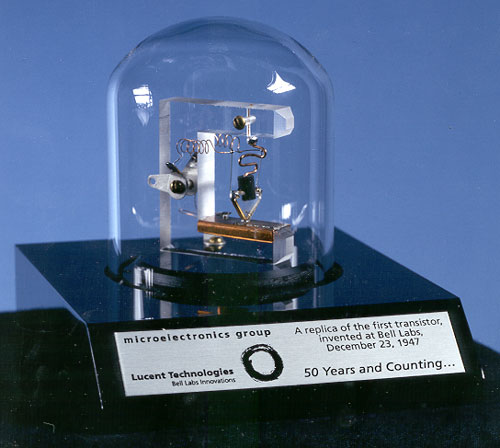
Bell labs researchers worked with germanium and actually understood how to make “point contact” transistors and FETs in 1947. However, Bell’s lawyers found the earlier patents and elected to pursue the conventional transistor patent that would lead to the inventors (John Bardeen, Walter Brattain, and William Shockley) winning the Nobel prize in 1956.
Two Germans working for a Westinghouse subsidiary in Paris independently developed a point contact transistor in 1948. It would be 1954 before silicon transistors became practical. The MOSFET didn’t appear until 1959.
Of course, even these major milestones are subject to incremental improvements. The V channel for MOSFETs, for example, opened the door for FETs to be true power devices, able to switch currents required for motors and other high current devices.