The Gameboy line of handheld systems from Nintendo have been wildly popular, but lack one major thing – a video output. This can be troublesome if you’d like to view the games on a bigger screen, for more comfortable gaming sessions or detail work like producing chiptunes. One option is to use the Gameboy Player for the Gamecube, however that system’s age means you’re out of luck if you want a crisp, clear picture on a modern digital display. Wouldn’t it be great if you could get HDMI output from a Gameboy Advance Instead?

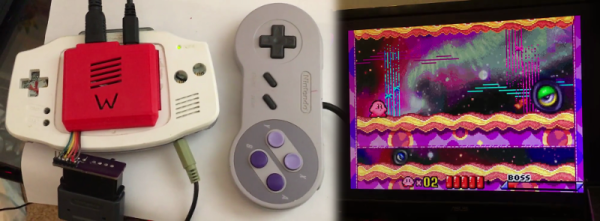
When it comes to working with video signals, FPGAs can’t be beat. [Stephen] leverages an FPGA in this project to read the GBA’s video signals and convert them to the modern digital format. Unfortunately, it’s not a seamless install – limited space means the GBA’s screen must be entirely removed, replaced with the adapter in a manner resembling the terrifying Facehugger.
Packaging aside, the output from the device is nothing short of stunning – the graphics are absolutely crystal clear when displayed on a modern HDMI television. This is because the FPGA is capturing the exact digital output from the GBA, and piping it out as HDMI – there’s no analog fuzziness, conversions or noise to spoil the image. Output is a tasty 1280×720, upscaled from the GBA’s original resolution. For more details, check out the forum thread where [Stephen] runs through the build.
The only thing missing is details – we’d love to know more about the exact hardware used, and any trials and tribulations during the build! As far as we can tell, the build doesn’t stop at just video – a SNES controller is used instead of the original buttons, and we have a feeling sound is being passed over the HDMI channel as well sound is piped to the TV from the GBA’s headphone port.
It’s great to see these projects for old hardware come out – modern hardware has the muscle to achieve things previously unthinkable on retro consoles. We’ve seen similar projects before – like adding VGA to an original Game Boy.

![[Roland]'s face captured with the Game Boy Camera (left), and turned into a photorealistic image (right)](https://hackaday.com/wp-content/uploads/2017/02/output.png?w=400)

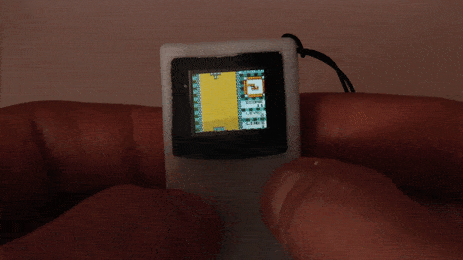
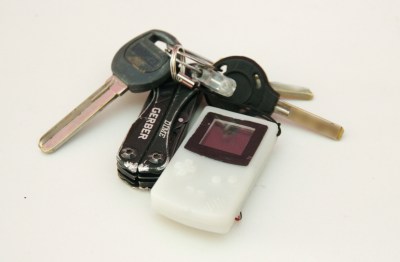 I’m sure that many of you have fond memories of your first handheld games. This will be Game Boy for most, and we admit they had fairly decent portability and battery life that puts many smart phones to shame. Despite this, Sprite_TM always dreamed of an eminently more portable version and to his adolescent delight he discovered a key chain version of the Game Boy. Unfortunately, he was duped. The keychain looked like a Game Boy but only functioned as a clock.
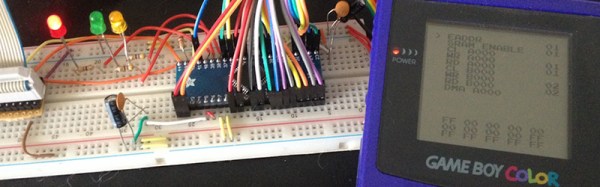
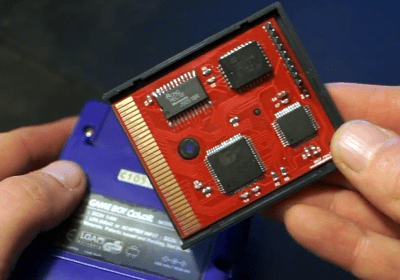 The Super FX chip, the Capcom-developed Cx4 coprocessor, and the Nintendo DSP all lived in a cartridge, but the technology to put a better computer in a cartridge never made it to Nintendo’s handheld devices. Cheap, powerful microcontrollers are everywhere now, and it’s not that hard to make a board with card edge connectors, leading [Anders] to


