FPGA Brings Arduboy To The Game Boy Advance

Hackaday readers are perhaps familiar with the Arduboy, an open source handheld gaming system that aims to combine the ease of Arduino development with the seething nostalgia the Internet has towards the original Nintendo Game Boy. While not quite the same as getting one of your games published for a “real” system, the open source nature of the Arduboy platform allows an individual to develop a game playable on a commercially manufactured device.

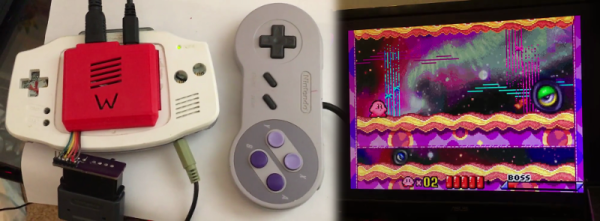
While the Arduboy hardware itself is actually quite slick, that hasn’t stopped people from trying to bring its games to other pieces of hardware. Now thanks to the efforts of [uXe], the Game Boy Advance is well on its way to becoming Arduboy compatible, in a way bringing the whole project full circle. Assuming this gadget becomes a commercial device (it sounds like that’s still up in the air), Arduboy developers will be able to proudly play their creations on the final and objectively best entry into the Game Boy line.

Getting to this point has been something of an adventure, as documented in a thread from the Arduboy forums. Members of the community wondered what it would take to get Arduboy games running on a real Game Boy, but pretty quickly it was decided that the original beige brick model wasn’t quite up to the task. Eventually its far more capable successor the Game Boy Advance became the development target, and different approaches were considered for getting existing games running on the platform.

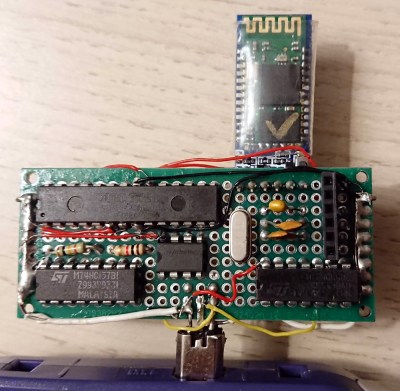
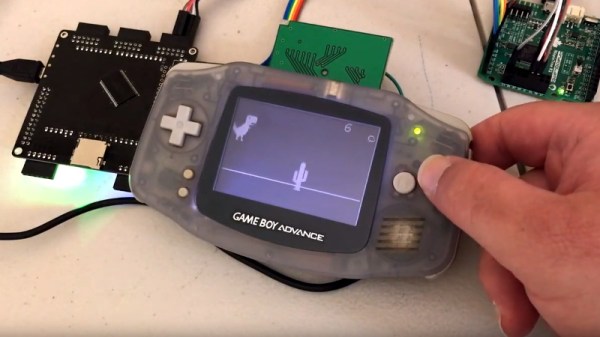
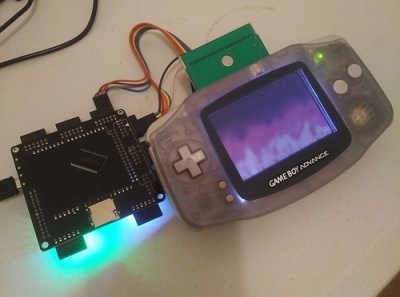
While there were some interesting ideas, such as using the GBA’s link port to “feed” the system games over SPI, in the end [uXe] decided to look into creating an FPGA cartridge that would actually run the Arduboy games. In this scenario, the GBA itself is basically just being used as an interface between the FPGA and the human player. In addition to these low-level hardware considerations, there was considerable discussion about the more practical aspects of bringing the games to the new hardware, such as how to best scale the Arduboy’s 128 x 64 output to the GBA’s 240 × 160 screen.

As demonstrated in the videos after the break, [uXe] now as all the elements for playing Arduboy games on the GBA in place, including the ability to disable full screen scaling by using the shoulder buttons. Now he just needs to shrink the hardware down to the point it will fit inside of a standard GBA cartridge. Beyond that, who knows? Perhaps the appeal of being able to run Arduboy games on a real Game Boy is enough to warrant turning this hack into a new commercial product.

Thanks to a hardware swap we’ve seen Arduboy games played on the Dreamcast VMU, and [uXe] himself previously grafted Arduboy-compatible hardware into an original Game Boy, but being able to play these games on an unmodified Game Boy Advance obviously has its own appeal. At the very least, it will be a bit more ergonomic than using a hacked classroom gadget.

Continue reading “FPGA Brings Arduboy To The Game Boy Advance”

HDMI Out On The Gameboy Advance

The Gameboy line of handheld systems from Nintendo have been wildly popular, but lack one major thing – a video output. This can be troublesome if you’d like to view the games on a bigger screen, for more comfortable gaming sessions or detail work like producing chiptunes. One option is to use the Gameboy Player for the Gamecube, however that system’s age means you’re out of luck if you want a crisp, clear picture on a modern digital display. Wouldn’t it be great if you could get HDMI output from a Gameboy Advance Instead?

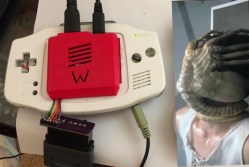
A family resemblance?

When it comes to working with video signals, FPGAs can’t be beat. [Stephen] leverages an FPGA in this project to read the GBA’s video signals and convert them to the modern digital format. Unfortunately, it’s not a seamless install – limited space means the GBA’s screen must be entirely removed, replaced with the adapter in a manner resembling the terrifying Facehugger.

Packaging aside, the output from the device is nothing short of stunning – the graphics are absolutely crystal clear when displayed on a modern HDMI television. This is because the FPGA is capturing the exact digital output from the GBA, and piping it out as HDMI – there’s no analog fuzziness, conversions or noise to spoil the image. Output is a tasty 1280×720, upscaled from the GBA’s original resolution. For more details, check out the forum thread where [Stephen] runs through the build.

The only thing missing  is details – we’d love to know more about the exact hardware used, and any trials and tribulations during the build! As far as we can tell, the build doesn’t stop at just video – a SNES controller is used instead of the original buttons, and we have a feeling sound is being passed over the HDMI channel as well sound is piped to the TV from the GBA’s headphone port.

It’s great to see these projects for old hardware come out – modern hardware has the muscle to achieve things previously unthinkable on retro consoles. We’ve seen similar projects before – like adding VGA to an original Game Boy.

Continue reading “HDMI Out On The Gameboy Advance”

GameBoy Advance Rapid Fire Hack

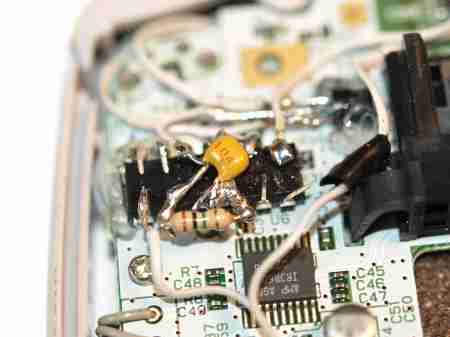
Ever find yourself in the middle of a Game Boy game and your hand cramps up?  Save that sore wrist for something else because now you can hack the Game Boy Advance to add Rapid Fire for the B button.  [William] has developed a way to do this by creating a simple circuit that generates a square wave on the B button when it is pressed.  To do this hack all that was needed was a short shopping list of:

  • A Couple NAND Gate ICs
  • 2n2222 NPN Transistor
  • 0.1uF ceramic capacitor
  • A Switch
  • 1M ohm resistor
  • Some Thin Wire

After that you’re off to the races as [William] documents how he goes about transforming the Game Boy Advance and includes a ton of great pictures and a schematic.  This operation ends with [William] placing the switch for Rapid Fire excellence next to the Right Bumper where it is inconspicuous and yet easy enough to access.

Via [HackedGadgets]

GBA Emulator Ported To Didj

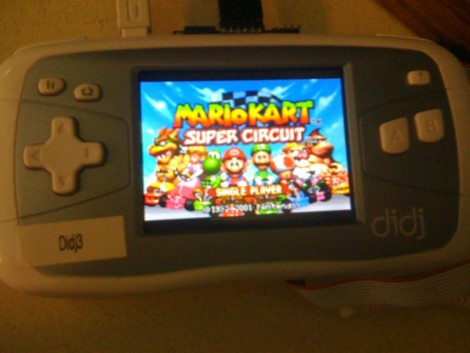
Tired of messing with the hardware of the Didj you picked up? Now you can use it for gaming on that last road trip of the summer. A Game Boy Advanced emulator has been ported for use on both the Didj and the Explorer. You’ll have to dig up a copy of the original bios for a GBA as well as some ROMs, but the rest seems pretty straight forward. We are still holding out hope for Doom or Quake on the Didj, but this will help us wait a bit longer.

[Thanks Nirvous via Rosincore]

Arduino Based Multiboot Cable For Game Boy Advance

[Steve] wanted to do some ARM development and set his sights on the Game Boy Advance as a development package. In order to get his code onto the device he build an Arduino-based communications cable. It is necessary to have a microcontroller involved because the GBA uses a peculiar 16-bit serial communications protocol. This cable is an adaptation from the 8051-based cable developed by [Matt Evans] several years ago. [Steve’s] got it working by porting the 8051 assembler over for the Arduino, but we’d recommend adding a level converter to his hardware setup to step down from the Arduino’s 5v logic to the 3.3v logic the GBA expects.

He didn’t make up a wiring diagram, but in the code comments [Steve’s] laid out the connections as follows:

Arduino 8 to GBA SO
Arduino 9 to GBA SI
Arduino 10 to GBA SD
Arduino 11 to GBA SC

That’s it, follow the README in his source code package and you’re on your way to some ARM development.

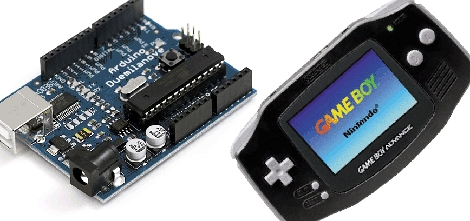
Arduino To Nintendo DS Interface

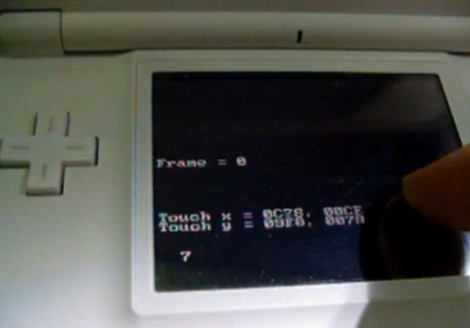
[Hounjini] was poking around at the Game Boy Advanced bus of his Nintendo DS lite and figured out how to use it to connect an Arduino to the DS. For testing he’s soldered an IDC plug to the cartridge cover pin interface but this only requires four connections. The Arduino can both send and receive data from the DS lite as shown in the example videos after the break. The data access is made possible by making the Arduino look like a controller that the DS is happy to talk to.

Continue reading “Arduino To Nintendo DS Interface”

Midify Now Available


The people at Division 6 have begun selling Midify, a board that add a MIDI port to an DS and many other Nintendo handhelds. The board has 12 outputs, plus two for power and two for the MIDI port. Configuration and mapping are also very simple. This is the same board that was used to add MIDI control to a microwave.

[via Matrixsynth]