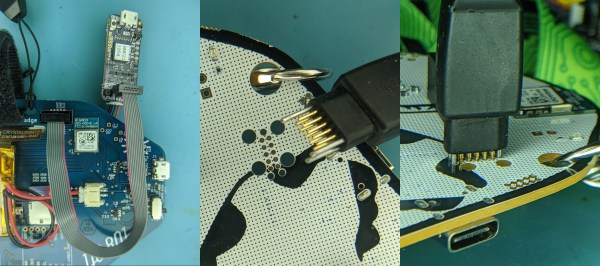
When a processor has a fault it can leave what looks to be precious little in the way of cause and effect. Debug-by-print-statement works surprisingly well in simple cases, but where in a desktop environment you would drop into a debugger to solve trickier problems this can be an onerous task on an embedded system. [Ross Schlaikjer]’s excellent blog post walks through setting up one of our favorite Open Hardware debug probes and shows us that with the right tooling in place, unexpected faults aren’t quite so impenetrable. Continue reading “Debug Superpowers Bring An STM32 Back From The Dead”
gdb16 Articles
CortexProg Is A Real ARM-Twister
We’ve got a small box of microcontroller programmers on our desktop. AVR, PIC, and ARM, or at least the STMicro version of ARM. Why? Some program faster, some debug better, some have nicer cables, and others, well, we’re just sentimental about. Don’t judge.
[Dmitry Grinberg], on the other hand, is searching for the One Ring. Or at least the One Ring for ARM microcontrollers. You see, while all ARM chips have the same core, and thus the same SWD debugging interface, they all write to flash differently. So if you do ARM development with offerings from different chip vendors, you need to have a box full of programmers or shell out for an expensive J-Link. Until now.
[Dmitry] keeps his options open by loading up the flash-specific portion of the code as a plugin, which lets the programmer figure out what chip it’s dealing with and then lookup the appropriate block size and flash memory procedures. One Ring. He also implements a fast printf
-style debugging aid that he calls “ZeroWire Trace” that we’d like to hear more about. Programming and debugging are scriptable in Lua, and it can do batch programming based on reading chip IDs.
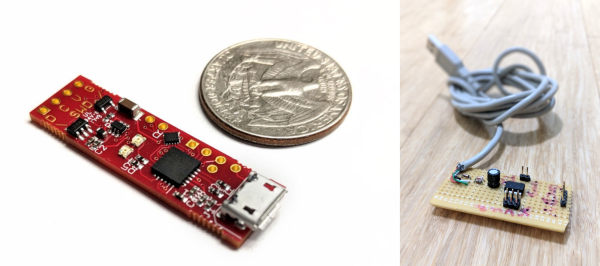
You can build your own CortexProg from an ATtiny85, two diodes, and two current-limiting resistors: the standard V-USB setup. The downside of the DIY? Slow upload speed, but at least it’ll get you going. He’s also developed a number of fancier versions that improve on this. Version four of the hardware is just now up on Kickstarter, if you’re interested.
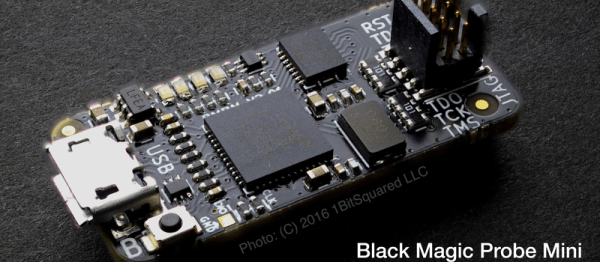
If you’re just using one vendor’s chips or don’t mind having a drawer full of programmers, you might also look into the Black Magic Probe. It embeds a GDB server in the debugger itself, which is both a cool trick and the reason that you have to re-flash the programmer to work with a different vendor’s chips. Since the BMP firmware is open, you can make your own for the cost of a sacrificial ST-Link clone, about $4.
On the other hand, if you want a programmer that works across chip families, is scriptable, and can do batch uploads, CortexProg looks like a caviar programmer on a fish-bait budget. We’re going to try one out soon.
Oh and if you think [Dmitry Grinberg] sounds familiar, you might like his sweet Dreamcast VRU hack, his investigations into the Cypress PSOCs, or his epic AVR-based Linux machine.
Black Magic Probe: The Best ARM JTAG Debugger?
We don’t always JTAG, but when we do, we use a Black Magic Probe. It’s a completely open ARM-chip debugging powerhouse. If you program the small ARM chips and you don’t have a BMP, you need a BMP. Right now, one of the main producers of these little gems is running a Kickstarter where you can get your hands on a nicely made one and/or a 1Bitsy STM32F415-based development board.
Why is the BMP so great? First off, it’s got a JTAG and a UART serial port in one device. You can flash the target, run your code, use the serial port for printf
debugging like you know you want to, and then fall back on full-fledged JTAG-plus-GDB when you need to, all in one dongle. It’s just very convenient.
But the BMP’s killer feature is that it runs a GDB server on the probe. It opens up a virtual serial port that you can connect to directly through GDB on your host computer. No need to hassle around with OpenOCD configurations, or to open up a second window to run [texane]’s marvelous st-util. Just run GDB, target extended-remote /dev/ttyACM0
and you’re debugging. As the links above demonstrate, there are many hardware/software pairs that’ll get you up and debugging. But by combining the debug server with the JTAG hardware, the BMP is by far the slickest.
Full disclosure: we use a BMP that we built ourselves, which is to say that we compiled and flashed the firmware into a $4 STLink clone programmer that we had on hand. Breaking the required signals out required a bit of ugly, fiddly soldering, but we enjoy that sort of thing. If you don’t, the early-bird Kickstarter (with cables) looks like a good deal to us.
Shmoocon 2016: Efficient Debugging For OS X
Developers love their macs, and if you look at the software that comes with it, it’s easy to see why. OS X is a very capable Unix-ey environment that usually comes on very capable hardware. There is one, huge, unbelievable shortcoming in OS X: the debugger sucks. GDB, the standard for every other platform, doesn’t come with OS X and Apple’s replacement, LLDB is very bad. After crashing Safari one too many times, [Brandon Edwards] and [Tyler Bohan] decided they needed their own debugger, so they built one, and presented their work at last weekend’s Shmoocon.
Building a proper tool starts with a survey of existing tools, and after determining that GDB was apparently uninstallable and LLDB sucked, their lit review took a turn for the more esoteric. Bit Slicer is what they landed on. It’s a ‘game trainer’ or something that allows people to modify memory. It sort of works like a debugger, but not really. VDB was another option, but again this was rough around the edges and didn’t really work.
The problems with the current OS X debuggers is that the tools used by debuggers don’t really exist. ptrace is neutered, and the system integrity protection in OS X El Capitan has introduced protected locations that can not be written to by root. Good luck modifying anything in /Applications if you have any recent Mac.
With the goal of an easy-to-use debugger that was readily scriptable, [Brandon] and [Tyler] decided to write their own debugger. They ended up writing the only debugger they’ve seen that is built around kqueue instead of ptrace. This allows the debugger to be non-invasive to the debugged process, inject code, and attach to multiple processes at once.
For anyone who has every stared blankly at the ‘where is GDB’ Stack Overflow answers, it’s a big deal. [Brandon] and [Tyler] have the beginnings of a very nice tool for a very nice machine.
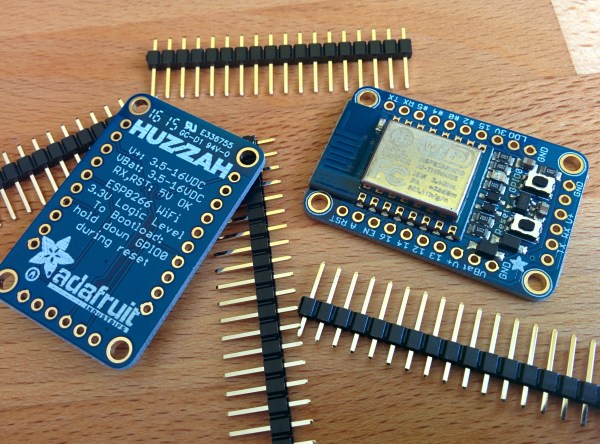
Squash Your ESP-8266 Bugs With ESP-gdbstub
We hope we’re not insulting you by suggesting this, but it’s possible that even the best among us may be faced with bugs in our embedded code from time to time. And while we’re great fans of printf
debugging over the serial port, and its high-speed equivalent — flipping a GPIO pin — there’s a time when your bug is so deep that having a real debugger is the best way to dig it out.
[slaff] has been doing some great work documenting C/C++ programming on the ESP-8266, mostly using Eclipse and some of the Arduino libraries. In the fourth part of his series of posts, he walks through using a couple debugger options for the ESP. What makes this all work is the ESP-gdbstub code from Espressif themselves. gdbstub looks great — it works both with the standard SDK as well as with FreeRTOS, so you can debug your ESP-8266 code whether it’s in an OS or on the bare metal. And all this just using the standard serial connection that’s used for programming.
Now, this still may not help with timing-related bugs. ESP-gdbstub uses the serial port, after all. But having the ability to set breakpoints and interactively inspect what’s going on in the chip’s memory is priceless, and doing so with no extra hardware connections is brilliant.
Continue reading “Squash Your ESP-8266 Bugs With ESP-gdbstub”
Scripting Debug Sessions: Python For GDB Remote Serial Protocol
Are you tired of hammering out the same commands over and over again in GDB? If not, we highly encourage you take more advantage of The GNU Project Debugger, which is a fantastic way to poke around inside your microcontrollers while they’re running a program.
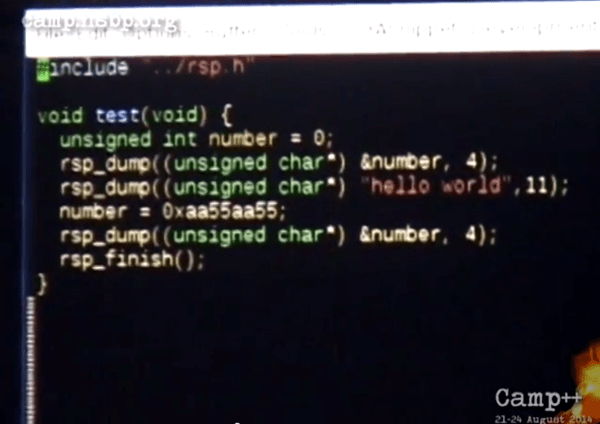
Back to the matter at hand. [Stef] put together a Python program that leverages GDB’s Remote Serial Protocol. He calls it pyrsp and the talk he recently gave about it can be seen below.
The core feature is the ability to add a callback in your C code that triggers the Python script. Think of this a little bit like a print statement, except you have so much more power since it’s Python and GDB doing the “printing”. Anything that can be done at a breakpoint in GDB can now be executed automatically. So if you need to check a group of registers at every loop execution for hundreds of loops your wrists are going to thank you. Better yet, you can use Python to do the sanity checks automatically, continuing when the data is good and alerting you when it’s not. Neat!
Continue reading “Scripting Debug Sessions: Python For GDB Remote Serial Protocol”
Stepping Through Code On A Pace 4000 Set Top Box
[Lee] wrote in to tell us about a Set Top Box he hacked. Before the cable industry lawyers get out their flaming swords… he’s not stealing cable, or really doing much of anything. This is a hack just for the adventure and thrill of making someone else’s hardware design do your bidding without any kind of instructions.
He posted about the adventure in two parts. The first is finding the JTAG header and identifying the pins. Arduino to the rescue! No really, and this is the type of Arduino use we love. Using a package called JTAGenum the board becomes a quick tool for probing and identifying JTAG connections.
The image above shows a different piece of hardware. From looking at it we’re pretty sure this is a Bus Blaster which is specifically designed for JTAG debugging with ARM processors. This is the beginning of the second part of his documentation which involves code dumping and stepping through lines code (or instructions) using OpenOCD and GDB. It’s a chore to follow all that [Lee] discovered just to write his name to the display of the box. But we certainly found it interesting. The display has a convoluted addressing scheme. We assume that there are cascading shift registers driving the segments and that’s why it behaves the way it does. Take a look for yourself and let us know what you think in the comments.