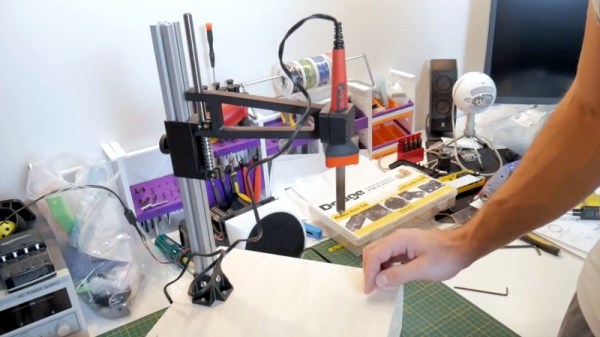
One might think that [Da_Rius]’s mostly 3D printed wire stripper would count its insulation-shearing blades among the small number of metal parts required, but that turns out to not be the case. The blades are actually printed in PLA, and seem to work just fine for this purpose. (We imagine they need somewhat frequent replacement, but still.)
 Proper wire strippers are one of the most useful tools for a budding electronics enthusiast, because stripping hookup wire is a common task and purpose-built strippers make for quick and consistent results.
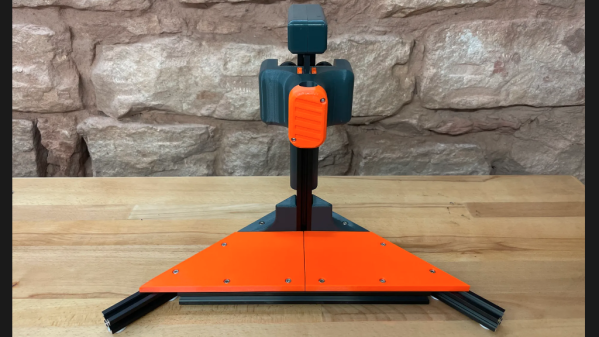
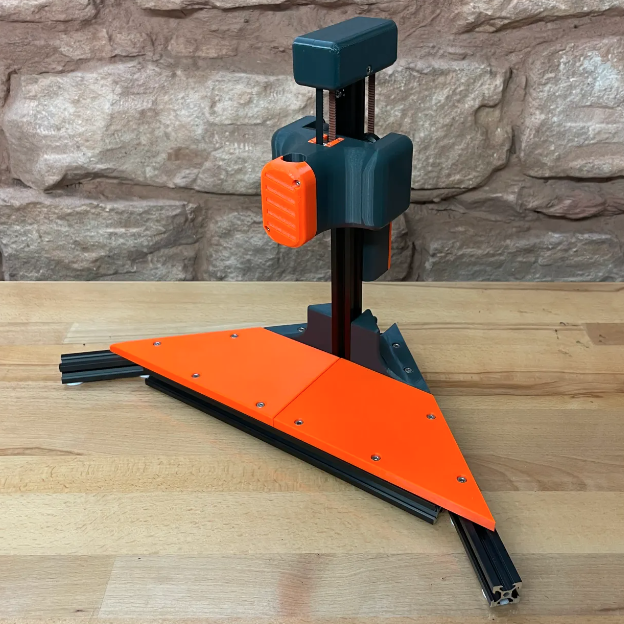
As far as tools go they are neither particularly expensive nor difficult to source, but making one’s own has a certain appeal to it. The process of assembling the tool is doubtless a rewarding one, and it looks like it results in a pretty good conversation starter if nothing else.
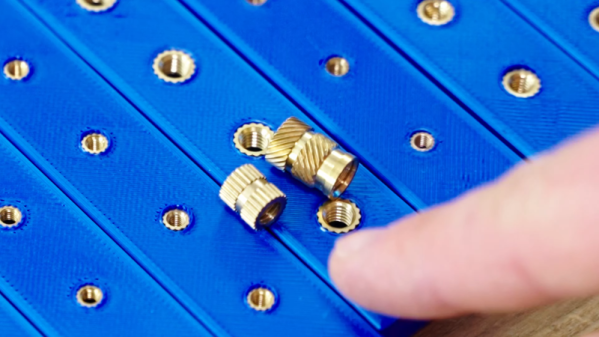
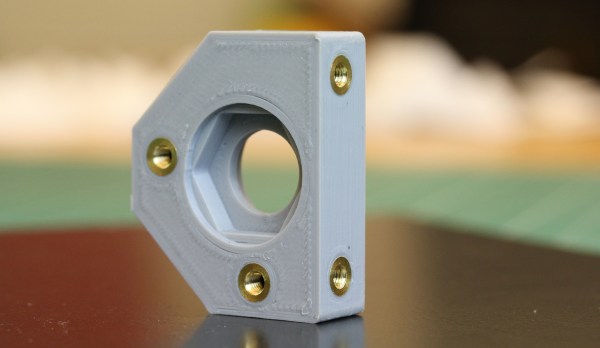
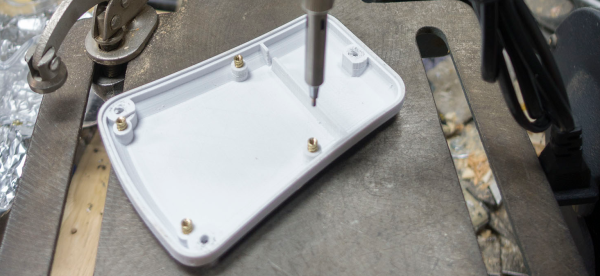
As mentioned, the tool is mostly 3D printed and does require some metal parts: fasteners, heat-set inserts, and a couple springs. Metal nuts and heat-set inserts are easy enough to obtain, but springs of particular size and shape are a bit trickier.
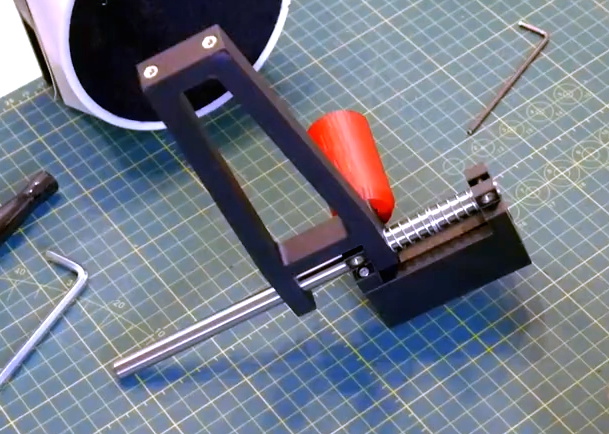
It is perfectly possible to make custom springs, and as it happens [Da_Rius] already has that covered with a separate project for using a hex key and printed jig to make exactly the right shapes and sizes from pre-tempered spring wire.