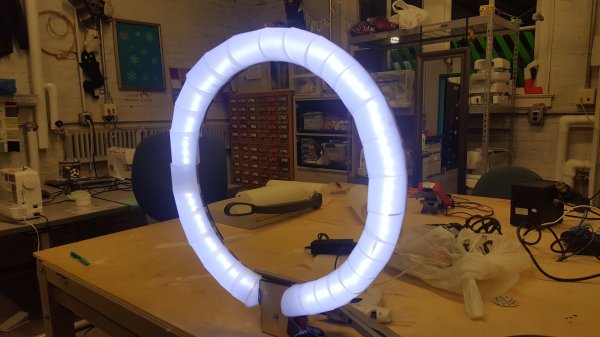
[Brandon Rice] is at it again — this time to level-up your photography and video production skills with a diffused light ring.
Inspired into creating more video content, he wanted to forgo the price tag associated with consumer lighting rigs. A 19″ diameter ring fit his requirements, but since the only laser cutter he had access to was limited to 12″x14″, he was forced to assemble it in pieces. As he screwed it together, he hid the M6 screws by pointing them ‘forwards,’ to be hidden underneath the diffusing vellum material. Liberal application of hot glue has kept the arched vellum and the LED strips in place with only a nominal number of burned fingers.
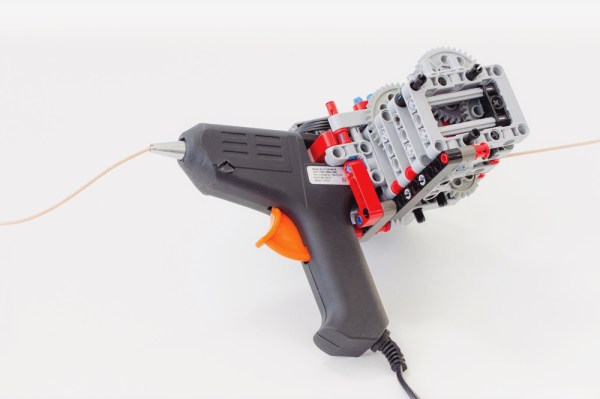
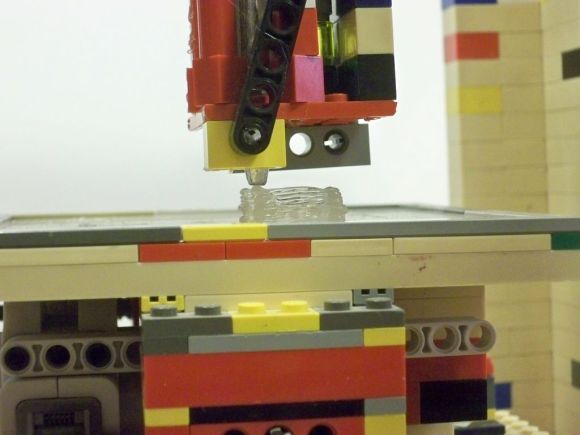
 Using standard LEGO parts he was able to build an attachment for the hot glue gun to feed the 3mm diameter biodegradable filament through the nozzle. He’s uploaded the