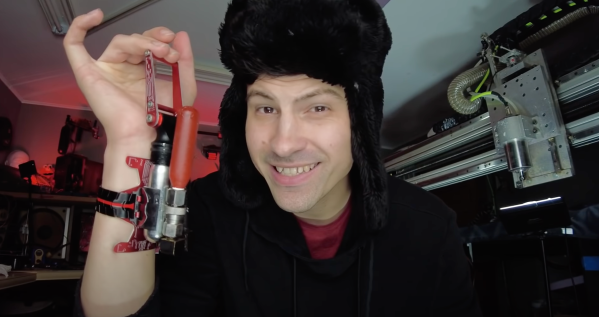
Despite reading Hackaday daily and seeing the incredible things that people do, something comes along that just sort of blows you away every once in a while. Sometimes it’s just technically impressive, but often it is just, “I didn’t think that anyone would try this or even think of this.” [Joel Creates] is one such example with his Spider-Man wrist-mounted web-shooters.
Previously, [Joel] had built a web-slinging system based around a pressurized tank of hot glue worn like a backpack. What it lacked in miniaturization, it made up for in functionality. However, [JT of Build IRL] created a grappling-based Spider-Man system that fired ropes which got [Joel] thinking that perhaps the hot glue and the grappling system could be combined for a smaller overall package.
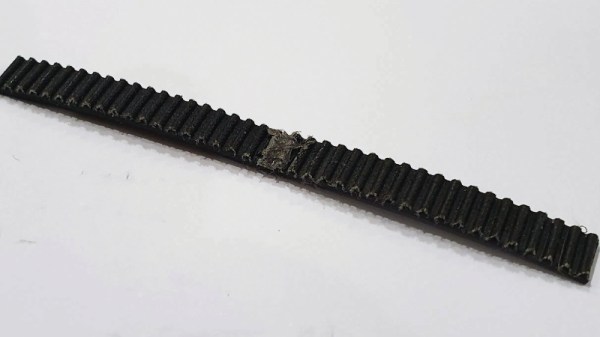
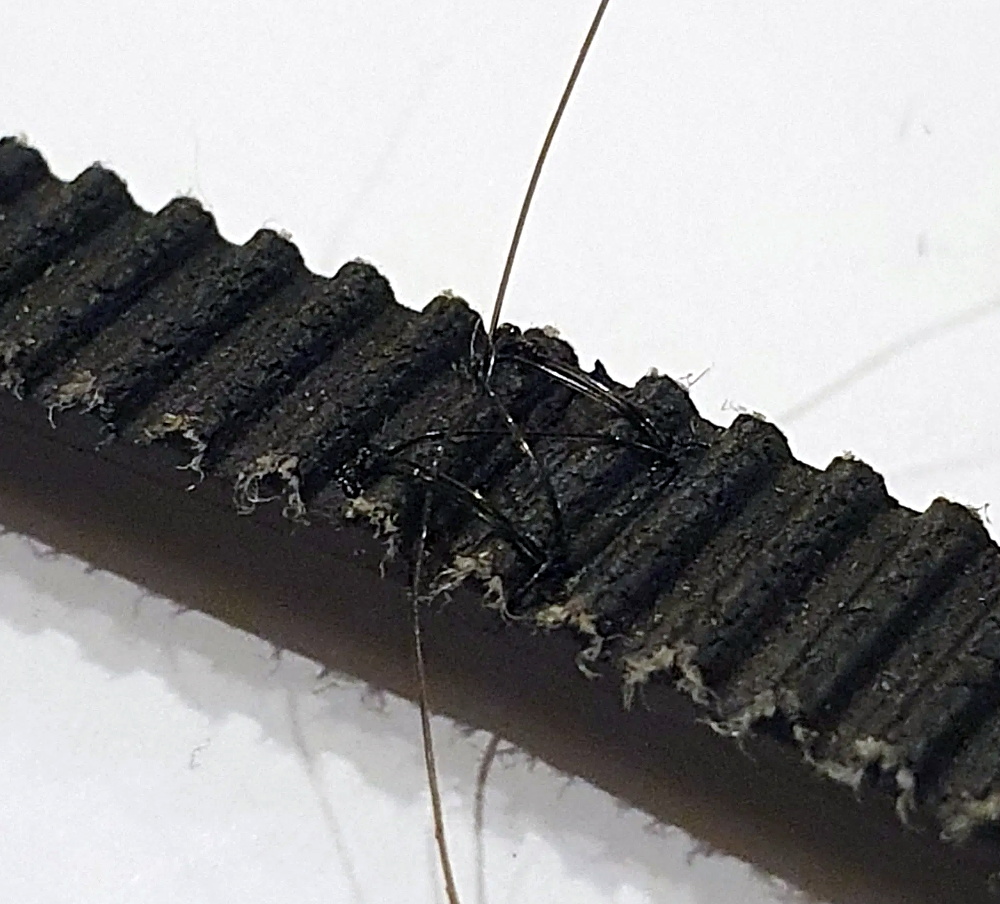
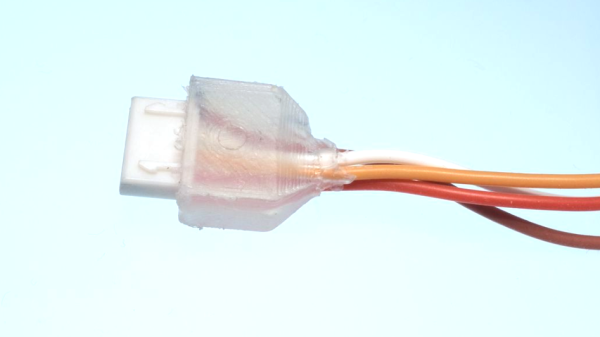
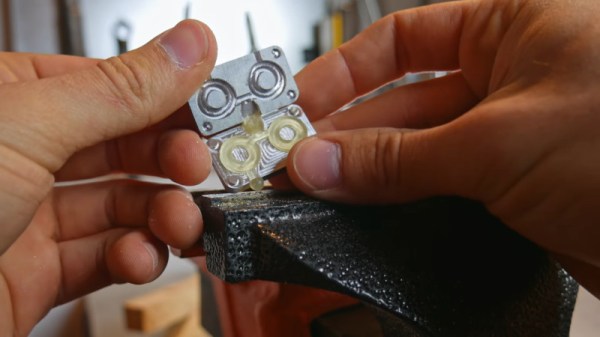
His solution is quite simple. Old CO2 cartridges filled with glue and a small nozzle drilled in are loaded into a quick-connect fitting. The hot glue is heated via an induction coil on a small tool belt before loading. A thermally insulating layer of paint and micro-vacuum spheres on the canister helps [Joel] place it in the wrist shooter without burning himself. A bike tire inflator with a lever-activated system forms the main assembly of the shooter. Using compressed air, the system fires a glob of hot glue at a surface and a metal web-shaped disk with holes and a rope attached to the blob of hot glue. As the glue rapidly cools, the metal disk provides a lot of surfaces for the adhesive to hang onto. Overall, the results are pretty impressive, but the engineering challenges make for an exciting journey. Everything from failed prototypes to failed power supplies seems to happen on this build.
Combined with some electromagnets, you could really have the whole spider package.
Thanks [Carson B] for sending this one in! Video after the break.
Continue reading “Spider-Man Swings A Little Closer To Reality”