If you’re looking for a hot collectible item and a great restoration project, cathedral-style radios from the 1930s are a solid choice. But they’re getting harder to find as the years roll by, so if your heart’s content is to listen to modern broadcasts through a radio with a classic look, you may need to roll your own cathedral case for an internet radio.
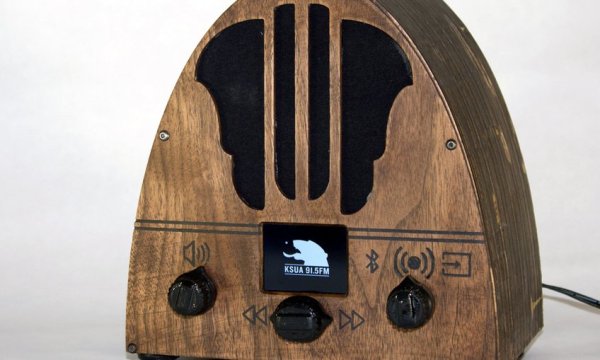
The cathedral-style case was a hugely successful form-factor for radios back in the day, with variations on the arch-top theme ranging from Gothic to Art Deco. For this build, [nick.r.brewer] decided on a more parabolic arch. His build log has SVG files for the individual ribs that were cut from plywood with an X-Carve. A Raspberry Pi and TFT display were mounted inside the finished case, along with a Bluetooth module and a 20W amplifier and speaker. A big 3-pole rotary switch with custom knob selects the audio source and evokes that 1930s feel. It ended up looking pretty good, and the video after the break shows that it sounds nice, too.
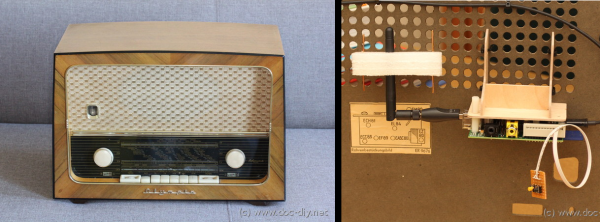
We featured a fair number of internet-radio-in-a-classic-case builds before, but we’re surprised to see no cathedral-style radios have been modded. Maybe it’s time to hit the flea market and estate sales and see what turns up.
Continue reading “An Internet Radio In A Classic Cathedral Case”

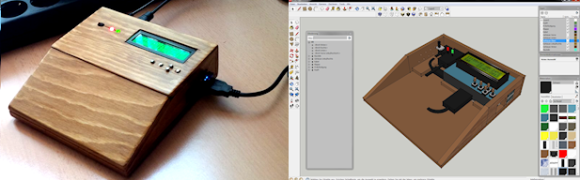
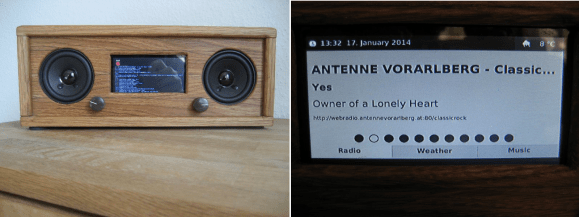 Avid Hackaday reader [Matthias] told us he takes a lot of inspiration from our site. That’s quite a compliment, because his work is both inspiring and beautiful. [Matthias] wanted to build a UI using JavaFX, so he made


