A Lesson In K40 Laser Repair

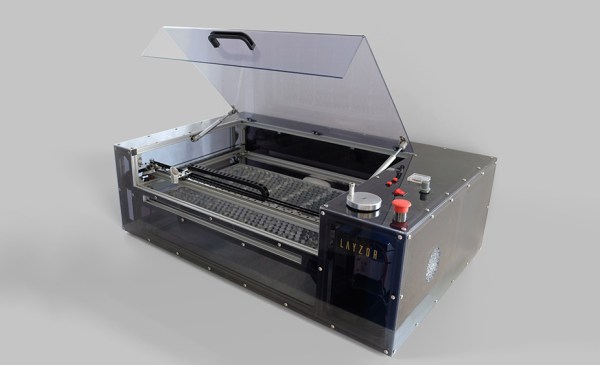
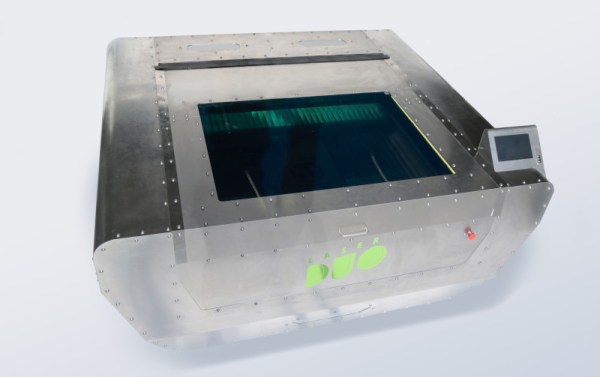
The K40 laser cutter has become ubiquitous in hackerspaces and well-equipped home workshops over the past few years, as a relatively inexpensive introduction to laser cutting and a machine that is readily hackable. Tokyo Hackerspace have one, but sadly their laser tube failed after relatively little use. Replacing a laser tube might be a routine component change for some readers, but it’s still worth looking at in some detail.

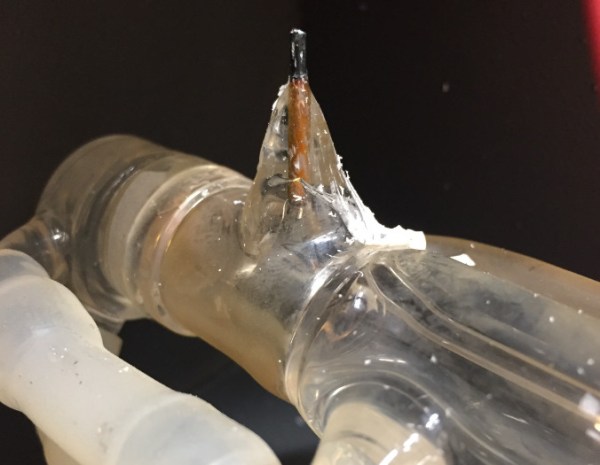
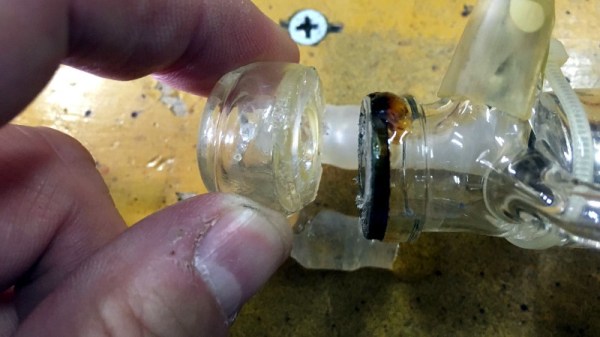
Their tube had failed at its output lens cooling cap, a component that is glued onto the end of the tube rather than bonded, and which had snapped off. There had been no mechanical stress upon it, but it was found  that the arrangement of their cooling system caused it to drain between uses and thus air bubbles could accumulate. The resulting cooling inefficiency caused enough thermal stress for the bond between the tube and the end piece to fail.

The in-depth analysis of what caused the failure and step-by-step description of the procedure should be of interest to any K40 owner. Little things such as ensuring that the tube is rotated to the right angle for all air bubbles to make their way out of it, or making sure that when the pump is switched off the water isn’t all pulled out of it by gravity seem obvious, but these are traps that will have caught more than one K40 owner.

We’ve covered many K40 stories over the years, but a good place to start for the novice might be this commissioning story, or even this tale of a hackerspace’s modifications to their model.

Arduino Revives Junkyard Laser Cutter

Some people have all the luck. [MakerMan] writes in to gloat tell us about a recent trip to the junkyard where he scored a rather serious looking laser cutter. This is no desktop-sized K40 we’re talking about here; it weighs in at just under 800 pounds (350 Kg), and took a crane to deliver the beast to his house. But his luck only took him so far, as closer inspection of the machine revealed it was missing nearly all of its internal components. Still, he had the frame, working motors, and laser optics, which is a lot more than we’ve ever found in the garbage.

After a whirlwind session with his wire cutters, [MakerMan] stripped away most of the existing wiring and the original control board inside the electronics bay. Replacing the original controller is an Arduino Nano running Grbl, likely giving this revived laser cutter better compatibility with popular open source tools than it had originally. Even though the laser cutter was missing a significant amount of hardware, he did luck out that both the motor drivers were still there (and working) as well as the dual power supplies to run everything.

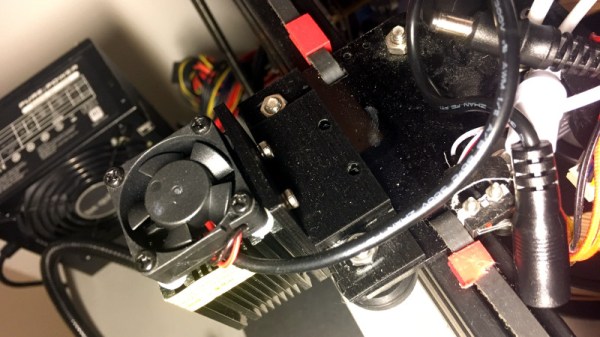
After a successful motion test, [MakerMan] then goes on to install a new 90W laser tube. Supporting the tube is a rigged up water cooling system using a plastic jug and a cheap bilge pump. He also added an air assist system, complete with side mounted compressor. This pushes air over the laser aperture, helping to keep smoke and debris away from the beam. Finally, a blower was installed in the bottom of the machine with flexible ducting leading outside to vent out the smoke and fumes that are produced when the laser is in operation.

This machine is a considerable upgrade from the previous laser [MakerMan] built, and as impressive as this rebuild is so far, we’re interested in seeing where it goes from here. If you ask us, this thing is begging for an embedded LaserWeb server.

Continue reading “Arduino Revives Junkyard Laser Cutter”

The Internet Of Three-Pointers

When tossing something into the rubbish bin, do you ever concoct that momentary mental scenario where you’re on a basketball court charging the net — the game’s final seconds ticking down on the clock — making a desperate stretch and flicking some crumpled paper perfectly into the basket only for no one to notice your awesome skills? Well, now you can show off how good you are at throwing out garbage.

Well, not strictly garbage. The genesis of this IoT basketball hoop was in fact an inflatable ball on [Brandon Rice]’s desk that he felt would be more fun to fidget with if he could keep score. The hoop and backboard were laser cut on his Epilog cutter, and sport a Particle Photon to track and upload his running point tally to the Internet. An Arduino and IR sensor detect objects passing through the hoop — ultrasound proved to be too slow to keep up with [Rice]’s shots.

Continue reading “The Internet Of Three-Pointers”

Lasers, Mirrors, And Sensors Combine In An Optical Bench Game

Who would have thought you could make a game out of an optical bench? [Chris Mitchell] did, and while we were skeptical at first, his laser Light Bender game has some potential. Just watch your eyes.

The premise is simple: direct the beam of a colored laser to the correct target before time runs out. [Chris] used laser-cut acrylic for his playfield, which has nine square cutouts arranged in a grid. Red, green, and blue laser pointers line the bottom of the grid, with photosensors and RGB LEDs lining the grid on the other three sides. Play starts with a random LED lighting up in one of the three colors, acting as a target. The corresponding color laser comes on, and the player has to insert mirrors or pass-through blocks in the grid to create a path to the target. The faster you hit the CdS cell, the higher your score. It’s simple, but it looks really engaging. We can imagine all sorts of upgrades, like lighting up two different targets at once, or adding a beamsplitter block to hit two targets with the same color. Filters and polarizers could add to the optical fun too.

We like builds that are just for fun, especially when they’re well-crafted and have a slight air of danger. The balloon-busting killbots project we featured recently comes to mind.

Continue reading “Lasers, Mirrors, And Sensors Combine In An Optical Bench Game”

Laser Cut Your 3D Printed Trash

If you have a 3D printer, you’re surrounded by plastic trash. I’m speaking, of course, of failed prints, brims, and support material that builds up in the trash can near your printer. Although machines that turn that trash into filament exist, they’re not exactly common. But there’s another way to turn that waste into new building materials. [flowalistic], 3D designer extraordinaire, is using that trash to create panels of plastic and throwing that into a laser cutter. It’s a plastic smoothie, and if you can sort your scrap by color, the results look fantastic.

The first step in turning garbage plastic into a plastic sheet is throwing everything into a blender. Only PLA was used for this experiment because using ABS will release chlorine gas. These plastic fragments were placed in the oven, on a cookie sheet with a sheet of parchment paper. After about a half an hour of baking at 200 °C, the sheet was pressed between sheets of wood and left to cool. From there, the PLA sheet was sent to the laser cutter where it can be fabricated into rings, models, coasters, spirographs, and toys.

While this is an interesting application of trash using parts and equipment [flowalistic] had sitting around — therefore, a hack — it must be noted this should never be replicated by anyone. That big bag of scrap plastic could contain ABS, and you should never put ABS in a laser cutter unless you want your workspace to smell awful. And/or be sure to crack a window.

K40 Laser Cutter, Meet Raspberry Pi

The inexpensive Chinese K40 laser cutter has become the staple of many a small workshop within our community, providing a not-very-large and not-very-powerful cutter for a not-very-high price. As shipped it’s a machine that’s not without its flaws, and there is a whole community of people who have contributed fixes and upgrades to make these cutters into something a lot more useful.

[Alex Eames] bought a K40, and since he’s the person behind the Raspi.tv Raspberry Pi business, when he switched from the supplied Corel-based software to the popular open-source K40 Whisperer his obvious choice was to run it on a Raspberry Pi. Since K40 Whisperer is written in Python he reasoned that the Pi’s ARM platform would not prevent its use, so he set to work and documented the process and his workflow.

It’s a straightforward enough process, and his K40 now has a Pi into which he can SFTP his files rather than the inevitable old laptop that accompanies most K40s. With so many K40 improvements created by its community, we find it surprising that some enterprising Chinese manufacturer hasn’t seen the opportunity to make a quick buck or two extra and incorporate some of them into their products at the factory, including one of the many single board computers that could perform this task.

We’ve covered a lot of K40 stories over the years, if you are new to this machine you might like to take a look at this story of bringing one to life.

Laser Rotary Adapter Gets You Rolling

Laser cutters are becoming more garage-accessible with overseas imports, but plenty of us still need to drop in on the college campus or makerspace to get our cuts. Having a laser onsite is a nice touch, but having a rotary axis is almost unheard of. These nifty add-ons enable your laser to cut and engrave radially symmetric parts. Their pricetags usually fall in the hundred-to-thousand dollar price range, so while that might stop us there’s nothing holding us back from building our own!

That’s exactly what both [Cesar] and [Russ] did with two homebrew designs built from scraps, and the results look comparable to the professional default. The design itself is simple, yet dead clever. The carriage straps directly onto the x-axis such that its motion is rigidly connected to it. The wheels on the bottom play a dual role. First, they let the carriage slide smoothly with the y-axis motion. They also support the object-to-be-engraved and convert the wheel rotation from the y-axis movement into rotation of the object. There’s one drawback here in that the diameter of the object-to-be-engraved affects the angle of rotation, but we’ve never been ashamed to do a little work with θ = s/r.

[Cesar] gets the credit for putting this hack out for the world to see, but [Russ] also get’s a big thanks for putting out a downloadable file of his carriage. It’s a testament to how sharing a thought can inspire us to iterate on better designs that they world can enjoy.

Rolling fourth-axes aren’t anything new on these pages, but they’re certainly rare! If your hungry for more rolling axis goodness, have a look at [Perry’s] router modifications.

Continue reading “Laser Rotary Adapter Gets You Rolling”