The future of 3D printing, it seems, is in multimaterial filament printers. The Prusa I3 multimaterial upgrade exists, and this weekend at MRRF E3D announced their amazing multihead printer. Multimaterial printing will get you mechanical parts with the properties you want, like wheels with grippy treads and strong hubs. It will give you easily removable support material. The most popular use, though, is bound to be multicolor prints. It’s easier to do, as you’re really only working with either ABS or PLA, and if you’re really clever, you can squeeze everything through a single nozzle.
While there are some very ingenious ways of printing in multiple colors of filament, one technique that hasn’t gotten a lot of attention is automated filament splicing. With this, a piece of software analyzes a model, and combines multiple spools of filament into one long strand. A machine that’s getting a lot of attention is the Palette+ from Mosaic Manufacturing. There were a few of these on hand at this weekend’s Midwest RepRap Festival, and here anyone could get a hands-on with this machine without spending $800.

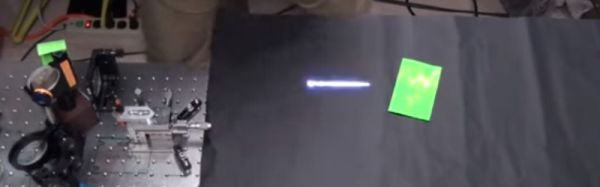
The inside of the Palette+

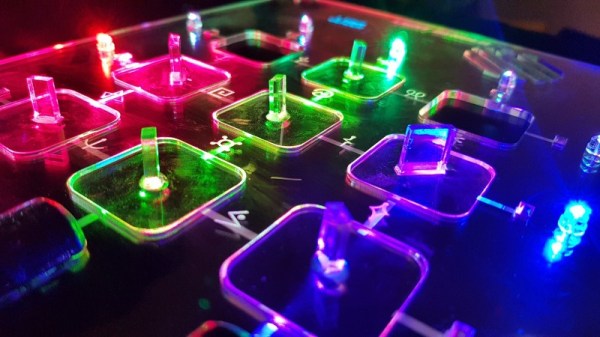
The splicing mechanism of the Palette+
When it comes to multicolor and multimaterial prints, the first question that comes to mind is the toolchain and the process of turning an STL file into a physical object. The Palette+ uses a piece of software called Chroma that takes STL files as its input. Each color in the object to be printed is actually a separate STL file, combined on Chroma’s build platform. The Charmander print shown above is actually four different prints; the white eyes are one STL, the orange body is a second, the yellow belly is a third, and the red flame on the tail is a fourth STL. In the Chroma app, these STLs are assembled, colors are assigned, and a file generated that’s stored on an SD card and shoved in the Palette robot. The Palette then assembles a custom length of filament with the right colors in the right places. Combine this with some G-code from your favorite slicer, and you have everything you need for multicolor printing with the printer you already own.
The results are fantastic, and the best I’ve ever seen from a multicolor filament-based printer, whether it’s a dual-extrusion head, Prusa’s Multimaterial upgrade, or a bizarre machine with multiple toolheads.
Of course, there are downsides. Because the Palette is designed for single-extruder printers, you’re not going to be able to combine ABS and PLA filament. Combining fancy engineering plastics and colorful PLA is right out. This is a machine that can only use one type of plastic at a time.
That said, we’re getting very, very close to an era of true multicolor printing. Of course, this machine costs as much as a good 3D printer, but if you just want to print some colorful blobs of plastic, I haven’t seen anything better.