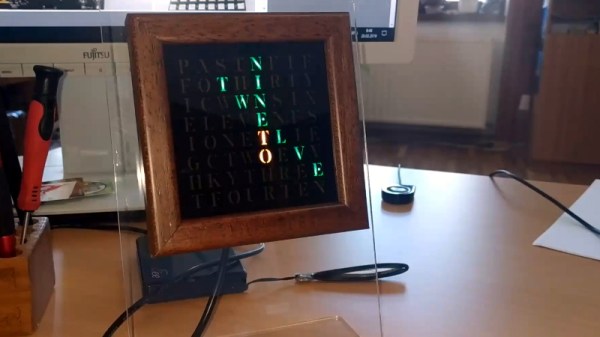
Like most pieces of technology, word clocks seem to be getting better and better every year. As hackers get their hands on better microcontrollers and more capable LED controllers, these builds not only look more polished, but get improved features and functions. Luckily for us, the rise of these advanced modular components means they’re getting easier to build too. For an example of these parallel traits, look no further than VERBIS by [Andrei Erdei].
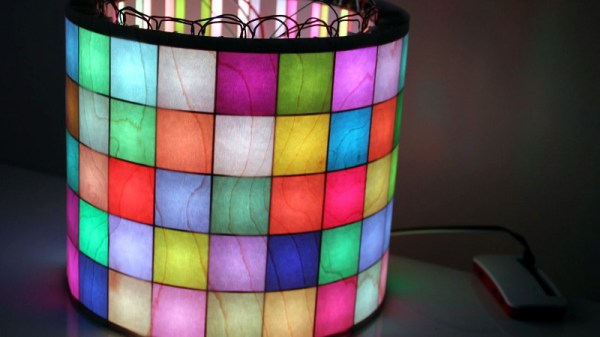
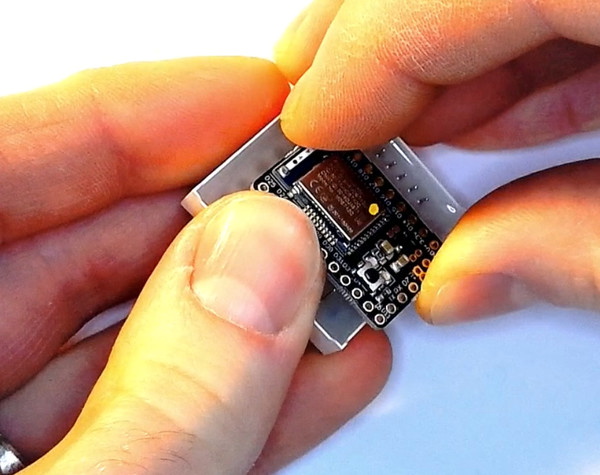
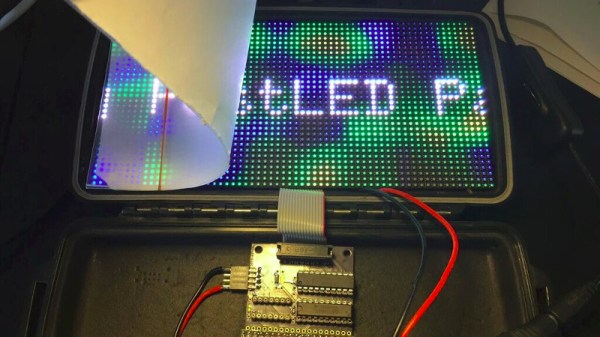
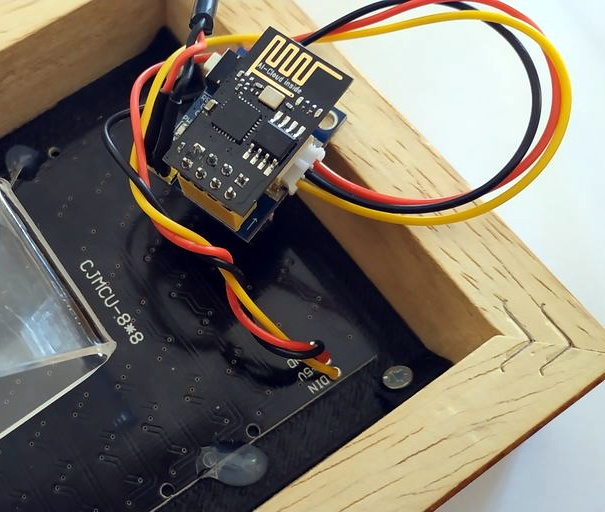 This colorful word clock is powered by an ESP8266, a 8×8 RGB LED matrix, and a WS2812 RGB LED controller module. [Andrei] used the diminutive ESP-01 which can plug right into the LED controller, and just needs a 3.3 VDC regulator board to complete the very compact electronics package.
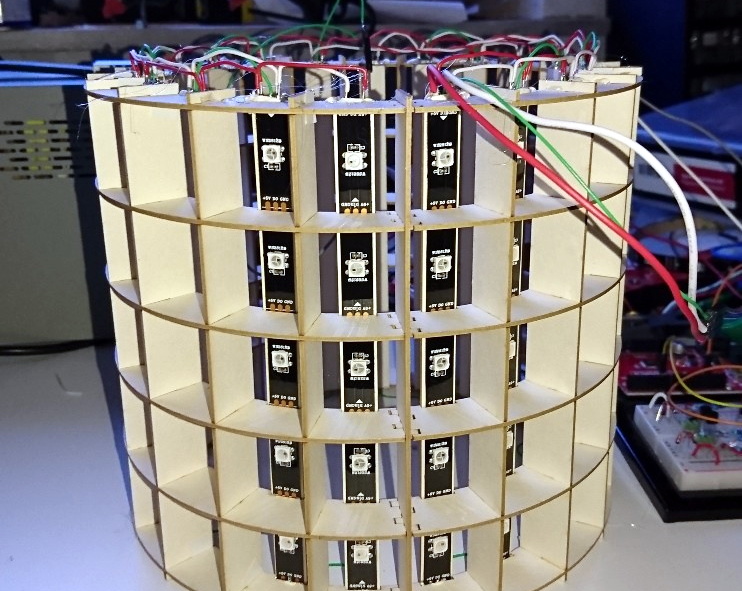
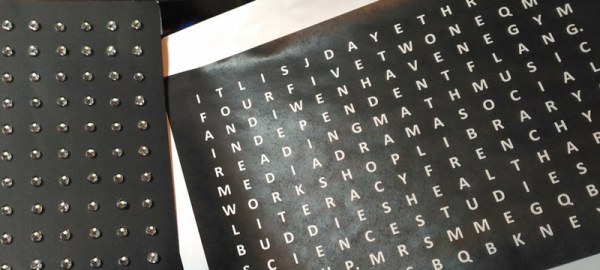
To keep the LEDs from interfering with each other, [Andrei] has designed a 3D printed grid which fits over the matrix board. On top of that goes a piece of paper that has the letters printed on it. He mentions that he was able to get good results printing this “stencil” out on an inkjet printer by simply running the same piece of paper through a few times; picking up more black ink each time it went through. Judging by the sharp characters seen in the video after the break, the trick worked well.
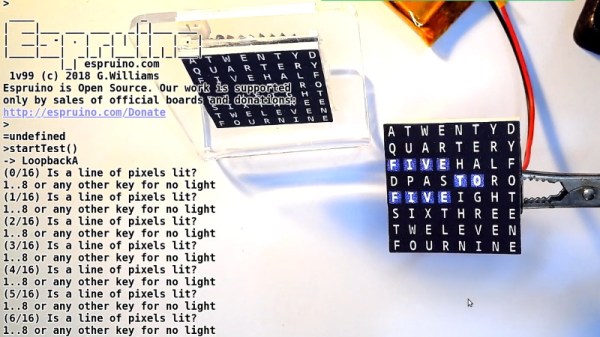
With his hardware put together, [Andrei] turned his attention to the software. We really think the project shines here, as his clock not only supports NTP for automatically setting the time over the Internet, but offers a full web interface to control various functions such as the LED colors. You can even change the NTP server and network configuration right from the UI, which is a nice touch compared to just hard coding the values into the code. Even if you don’t use the same hardware, the open source control software is definitely something you should look into if you’re building your own word clock.
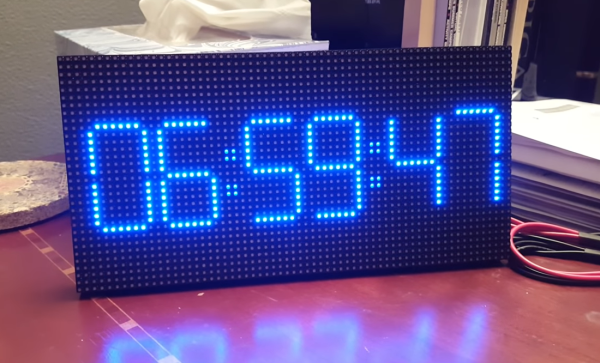
We recently covered another easy to build word clock that used an LED matrix and not a whole lot else, but it was quite tiny. This build is a much more reasonable size for a desk, but you’ll probably need to break out the laser cutter if you want to get much bigger.
Continue reading “RGB Word Clock Doesn’t Skimp On The Features”