In case you’re not closely following Egyptian Machinist YouTube, you may have missed [Hydraulic House]. It’s gotten even harder to find him since he started posting under[بيت الهيدروليك]. Don’t let the Arabic put you off, he delivers it all in pantomime.
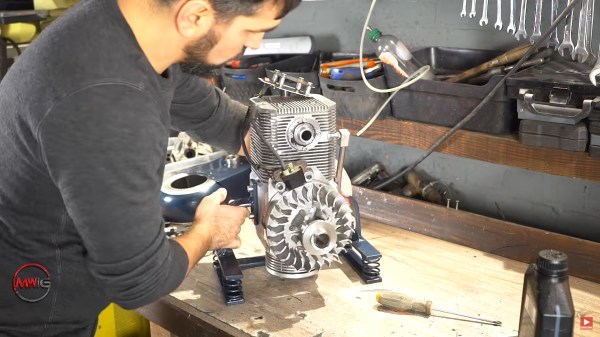
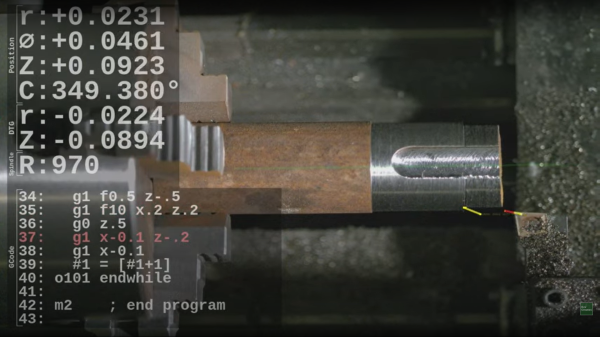
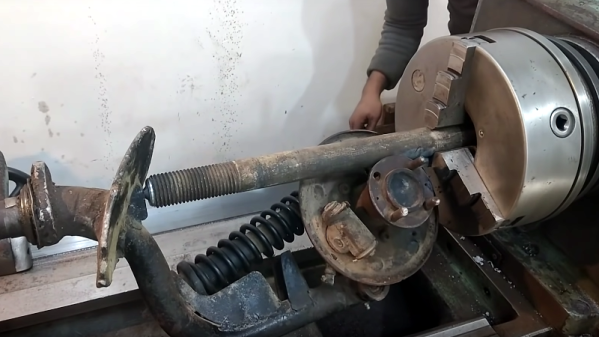
A recent drop is “How To Turn Irregular Shapes On The Lathe“. We’re not sure, but think the part he’s working on is the front suspension of a 3 wheeled auto-rickshaw. The first metal at the center is over 30cm from the bottom. No problem, he just makes a long driven dead center from a bit of scrap material and goes on with his business.
By no means is this the only cool video. We liked his video on a remote pumped hydraulic jack and one on making your own hydraulic valves.
If you’re into machinist-y things, don’t miss him. Every video is full of pretty nifty tricks, sometimes made with a zany disregard of some basics like “maybe better to have done the welding before mounting in the lathe”, turning with a cutoff tool (I think), and occasionally letting go of the chuck key. It’s definitely ‘oh, get on with it’ machine shop work.
We love videos from professionals in the developing world making with relatively simple tools. Often hobby hackers are in the same position, milling with a lathe and some patience instead of a giant Okuma. Not long ago we posted this article about making helical parts , with the same ‘imagination and skill beats more machinery any day’ vibe.