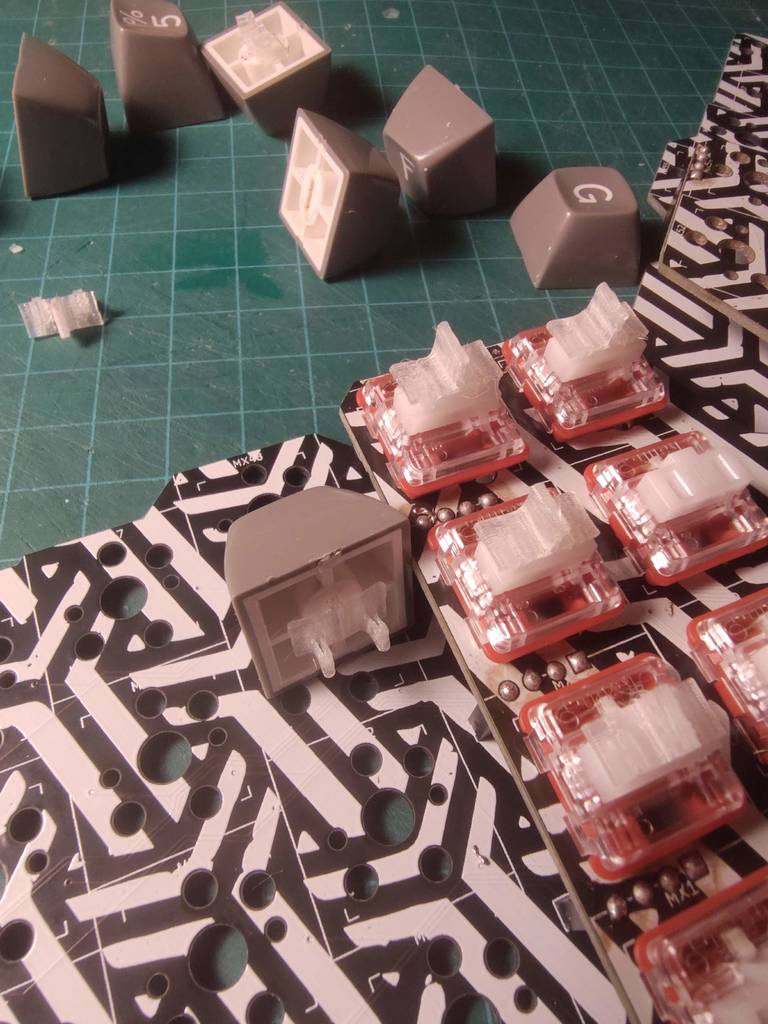
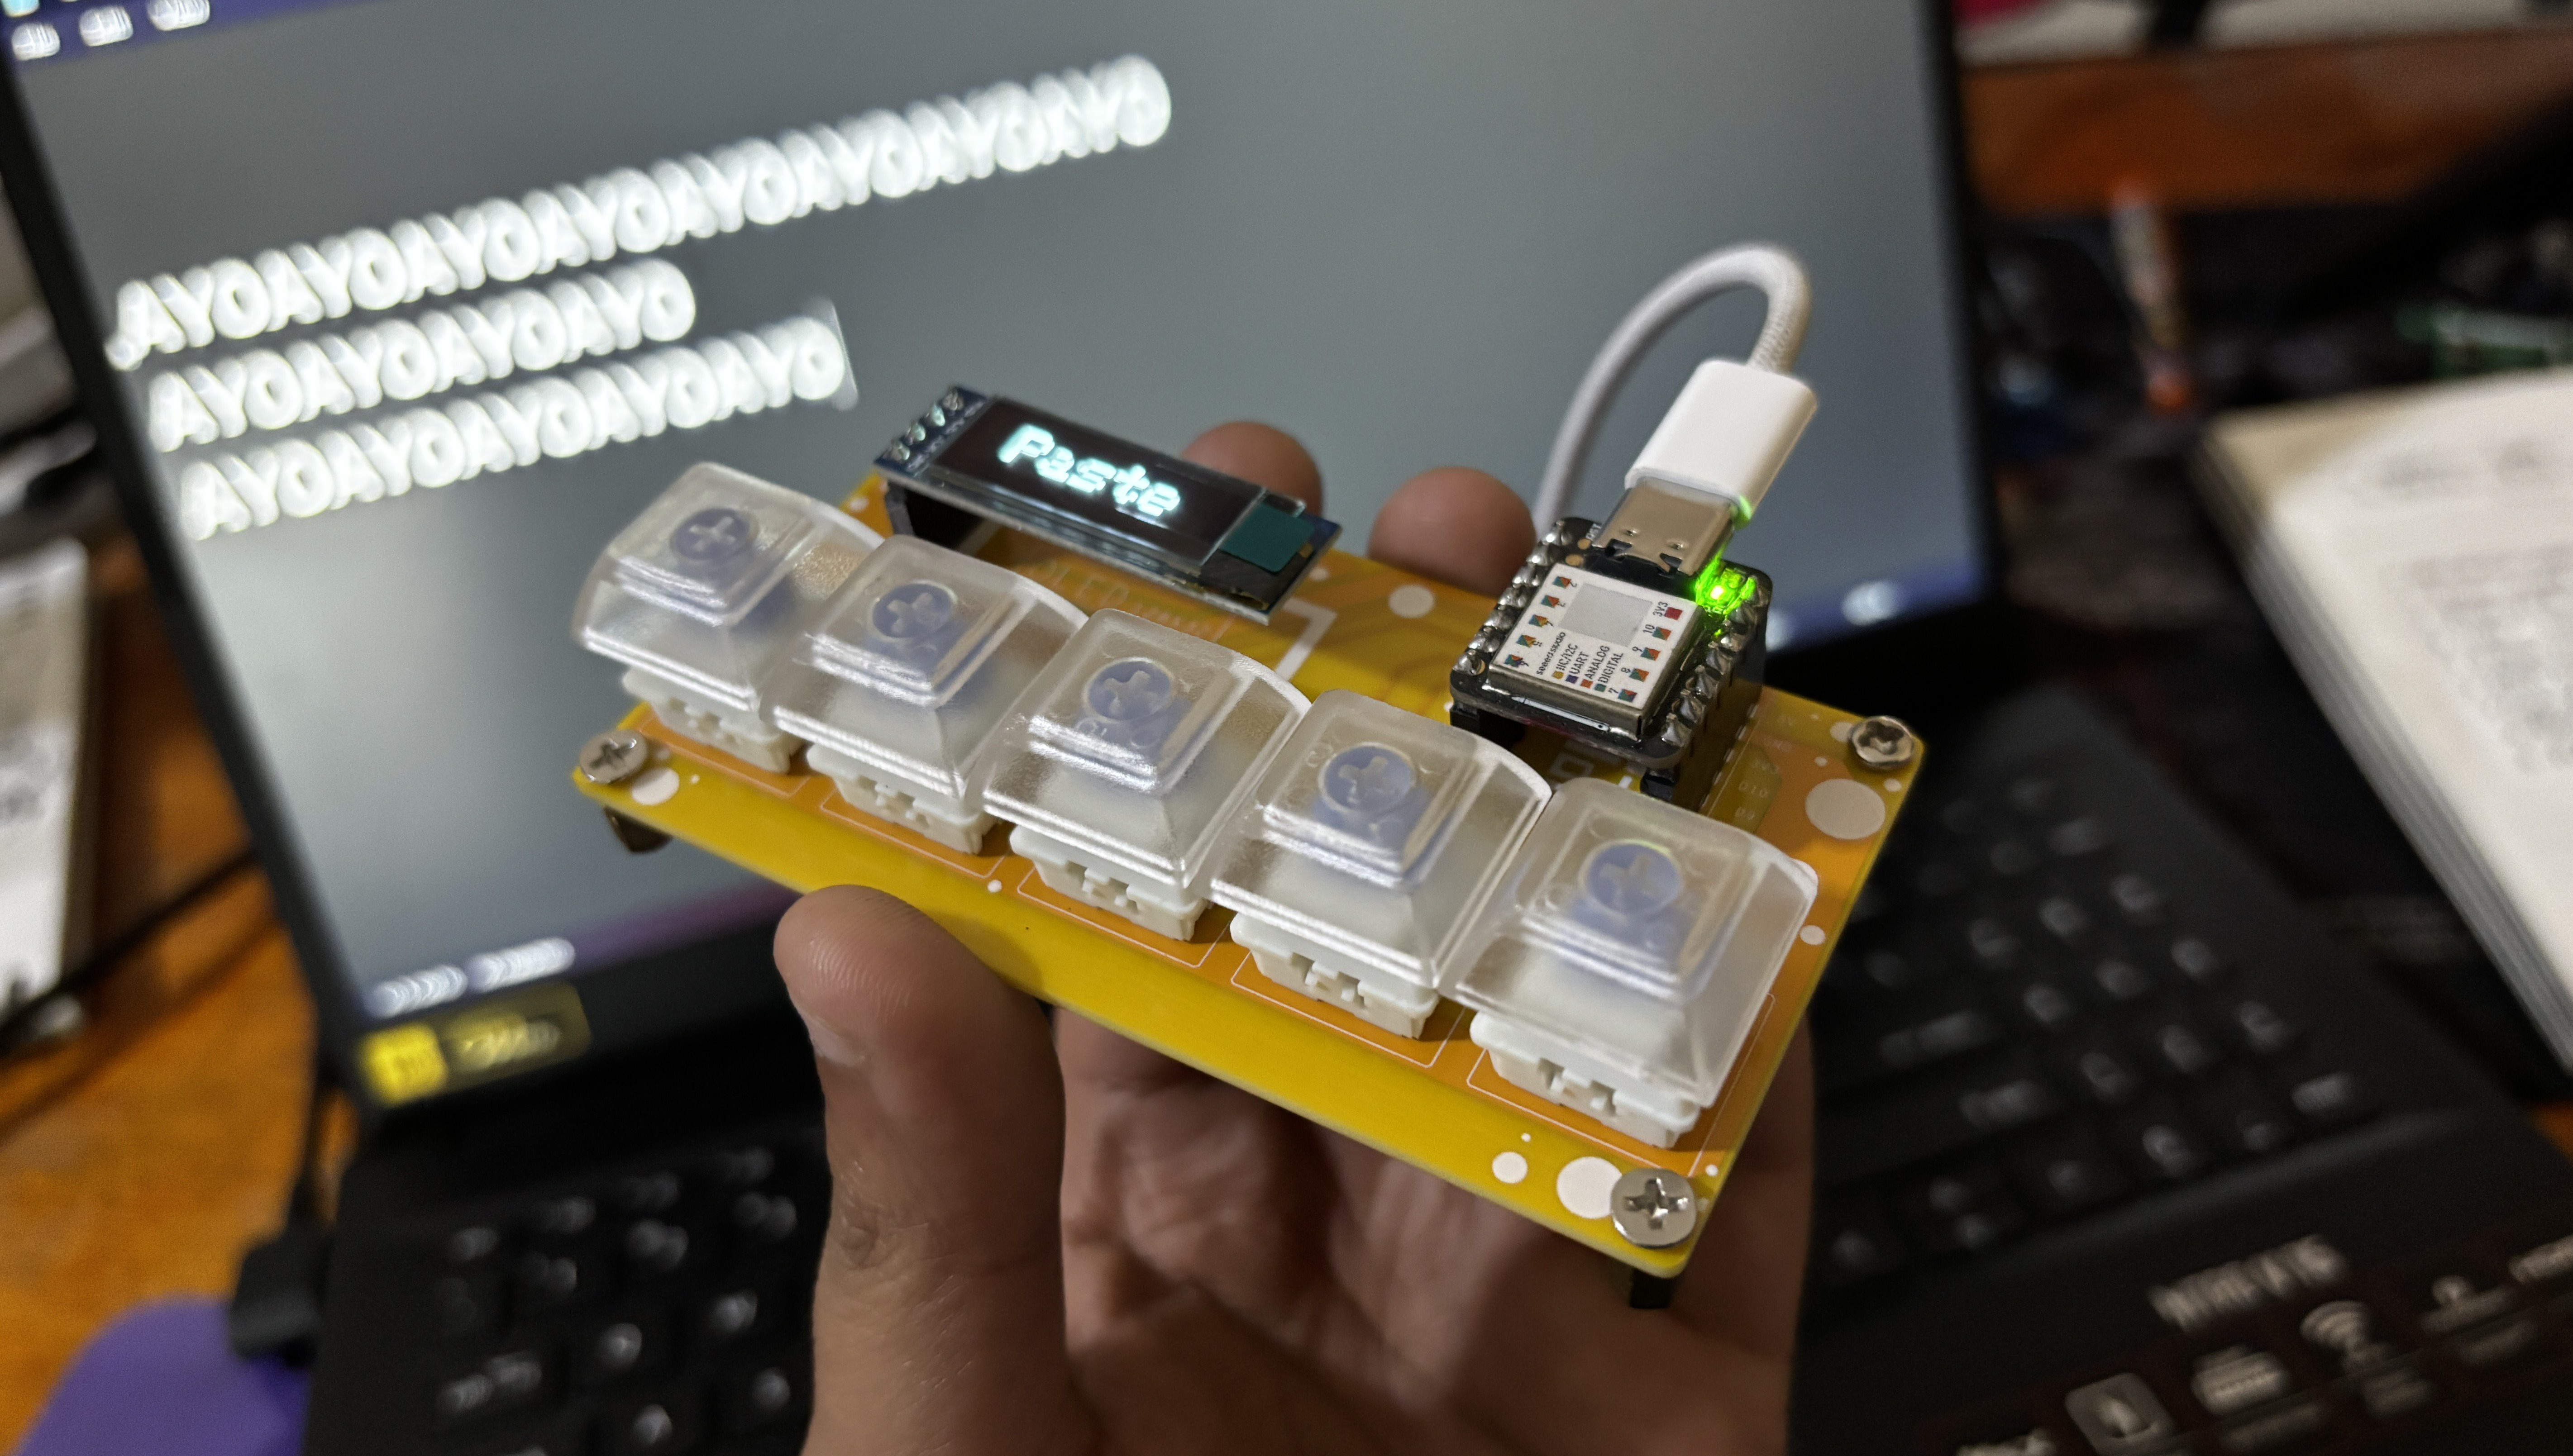
I recently picked up one of those cheap macropads (and wrote about it, of course). It is surprisingly handy and quite inexpensive. But I felt bad about buying it. Something like that should be easy to build yourself. People build keyboards all the time now, and with a small number of keys, you don’t even have to scan a matrix. Just use an I/O pin per switch.
The macropad had some wacky software on it that, luckily, people have replaced with open-source alternatives. But if I were going to roll my own, it would be smart to use something like QMK, just like a big keyboard. But that made me wonder, how much trouble it would be to set up QMK for a simple project. Spoiler: It was pretty easy.
The Hardware
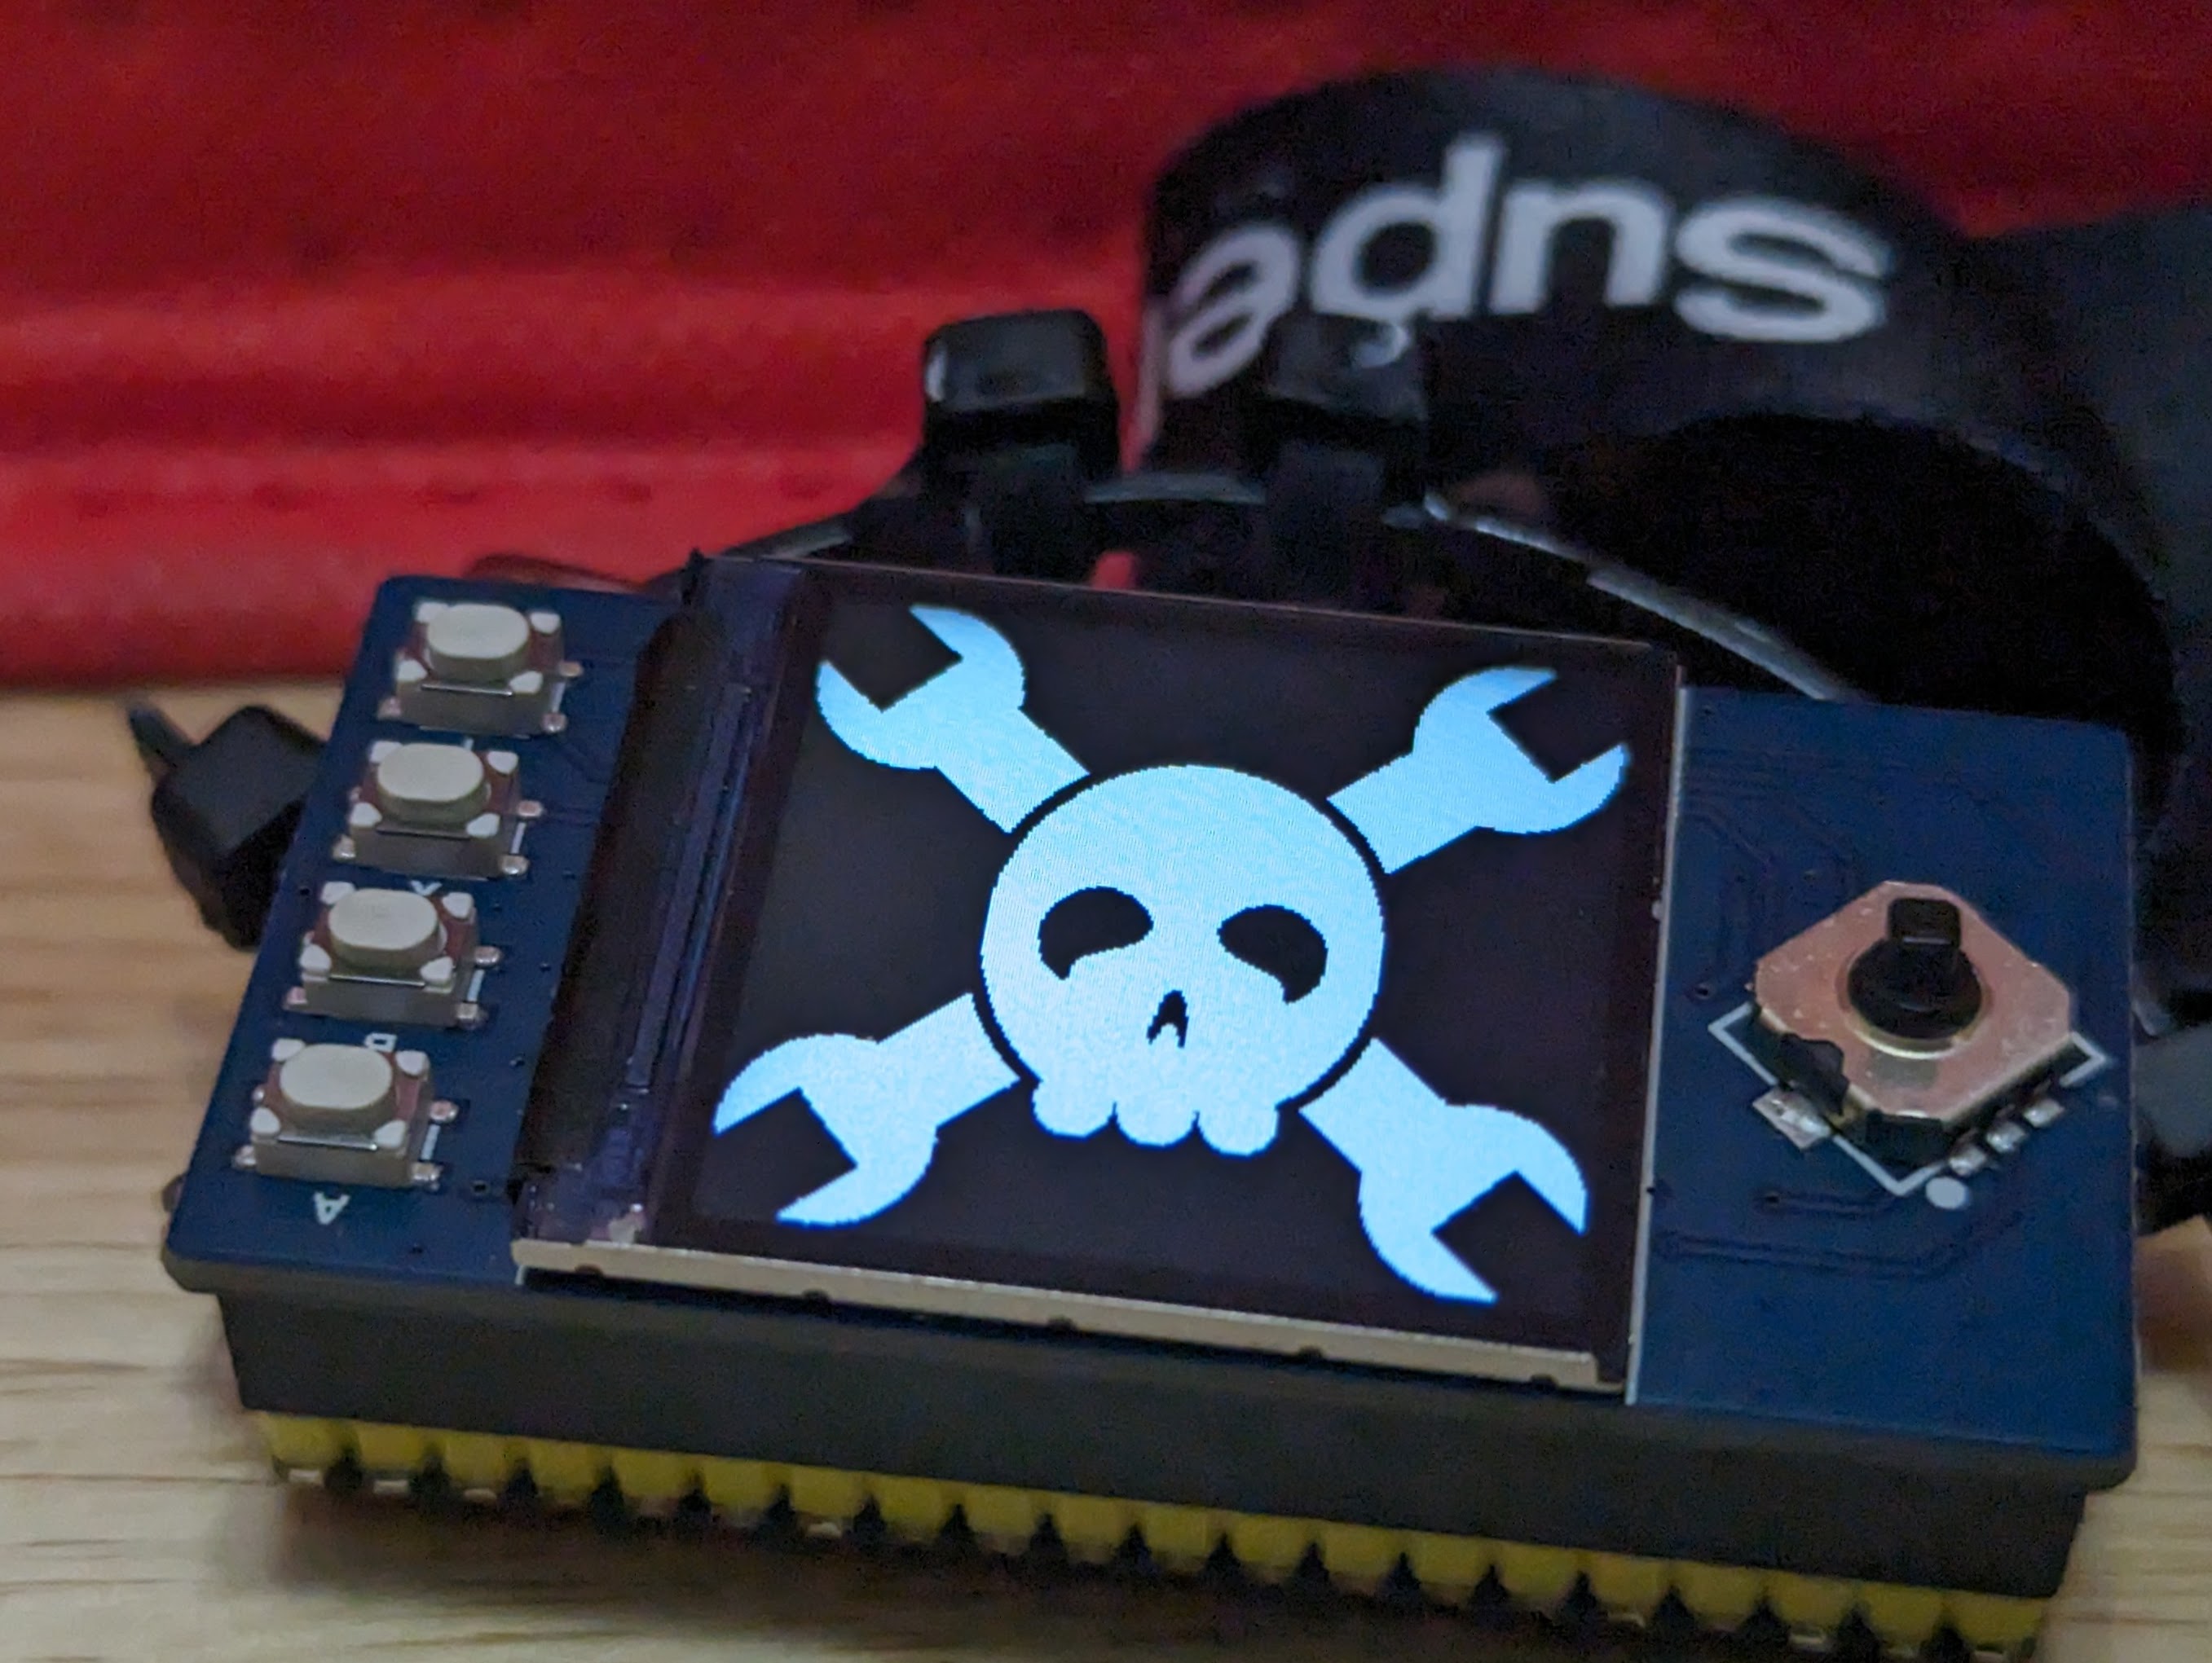
Since I just wanted to experiment, I was tempted to jam some switches in a breadboard along with a Raspberry Pi Pico. But then I remembered the “simple badge” project I had up on a nearby shelf. It is simplicity itself: an RP2040-Plus (you could just use a regular Pi Pico) and a small add-on board with a switch “joystick,” four buttons, and a small display. You don’t really need the Plus for this project since, unlike the badge, it doesn’t need a battery. The USB cable will power the device and carry keyboard (or even mouse) commands back to the computer.
Practical? No. But it would be easy enough to wire up any kind of switches you like. I didn’t use the display, so there would be no reason to wire one up if you were trying to make a useful copy of this project.