A word clock – a clock that tells time with words, not dials or numbers – is one of those builds that’s on every Arduino neophyte’s ‘To Build’ list. It’s a bit more complex than blinking a LED, but an easily attainable goal that’s really only listening to a real time clock and turning a few LEDs on and off in the right pattern.
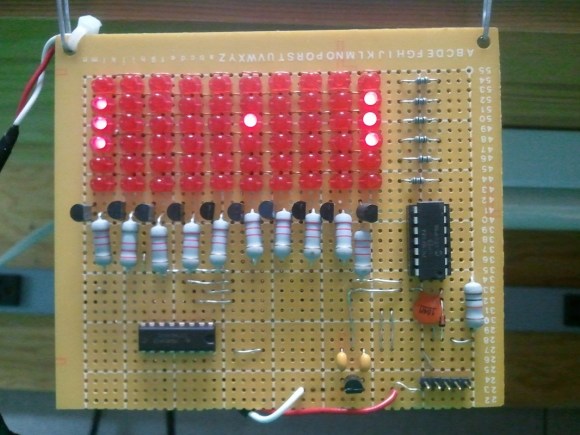
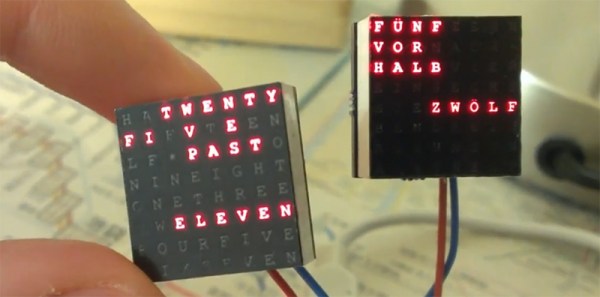
One of the biggest hurdles facing anyone building a word clock is the construction of the LED matrix; each LED or word needs to be in its own light-proof box. There is another option, and it’s something we’ve never seen before: you can just buy 8×8 LED matrices, so why not make a word clock out of that? That’s what [Daniel] did, and the finished project is just crying out to be made into a word watch.
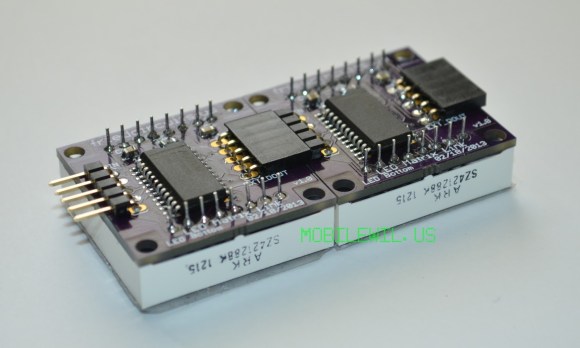
[Daniel]’s word clock only uses eight discrete components: an ATMega328p, a DS1307 real time clock, some passives, and an 8×8 LED matrix. A transparency sheet with printed letters fits over the LED matrix forming the words, and the entire device isn’t much thicker than the LED matrix itself.
All the files to replicate this build can be found on [Daniel]’s webpage, with links to the Arduino code, the EAGLE board files, and link to buy the board on OSH Park.