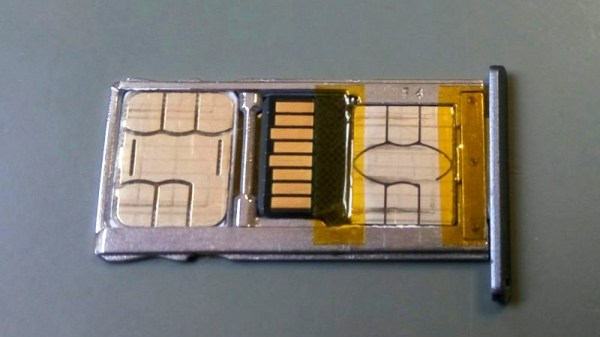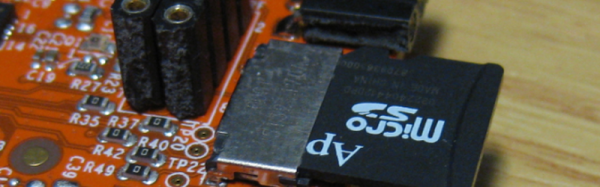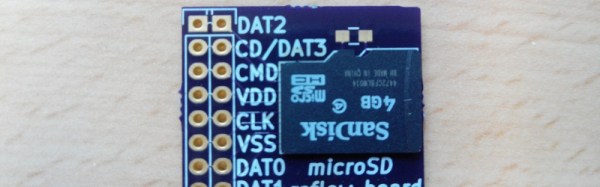
The Asus ROG Ally is a handheld that, to our pleasant surprise, has attracted a decently sized modding community. Recently, we’ve stumbled upon a Reddit post investigating a somewhat common failure mode of this handheld — the microSD card slot going out of order, where an inserted card fails to be recognized, pretty irritating to encounter. Now, it turns out, this is down to a certain model of PTC fuses being failure-prone.
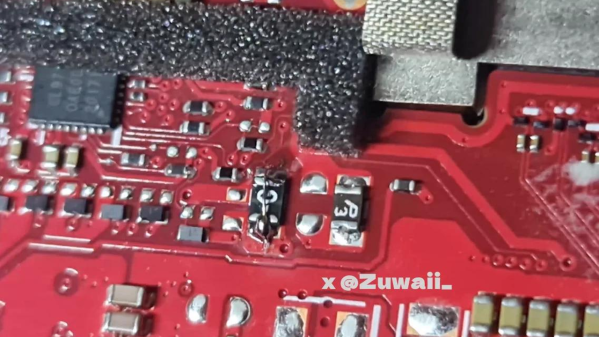
It makes sense to fuse the SD card slot. The cards are dense pieces of technology that are subject to some wear and tear in daily use. As such, it’s not unheard of that a microSD card can short-circuit internally — heating up to the point of melting plastic and giving people severe burns. Given that such a card is typically connected to a beefy 3.3 V rail, any mass-manufactured device designer could want to put a fuse between the 3.3 V rail and the card. However, on some ROG Ally batches, a certain make of the fuse is used, that appears to be likely to develop faults: the fuse’s resistance increasing dramatically during the card’s normal operation, with the SD card being supplied subpar power as a result.
There’s a fair bit of investigating happening in the comment section, with people posting oscilloscope captures, using breakouts to tap the SD card, and figuring out the fuse part numbers for the affected models. As for Reddit’s solution, it’s short-circuiting the fuse with a piece of thin wire — we would probably source a suitable fuse and solder it on top of the faulty one.
This isn’t the first ROG Ally modification we’ve covered so far, and given the activity we’re seeing, it’s unlikely to be our last.