Unlike Texas Instruments, whose graphing calculators have famously not made technological improvements in decades despite keeping the same price tag, HP has made a few more modern graphing calculators in the last few years. One of which is the HP Prime which boasts hardware from the mid-2010s including an ARM processor, a color screen, and rechargeable lithium battery. But despite this updated hardware it’s still using micro-USB for data and charging. [David] wanted to fix that by giving this calculator a USB-C port.
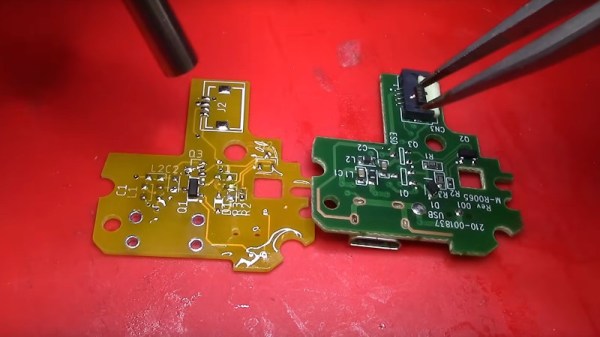
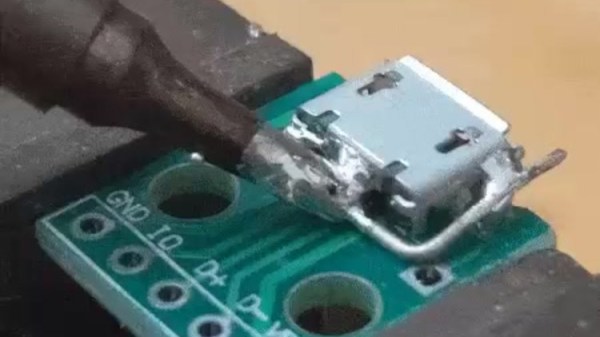
The first steps were disassembling the calculator case and removing the micro-USB port. The PCB is glued to the LCD screen which isn’t ideal, but he was able to work on it with everything attached. The parts are small enough to need a microscope, and with a hot air station he was quickly able to remove the USB port. His replacements from a generic online retailer were able to be soldered without much effort, but there was one major complication. The new USB-C ports didn’t account for the “On The Go” mode supported by micro-USB and were shorting a pin to ground which put the calculator into “host” mode instead of acting as a device. But using the microscope and cutting a trace on the PCB disabled this mode permanently and got the calculator working properly.
As far as modernizing calculators go, it seems like the HP Prime checks a lot of boxes, with the major downside that the LCD screen and more powerful processor means that the battery needs to be charged more often than the old TI calculators. Rather than carry a dongle around everywhere, [David] found this to be a much more efficient change to his trusty HP. If you’re still stuck using TI calculators, though, there are a few ways to modernize those as well like this build which adds a lithium battery or this one which ports a few Game Boy games to the platform.