If you like to read with gentle music playing, do yourself a favor and start the video while you’re reading about [Hugo Swift]’s MIDISWAY. The song is Promises, also by [SWIFT], which has piano phrases modulated during the actual playing, not in post-production.
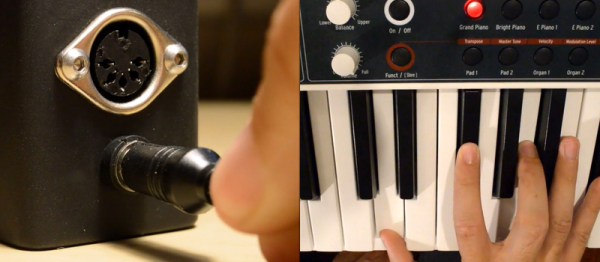
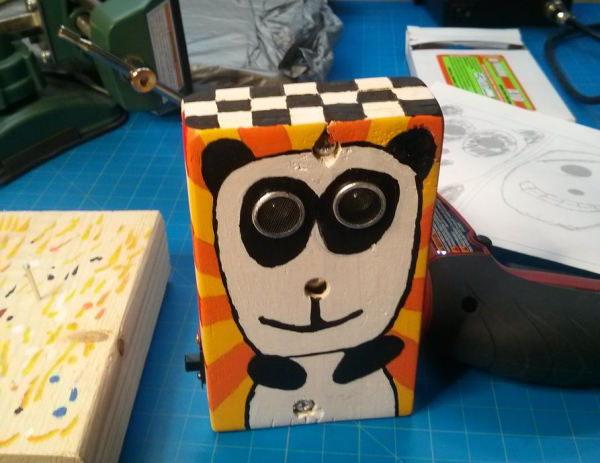
The MIDISWAY is a stage-worthy looking box to sit atop your keys and pulse a happy little LED. The pulsing corresponds to the amount of pitch bending being sent to your instrument over a MIDI DIN connector. This modulation is generated by an Arduino and meant to recreate the effect of analog recording devices like an off-center vinyl or a tape that wasn’t tracking perfectly.
While recording fidelity keeps inching closer to perfect recreation, it takes an engineer like [Hugo Swift] to decide that a step backward is worth a few days of hacking. Now that you know what the MIDISWAY is supposed to do, listen closely at 2:24 in the video when the piano starts. The effect is subtle but hard to miss when you know what to listen for.
MIDI projects abound at Hackaday like this MIDI → USB converter for getting MIDI out of your keyboard once you’ve modulated it with a MIDISWAY. Maybe you are more interested in a MIDI fighter for controlling your DAW. MIDI is a robust and time-tested protocol which started in the early 1980s and will be around for many more years.
Continue reading “MIDISWAY Promises To Step Up Your Live Show”

