Google Maps, Now On The NES

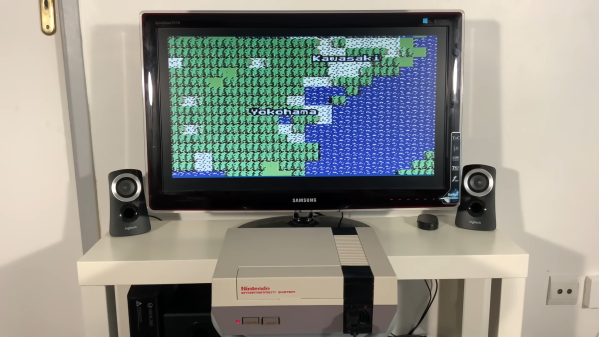
Many years ago, Google created one of its famous April Fools jokes suggesting it would make an 8-bit version of Google Maps for the original Nintendo Entertainment System. [ciciplusplus] decided it needed to become a reality, however, and set to work. (Video, embedded below.)

It’s a suitably blocky, low-resolution implementation, but it nevertheless is a mapping app running on an NES. Zooming in and out is via the A and B buttons, while the D-pad is used to scroll. Country and city labels are rendered on the map in the relevant areas in a charming old-school font.

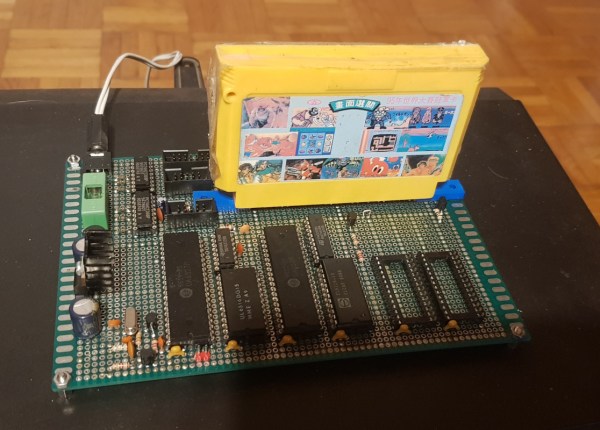
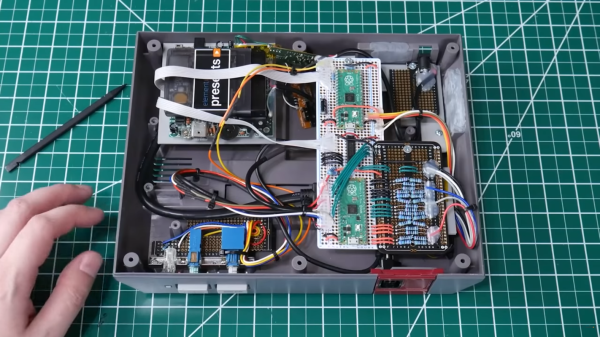
The project uses a Raspberry Pi 3A+ and a Cypress Semiconductor FX2LP microcontroller, which fits inside a NES cartridge. It works the same way as the earlier NES Doom project which uses the Raspberry Pi to feed data to the NES’s Picture Processing Unit. It’s achieved with a simple bit of code burned on a ROM inside the cartridge, which boots up the NES and primes it to receive data from the Raspberry Pi via the FX2LP.

In current form, it’s not capable of doing much more than allowing the user to scroll around and zoom in on parts of the map. We’d love to see a fully-fledged version that could deliver driving directions or similar, however. If you end up achieving such a feat, be sure to let us know. Continue reading “Google Maps, Now On The NES”

Thrashed, Damaged NES Controller Gets Brought Back To Life

Electronics might as well be a magical black box to some people. Where some would see a broken NES controller destined for the bin, [Taylor] saw the opportunity for a repair. Thus, the damaged hardware was brought back into useful service.

The controller was bought as part of a job lot, and was heavily damaged when it entered [Taylor]’s ownership. Nintendo built its hardware tough in those days, but the controller had nevertheless been smashed apart, with the case cracked and split and the PCB itself snapped in two.

For someone with basic electronics skills, though, repair was simple. The broken PCB was glued back together with epoxy. The broken traces had solder mask scraped back so that jumper wires could bridge the damaged area and return the circuit to functionality.

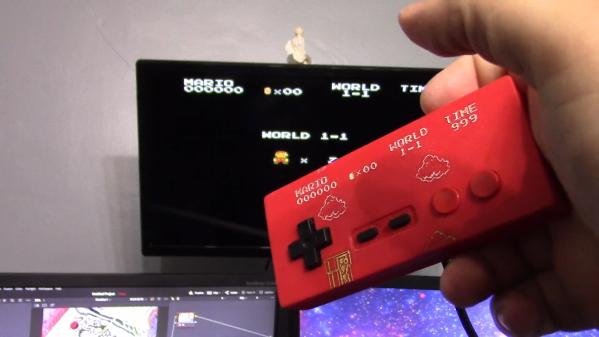
From there, it was a simple matter of 3D printing a new case, and the controller was back in service. The case in question was designed by [Alexander Myrman], and has a neat little inset Mario design that’s made visible by paint-filling the inlay.

While it was an easy fix, to the uninitiated in the electronic arts, it might as well be magic. It pays to remember that there are always new people joining the electronics hobby, and projects like these are a great way to learn. It’s also important to note that bringing back old retro hardware is often of great value, as in many cases, they’re not making any more! We see some great restorations around these parts, too. Video after the break.

Continue reading “Thrashed, Damaged NES Controller Gets Brought Back To Life”

Making A Left-Handed NES Controller

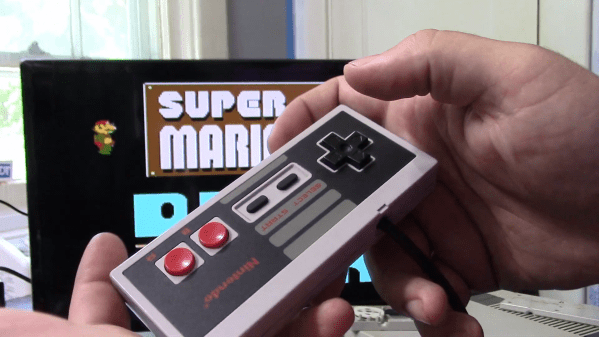
The controller for the original Nintendo Entertainment System is a classic, but perhaps not best known for its adherence to good ergonomic principles. Regardless, it can grow awkward to use for long stretches of time. To help alleviate this, [Taylor] whipped up an easy way to convert a NES controller to left-handed operation.

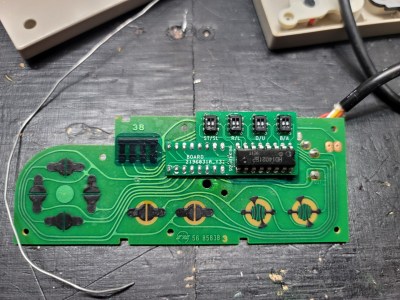
The mod board in question, installed on a NES controller PCB.

The crux of the hack is simple, with the controller’s buttons swapped left-to-right to enable the controller to be flipped upside down. In this orientation, the D-pad is used by the right hand and the action buttons by the left–the opposite of the usual way. Thus, left and right on the D-pad must be switched, as well as A and B, so all the controls are otherwise in a logical layout.

This is achieved through the use of a little mod board of [Taylor]’s own design. The original HD14021BP chip is desoldered from the controller’s PCB, and installed in the mod board instead. The modboard can then be soldered back into the controller, rerouting the traces to swap the buttons. There’s also a version that [Taylor] designed that can flip between right-handed and left-handed operation thanks to some onboard DIP switches.

It’s a tidy hack that could save the thumbs of some dedicated Tetris players. Alternatively, you can always make your own NES controller from scratch. Video after the break.

Continue reading “Making A Left-Handed NES Controller”

Mega Man 4 Free of Charge ROM Hack Pexels Anete Lusina

Mega Man Hack Drops Charge Shot, Adds Classic Style

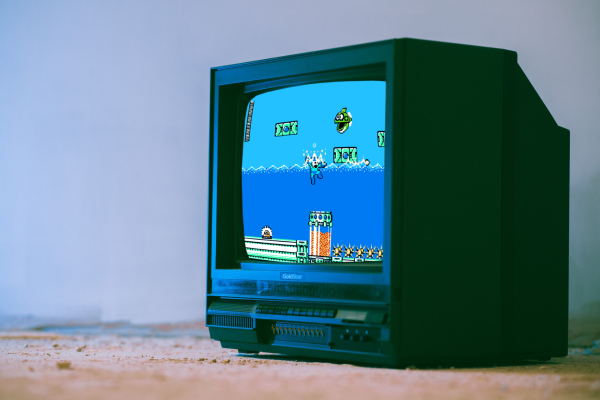
When it comes to the six original Mega Man games there is a clear dividing line between the first three and the last. Mega Man 4 introduced the charging shot mechanic that allowed players to hold down the fire button in order to power-up a single blast from Mega Man’s arm cannon. The aptly named, “Mega Man 4: Free of Charge” ROM hack by [Peter] seeks to bring cohesion with the first trilogy of Mega Man games by removing the charge shot mechanic completely. To compensate for the change, enemy health bars were also adjusted so that enemies aren’t as bullet-spongy.

The Mega Man 4: Free of Charge download comes as an IPS patch file. There are free utilities out there like Floating IPS that can apply the patch file to a clean dump of a NES cartridge. This ROM hack is playable on original Nintendo Entertainment System hardware via a flashcart device, or it can be played by any common NES emulator like FCEUX or Nestopia.

One of the most annoying parts of Mega Man 4 (minus the difficulty) was the constant whir of the charge shot drowning out the brilliant soundtrack. With a patch like [Peter]’s this is no longer a going concern, and players are able to give their thumbs a bit of a break by not needing to continually hold down fire throughout a run. All welcomed changes aside, it still won’t change the fact that the Japanese TV commercial for the game is cooler than the print ads in the US.

Continue reading “Mega Man Hack Drops Charge Shot, Adds Classic Style”

Hackaday Links Column Banner

Hackaday Links: July 18, 2021

Tell the world that something is in short supply, and you can bet that people will start reacting to that news in the ways that make the most sense to them — remember the toilet paper shortage? It’s the same with the ongoing semiconductor pinch, except that since the item in short supply is (arguably) more valuable than toilet paper, the behavior and the risks people are willing to take around it are even more extreme. Sure, we’ve seen chip hoarding, and a marked rise in counterfeit chips. But we’d imagine that this is the first time we’ve seen chip smuggling quite like this. The smuggler was caught at the Hong Kong-Macao border with 256 Core i7 and i9 processors, valued at about $123,000, strapped to his legs and chest. It reminds us more of “Midnight Express”-style heroin smuggling, although we have to say we love the fact that this guy chose a power of 2 when strapping these babies on.

Speaking of big money, let’s say you’ve pulled off a few chip heists without getting caught, and have retired from the smuggling business. What is one to do with the ill-gotten gains? Apparently, there’s a big boom in artifacts from the early days of console gaming, so you might want to start spreading some money around there. But you’d better prepare to smuggle a lot of chips: last week, an unopened Legend of Zelda cartridge for the NES sold for $870,000 at auction. Not to be outdone, two days later someone actually paid $1.56 million for a Super Mario 64 cartridge, this time apparently still in the tamperproof container that displayed it on a shelf somewhere in 1996. Nostalgia can be an expensive drug.

And it’s not just video games that are commanding high prices these days. If you’ve got a spare quarter million or so, why not bid on this real Apollo Guidance Computer and DSKY? The AGC is a non-flown machine that was installed in LTA-8, the “lunar test article” version of the Landing Module (LM) that was used for vacuum testing. If the photos in the auction listing seem familiar, it’s with good reason: this is the same AGC that was restored to operating condition by Carl Claunch, Mike Stewart, Ken Shiriff, and Marc Verdiell. Sotheby’s estimates the value at $200,000 to $300,000; in a world of billionaire megalomaniacs with dreams of space empires, we wouldn’t be surprised if a working AGC went for much, much more than that.

Meanwhile, current day space exploration is going swimmingly. Just this week NASA got the Hubble Space Telescope back online, which is great news for astronomers. And on Mars, the Ingenuity helicopter just keeps on delivering during its “operations demonstration” mission. Originally just supposed to be a technology demonstration, Ingenuity has proven to be a useful companion to the Perseverance rover, scouting out locations of interest to explore or areas of hazard to avoid. On the helicopter’s recent ninth flight, it scouted a dune field for the team, providing photographs that showed the area would be too dangerous for the rover to cross. The rover’s on-board navigation system isn’t great at seeing sand dunes, so Ingenuity’s images are a real boon to mission planners, not to mention geologists and astrobiologists, who are seeing promising areas of the ancient lakebed to explore.

And finally, most of us know all too well how audio feedback works, and all the occasions to avoid it. But what about video feedback? What happens when you point a camera that a screen displaying the image from the camera? Fractals are what happens, or at least something that looks a lot like fractals. Code Parade has been playing with what he calls “analog fractals”, which are generated just by video feedback and not by computational means. While he’d prefer to do this old school with analog video equipment, it easy enough to replicate on a computer; he even has a web page that lets you arrange a series of virtual monitors on your screen. Point a webcam at the screen, and you’re off on a fractal journey that constantly changes and shifts. Give it a try.

What NES Development Looks Like On The Apple II

These days, if you want to code a game for the original Nintendo Entertainment System, it’s about as easy as downloading an assembler, firing up Notepad, and running the ROMs you cook up in any one of a variety of emulators. In the 1980s none of those things existed, and the process was a little more complicated – as demonstrated by [Tyler Barnes] in the video embedded below.

[Tyler] has put together a 40-minute guide on what it takes to get to “Hello World” – or more accurately, a simple pink screen – on the NES, using period-correct hardware. He starts the process by formatting some floppy disks and whipping up some basic assembly code on an Apple IIe, which gets run through the Merlin assembler for the 6502. It’s particularly convenient as the Apple II line and the NES both run the same CPU. From there it’s a case of using a standalone EPROM programmer to verify some appropriately-datecoded chips are empty, before programming them in a special add-on card for the Apple II. From there, the EPROMs are loaded into a cart custom modified with chip sockets, where it can be inserted into a NES for testing.

It’s a tedious process, with just the programming side of things taking on the order of ten to twenty minutes with a few fiddly steps along the way. While there are likely some efficiency gains to be had that were used by studios back in the day, it remains clear that development in this era was a much slower process.

Of course, if you prefer your Nintendo homebrew a couple generations hence, consider getting stuck in on the Nintendo 64. Video after the break.

Continue reading “What NES Development Looks Like On The Apple II”

Open-DIP Surgery Cuts Retro Chips Down To Size

At least by today’s standards, some of the early chips were really, really big. They may have been revolutionary and they certainly did shrink the size of electronic devices, but integrating a 40-pin DIP into a modern design can be problematic. The solution: cut off all the extra plastic and just work with the die within.

Continue reading “Open-DIP Surgery Cuts Retro Chips Down To Size”