When you hear the word TV, you probably think of a big LED screen, maybe even the old CRT TVs, but in either case it’s something large and fairly complicated. However, thanks to the persistence of vision, it doesn’t have to be. In this handheld-sized project from [Ancient], the Scanwheel is born, a miniature mechanical TV that uses a spinning disk and some LEDs to produce an image.
The electronics of the Scanwheel are pretty straightforward. The smarts come from a Raspberry Pi Pico, an A4988 motor driver, a couple of LEDs, and a small 21-02485 stepper motor. The Raspberry Pi Pico is used to command the motor speed as well as coordinate the LEDs to turn on at the right time. The case is 3D printed; the base includes space for the various support electronics as well as some small light baffles to ensure the LEDs don’t bleed over outside their intended area. The top of the case is a disk that includes 20 small holes spaced evenly around the perimeter at varying heights, allowing light to only leave the disk when one of these holes is in front of the LEDs.
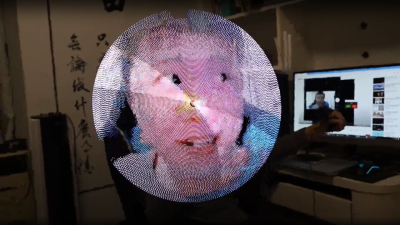
When you put all these pieces together, spin the motor up to roughly 900 RPM, and turn the LEDs on in a precise order, you end up with a really cool result: a miniature TV. And due to the five different LEDs in this build, you actually have a color 20×20 pixel display in the center and, on either side of that, two more 20×20 black-and-white displays capable of showing different images. Thanks [Ancient] for sharing this awesome build that takes advantage of the persistence of vision effect to create a unique display. Be sure to check out the video below as well as the instructions on how to build your own. And if you enjoy this sort of thing, check out some of our other persistence-of-vision projects as well.