CD-ROM POV Clock

clock

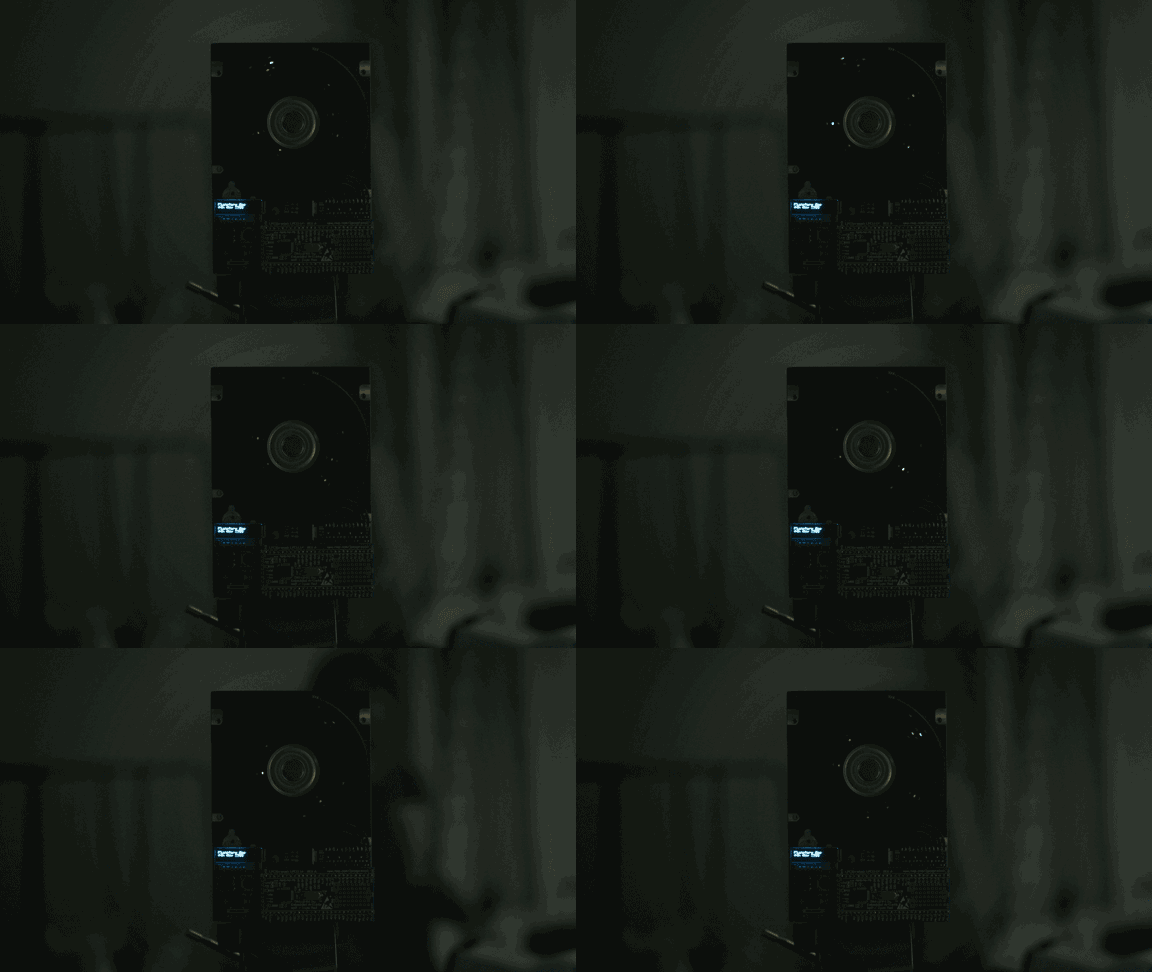
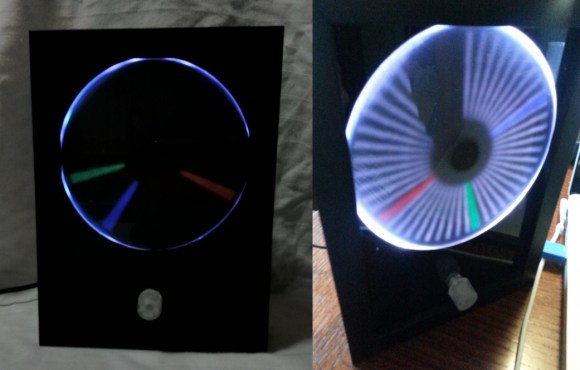
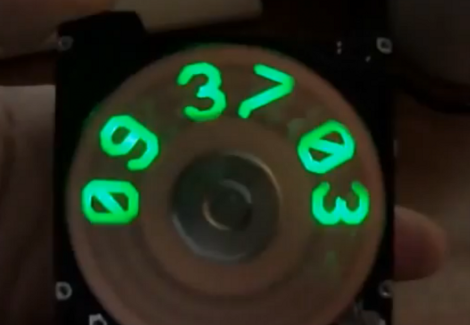
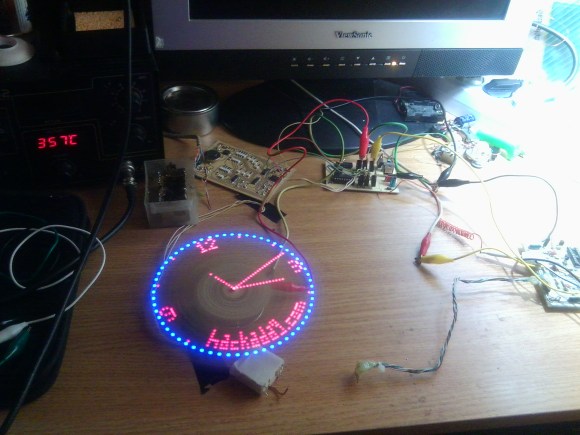
[Kyle] wanted to try something new. A Persistence of Vision Clock using a CD-ROM drive.

We have covered lots of POV Clocks that make use of hard drives, but we think this is the first time we have seen a CD-ROM drive used instead. [Kyle] points out that CD-ROM drives are typically much quieter than hard drives, which is the main reason he chose the CD-ROM route.

At the heart of this project is a good old ATMEGA168 and an RGB LED strip for the lights. To measure and maintain the rotational speed of the clock [Kyle] used an IR photodiode that detects a reference mark on the disc. An elegant build of a classic POV Clock, with a new twist!

The cool thing about this project is he did not actually use the CD-ROM drive like you think he would — he chucked the spindle motor and instead is spinning the disk using the tray ejection motor! He did this so he could control the motor by PWM straight off the microcontroller, whereas the spindle motor would require an IC and a varying control signal with specific voltage amplitudes.

He also experimented with different backgrounds and background lighting, which you can see in the video after the break!

Continue reading “CD-ROM POV Clock”

Ghostly Images Captured Only On Camera

is that a logo

A while back our good buddy [Ch00f] built a QR code clock, unreadable to both humans and computers. A human couldn’t read the clock because of the digital nature of a QR code, and because the clock used persistence of vision in driving the LEDs, a digital camera can’t capture all the pixels in the QR code at the same time. It’s a highly useless but impressive art piece. Now, [Ch00f] is turning that build on its head. He created a rudimentary display that is invisible to the human eye, but easily detected with a digital camera.

This build exploits a basic property of CMOS digital cameras – the rolling shutter. Because it takes time to get pixels off a modern digital image sensor, each picture is actual a composite of many different strips, each taken slightly out of sequence. You can see this for yourself by taking a picture of something rotating very fast with your camera phone; a picture of an airplane propeller will make the blades appear curved, or look like [Dr. Seuss] has an aeronautical engineering degree.

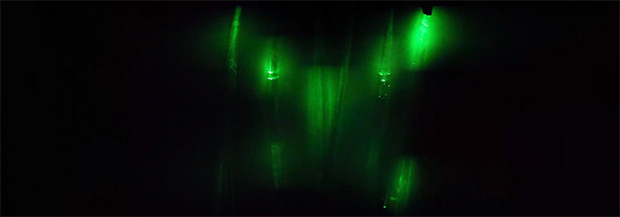
To create his display, [Ch00f] found a few inexpensive fiber optic lights. By aligning a few of these into columns and lighting them up in a precise sequence, he can exploit the rolling shutter and make an image appear. To the human eye, it looks like a solid wall of illuminated fiber optics.

As for how practical this build is, [Ch00f] says not much. For cell phone cameras, you’d need to have a very, very short exposure time for this to work. The only way to do that is to make this display unbelievably bright, or just put it out in the sun. We can’t see that being practical for any potential use case, but we’d be more than happy to see a large-scale attempt at displaying images with this technique.

POV Clock Spins Light Filter Instead Of LEDs

This hard-drive based POV clock is a treasure trove of great design choices. Now, we’ve seen a bunch of spinning clock builds. Several of the hard drive versions use slits cut in the platters to create a display by illuminating an LED behind those slits at just the right moment. This is a similar idea but [Jason Hotchkiss] ditched the platters all together and replaced them with a light filter. The filter disc has digits 0-9 as well as a colon (not seen above because the colons blink each second). As this disc spins, the Arduino compatible controller lights up LEDs in the eight digital positions to illuminate the correct number.

The filter is made from an etched copper-clad disc. This is a great choice because the fiberglass substrate is strong, light weight, translucent, and available. The filter idea also means you don’t need to get power or data to a spinning platform. [Jason] has also designed a very impressive controller board that is the same size as the footprint of the laptop hard drive he’s using. Check out the video after the break to see his description of what went into the hardware choices he arrived upon. Continue reading “POV Clock Spins Light Filter Instead Of LEDs”

Bending A Printer Control Board To Output POV Messages

Confronted with the issue of finding a use for his mounting pile of junk electronics, [Rue] set out to build a persistence of vision device using a hardware state machine. We have a suspicion that his original link may go down if there’s too much traffic so here’s a cached link just in case.

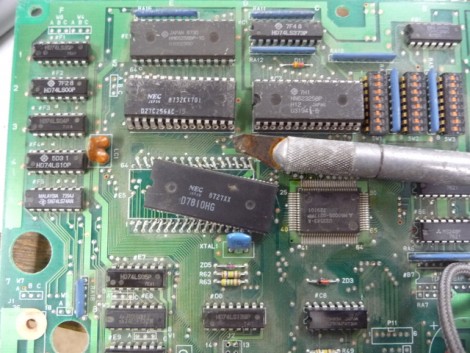
Any board that is MSC-51 or MCS-48 based would have worked for his purposes. This is because the addressing scheme of the hardware makes it an easy hack. The image above shows him cutting off the processor from this board. It was chosen because of a 74HC373; it was a mistake at first but since it’s pin compatible with the 74HC374 that he needed a simple swap did the trick. From there a clock source was added, and the address information necessary to display the message was burned into an EEPROM.

Step twelve of his writeup shows a Morse Code message created by attaching the board to a broomstick and twirling it around in an arc. We took  just a minute to decode the message and believe it’s a shout-out to Hackaday. Nice, thanks for reading [Rue]!

Reverse Engineering The Icebreaker POV Toy

[Ch00f] spent some serious time figuring out how the Icebreaker POV toy works. This is a pretty cool device about the size of a toothbrush holder. It’s in a clear plastic case, which lets the row of 32 surface mount LEDs shine through. But making light isn’t their only function. You can use the device to scan in a high-contrast design, then ‘play it back’ using the persistence of vision display properties of the LED strip.

Perhaps the biggest question on [Ch00f’s] mind was how the sensing is done. He made a series of observations, then started monkeying around with the LEDs to investigate them. It seems that one LED is lit up while the ones around it are used as light sensors. This becomes more confusing once he realized that the display was multiplexed.

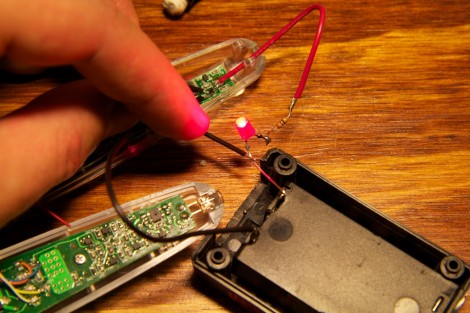
His write-up includes a collection of schematics that can be pieced together to conceptualize the entire circuit. The image above was taken during this process, using an LED to check the connections on a part. This let him prove that it’s an N-channel MOSFET. He plans to take what learned and roll it into his own project.

[via Reddit]

Persistence Of Vision Helicopter Blades With RGB LEDs

A user named [BOcnc] on the rcgroups forums just posted his RGB POV helicopter blades.

The two blades are attached to the heli just as any other whirlygig. The electronics, though, are mounted underneath the blade with a battery pack. We covered a build last year that demonstrated weight added to a spinning blade won’t tear everything apart, but that build used only blue LEDs. This build is full color and makes us feel like we’re living in a cyberpunk future populated by Recognizers and Daft Punk.

The images are stored on an SD card that receives data from a USB port. The microcontroller is a PIC32, and from what we can assume from the schematics, the RPM of the blades is measured by an on-board hall effect sensor (don’t quote us on that, though). There’s no hope of a commercial release from [BOcnc], though. He can’t find anyone to manufacture the blades, and the entire build was too expensive. It sure looks pretty though, so check out the video of it after the break.

Continue reading “Persistence Of Vision Helicopter Blades With RGB LEDs”

Puppy POV: Four-legged Persistence Of Vision Display

puppy_pov

We see lots of persistence of vision projects around here, but we can’t recall any that involve a POV display facilitated by a living, breathing animal (humans aside, if you want to picky). [Michael] has a Miniature Pinscher that just loves to run and run…and run…in circles. Since she generally runs very fast and in large curves, he thought she would make a great POV device.

He has a small fleece “jacket” for his dog, and on it, he mounted a Lilypad Arduino, the associated power supply, and five bright white LEDs. Naturally, conductive thread was used to wire up the circuit, and after a bit of trial and error, things came together nicely.

With the vest complete, [Michael] unleashed his dog at the park, letting her run to her heart’s content. All the while, her vest was writing out [Cory Doctorow’s] “Makers” while he snapped some pictures.

We can’t think of a more appropriate text to write with LEDs in the night, but in the spirit of the book, we were hoping to see a circuit diagram or the project’s code posted. If he shares it, perhaps we could convince [Cory Doctorow] to run about the park in a vest, writing out [Michael’s] code in bright white LEDs!