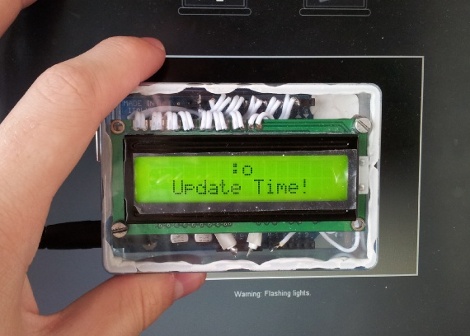
Microcontroller Comm With A Computer Monitor

Prolific Hack a Day author [Mike S] has been playing in his lab again and he’s come up with a neat way to talk to microcontrollers with an LCD monitor. The basic idea behind [Mike]’s work isn’t much different from the weird and/or cool Timex Datalink watch from the 1990s.

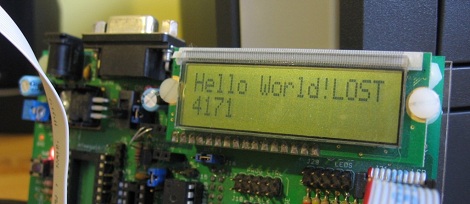
Despite the fancy dev board, the hardware is very simple – a photoresistor is pointed at a computer monitor and reads bits using Manchester encoding. The computer flashes a series of black and white screens thanks to a simple Javascript/HTML page, and data is (mostly) transmitted to the micro. [Mike] says he has about a failed message about 60% of the time, and he’s not quite sure where the problem is. He’s looking into another kind of Manchester encoding that uses samples instead of edges, so we hope everything works out for him.

This build is very similar – and was inspired by – an earlier post about microcontroller communication with flashing lights. Still, [Mike]’s build reminds us of the strangely futuristic Ironman watch we had in ’97. Check out [Mike]’s demo of his computer/micro comm link after the break and his code on github.

Continue reading “Microcontroller Comm With A Computer Monitor”

Automatic Flashlight Tag Damage Sensor

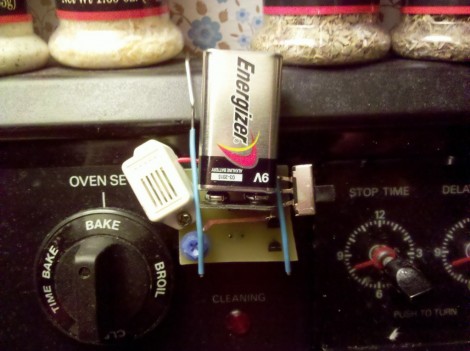
You’re out at night and playing a boisterous game of flashlight tag. But how can you tell if you’ve been mortally wounded by your opponents light beam? [Kenyer] solved this problem by building a flashlight tag damage sensor which is worn by each participant. It adds a bit of the high-tech equipment used with laser tag while keeping a low-tech price tag.

The sensor relies on a light dependent resistor to register hits when a flashlight beam passes through the round window. It will only register one hit in a three-second time period. At the end of the game, the total number of hits recorded can be flashed back using an on-board LED to see who is the victor. You can see a demo of this functionality in the clip after the break.

[Kenyer] started with a breadboard prototype using an Arduino as the driver. Obviously the cost of an Arduino for every player is a bit ridiculous. He scaled down the project, running the Arduino code on an ATtiny microcontroller. Continue reading “Automatic Flashlight Tag Damage Sensor”

Light Sensitive MIDI Glove

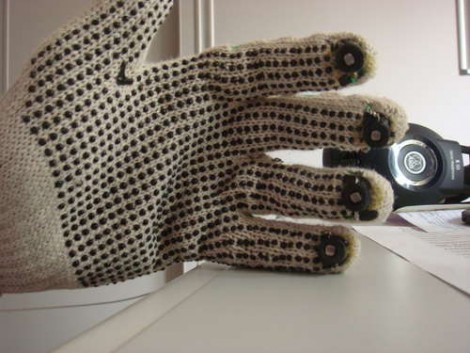
The latest offering in glove-based noisemakers forsakes commonly used flex sensors in favor or photoresistors. [Bruno Ratnieks] is responsible for this musical glove and his methods will be very easy to recreate. He used an Arduino to interface with it while providing a USB connection to your audio software. The sensors themselves couldn’t be easier to throw together, with each photoresistor creating a voltage divider when combined with a fixed-value resistor. That’s all the hardware you need, and with some creative coding you can making it do much more than the effects heard in the video after the break.

Some will say that [Bruno] simply didn’t used enough duct tape with his project design. Be we liked how he wove the wiring into the mesh of these knit gloves to keep it firmly in place.

Continue reading “Light Sensitive MIDI Glove”

Input Device Using LED And Four Photoresistors

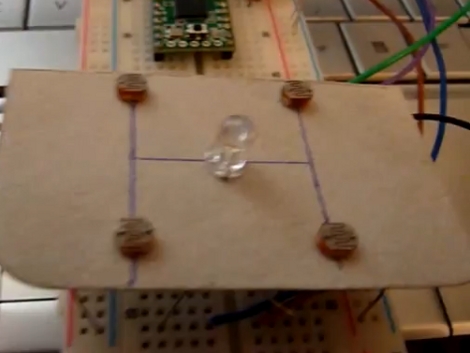
[Julien] built an input device that uses reflected light detected by some photoresistors. Placing your hand above the device will reflect light from the LED back down onto the cadmium-sulfide sensors. The resistance of those sensors is read by four ADC pins on a Teensy microcontroller and translated to mouse movements. In the video after the break you can see that this works rather well in controlling the cursor. The source code is available on pastebin but we’re also going to host the code for posterity.

Continue reading “Input Device Using LED And Four Photoresistors”

Robot Laser Tag

[Shay] and his friend built some battling robots for a school project. Instead of destroying each other’s robots with saws or torches, they are playing laser tag. Each robot sports an eeePC, a laser pointer on a movable arm, and some photoresistors. The goal is to get your laser to hit the other robot’s photoresistor to lower its health towards a kill. A server keeps track of the bout, monitoring shot fired because you won’t find unlimited ammo in this game. As for piloting the rig, the netbook webcam is streamed to a control station with an Xbox 360 controller for motion, aiming, and firing. Check it out after the break.

Continue reading “Robot Laser Tag”

Controlling An AC Drill Using One PWM Connection

This peculiar setup allows [Ben Krasnow] to control an alternating current device using one pin on a microcontroller. He’s experimenting with a power drill and has relocated the trigger circuitry that makes it spin. On that board he found a variable resistor combined with a capacitor which control a triac, actuating the speed of a drill. [Ben’s] solution works great and isolates the drill from the control circuitry. He replace the variable resistor with a cadmium sulfide photoresistor (basically a variable resistor whose resistance depends on the intensity of light). Pulse-width modulation is used to adjust the brightness of an LED shining on that photoresistor and thereby affect the speed of the drill. This is such as simple alteration to the drill we’d call it MacGyver-esque.

See a demonstration after the break.

Continue reading “Controlling An AC Drill Using One PWM Connection”

Tiny Light-seeking Robots

tiny-light-seeking-bots

[Alex] continues to delight us with his projects. His third-generation tiny Braitenberg vehicle, a light seeking robot, is a big improvement over its predecessor, the mini Braitenberg vehicle. He’s moved from an Arduino based design to using the AVR ATtiny25v, replaced the breadboard with a PCB, and reduced the parts count. We think it was a great idea to use shrink tubing to shield the back of the photo-resistors from ambient light. Don’t miss the video of these little guys chasing a flashlight beam after the break. Continue reading “Tiny Light-seeking Robots”