The folks at Q42 write code, lots of it, and this implies the copious consumption of coffee. In more primitive times, an actual human person would measure how many cups were consumed and update a counter on their website once a day. That had to be fixed, obviously, so they hacked their coffee machine so it publishes the amount of coffee being consumed by itself. Their Jura coffee machine makes good coffee, but it wasn’t hacker friendly at all. No API, no documentation, non-standard serial port and encrypted EEPROM contents. It seems the manufacturer tried every trick to keep the hackers away — challenge accepted.
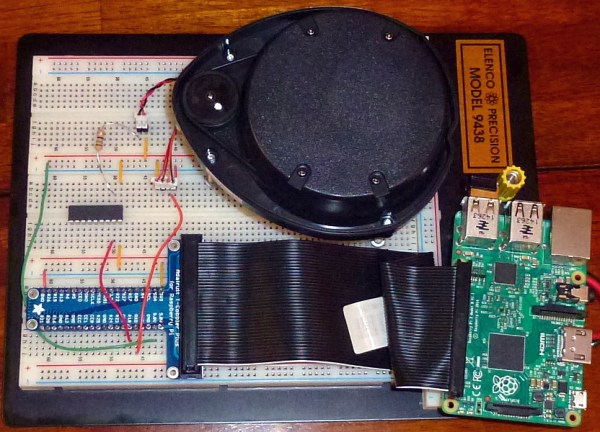
The folks at Q42 found details of the Jura encryption protocol from the internet, and then hooked up a Raspberry-Pi via serial UART to the Jura. Encryption consisted of taking each byte and breaking it up in to 4 bytes, with the data being loaded in bit positions 2 and 5 of each of the 4 bytes, which got OR’ed into 0x5B. To figure out where the counter data was stored by the machine in the EEPROM, they took a data dump of the contents, poured a shot of coffee, took another memory dump, and then compared the two.
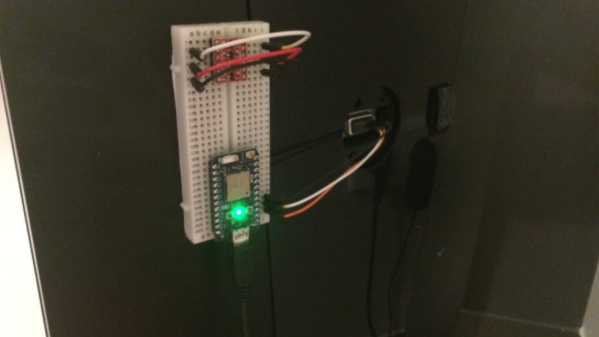
Once they had this all figured out, the Raspberry-Pi was no longer required, and was replaced with the more appropriate Particle Photon. The Photon is put on a bread board and stuck with Velcro to the back of the coffee machine, with three wires connected to the serial port on the machine.
If you’d like to dig in to their code, checkout their GitHub repository. Seems the guys at Q42 love playing games too – check out 0h h1 and 0h n0.
Thanks [Max] for letting us know about this.
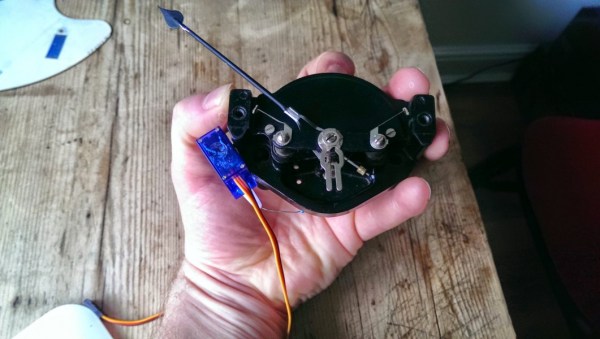
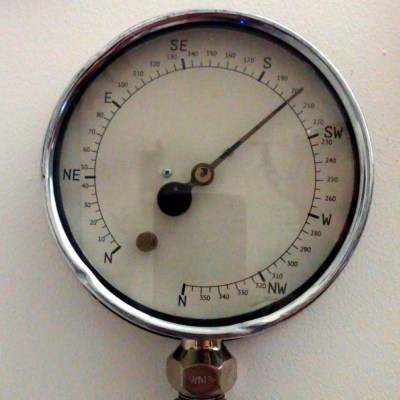 Being an aficionado of big engineering helped [mechanicalsquid] come up with a style for his gauge – big old dials and meters. We hesitate to apply the “steampunk” label to every project that retasks old technology, but it sure looks like a couple of the gauges he used could have been for steam, so the moniker probably fits here. Weather data for favorite kitesurfing and windsurfing locales is scraped from the web and applied to the gauges to indicates wind speed and direction. [mechanicalsquid] made a valiant effort to drive the voltmeter coil directly from the Raspberry Pi, but it was not to be. Servos proved inaccurate, so steppers do the job of moving the needles on both gauges. Check out the nicely detailed build log for this one, too.