Sometimes there’s just no place like your desktop. You’ve already got your favorite development tools and references setup or installed and it’s a pain when you’re trying to work on an unfamiliar, or simply uncustomized, system. On your desktop everything is at your fingertips. If you want to search the web, the browser is just an alt-tab away. If you need a calculator, it’s right there to run. Your editor highlights syntax in your favorite colors already.
When developing on a Raspberry Pi, you leave all these creature comforts behind unless you spend the time to configure the Pi to your liking. Then it all gets wiped when you install a new distribution, like the recent change from Wheezy to Jessie. Even then it’s frustrating to switch back and forth between the desktop and the Pi because there is always something on the other system that you need. My usual comment is, “dirty word”, literally.
Cross-developing on your desktop is a very workable solution. We’re going to walk through setting up your desktop and a Pi to do this. This means loading a Pi ARM toolchain on your desktop and a debugging server on the Pi. This’ll let you develop and debug from in the comfort of your desktop. An added advantage is when you put that Pi in a robot you can debug over a wireless link.
Continue reading “Code Craft: Cross Compiling For The Raspberry Pi”

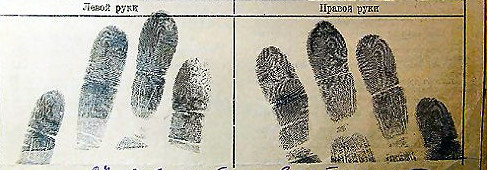
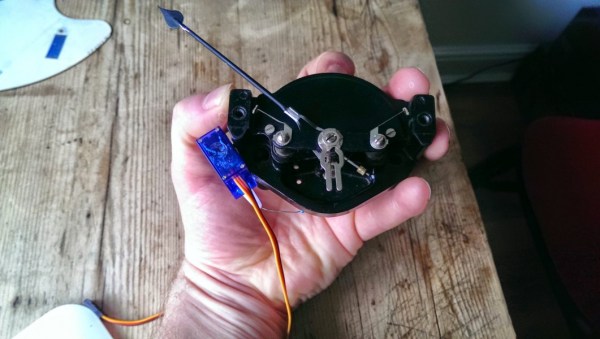
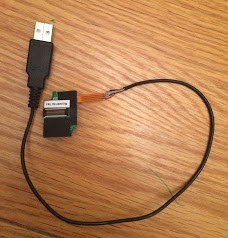 He found a cheap replacement fingerprint scanner on hacker’s heaven, also known as eBay. It had four wires attached to a 16 pin connector. Investigation on the scanner end showed the outer pair were power and ground which made [Serge] suspect it was a USB device. Wiring up a USB connector and trying it the device was recognized but with a lot of errors. He swapped the signal lines and everything was perfect. He had sudo at his finger tip.
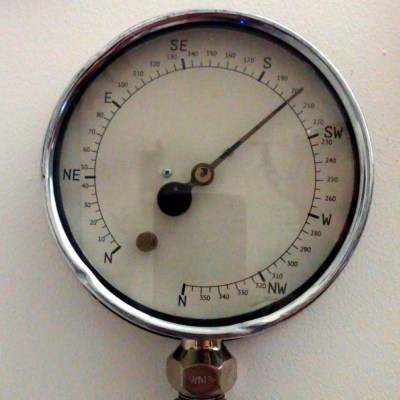 Being an aficionado of big engineering helped [mechanicalsquid] come up with a style for his gauge – big old dials and meters. We hesitate to apply the “steampunk” label to every project that retasks old technology, but it sure looks like a couple of the gauges he used could have been for steam, so the moniker probably fits here. Weather data for favorite kitesurfing and windsurfing locales is scraped from the web and applied to the gauges to indicates wind speed and direction. [mechanicalsquid] made a valiant effort to drive the voltmeter coil directly from the Raspberry Pi, but it was not to be. Servos proved inaccurate, so steppers do the job of moving the needles on both gauges. Check out the nicely detailed build log for this one, too.