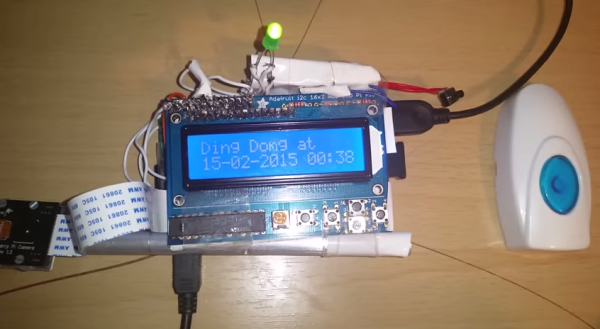
We’ve been seeing a lot of garage door opener hacks, whether it’s because one person inspired everyone else to build their own Internet-connected GDO or because there’s something in the water that’s caused the simultaneous building of one specific type of project, we’re not sure. However, the latest one we’ve seen adds a little something extra: motion-based security.
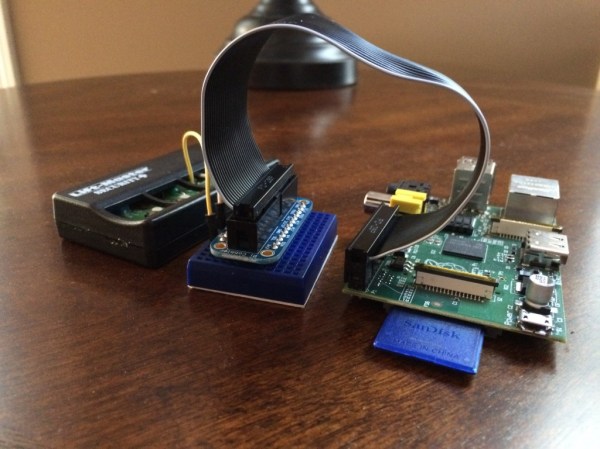
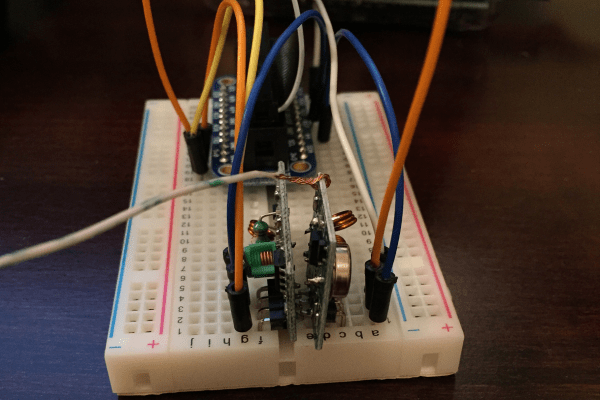
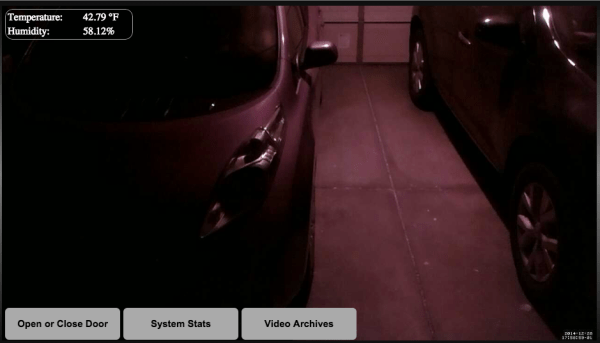
[DeckerEgo] really went all out with this one, too. The core of the project is a Raspberry Pi hardwired to a universal garage door remote. The Pi also handles a small webcam and runs a program called motion, which is a Linux program that allows for all kinds of webcam fun including motion detection. While the other builds we see usually use a button or limit switch to tell whether the door is open or closed, this one just watches the door with the webcam so [DeckerEgo] can actually see what’s going on in the garage. As a bonus, the motion software can be configured to alert him if anything suspicious is going on in the garage.
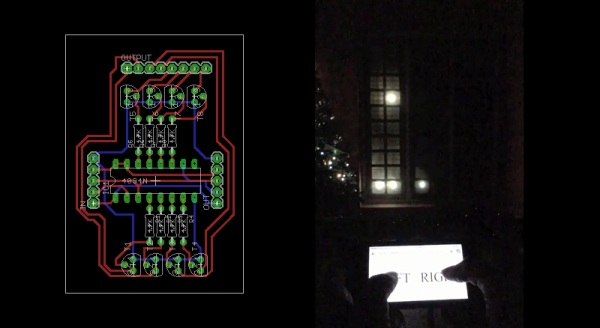
The build is full-featured as well, with an interesting user interface overlaid on the live picture of the garage door. According to [DeckerEgo] the camera is a necessity because he wouldn’t trust a simple status indicator, but if you wanted to try one of those before breaking out the Raspberry Pi, we’ve featured one recently that you can check out.