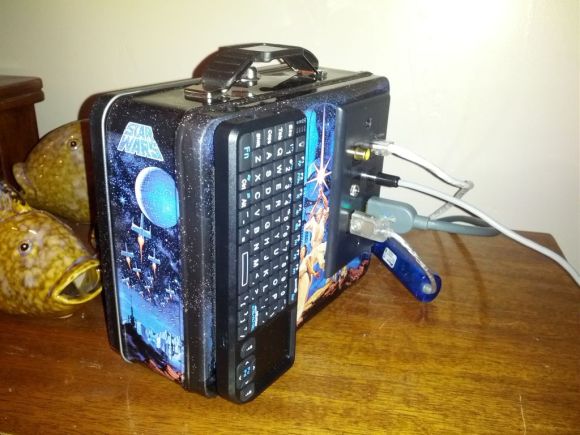
If you’re hungry for a portable HTPC (Home Theatre PC) solution, maybe packing everything into a stylish mini lunch box is the way to go. [tomhung] wanted a quick and easy way to drag his media around while he’s away from home, but in an intentionally portable, self-contained enclosure, and the Star Wars lunch box provided plenty of space for the necessary guts.
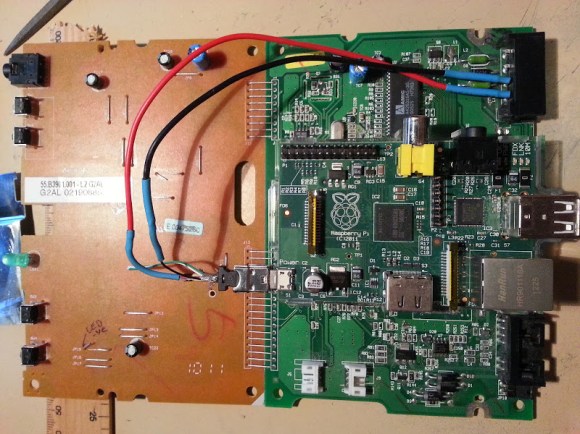
Inside, he’s stacked the RasPi and a USB hub on top of one another. Each is mounted to its own platform made out of plastic DVD covers, and kept separate by standoffs carved from what appear to be the casings of inexpensive plastic pens. The stack also includes a 250GB 2.5″ HD, which [tomhung] simply attached with velcro for easy removal. The cables underwent minor surgery to keep the rat’s nest under control, and although the interior may still cause cable management enthusiasts to cringe, the exterior of the box cleans up well for its evening out. [tomhung] fit a simple 6-port keystone wall plate to the face of the lunch box to provide simple connections for all the important plugs.
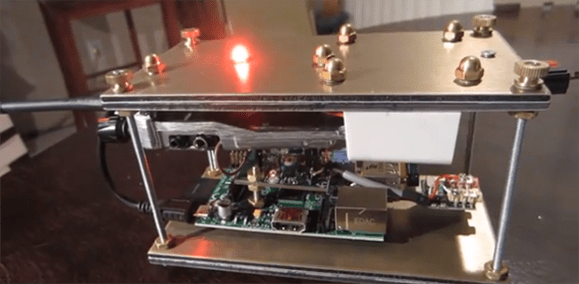
 [Steven] likes music. Like many of us, he uses Pandora to enjoy the familiar and to discover new music. Now, Pandora means well, but she gets it wrong sometimes. [Steven] has had a Mindwave Mobile EEG headset lying around for a while and decided to put it to good use. With the aid of a Raspberry Pi and a bluetooth module,