Tony Stark’s J.A.R.V.I.S. needs no introduction. With [Shubhro’s] and [Charlie’s] recent release of Jasper, an always on voice-controlled development platform for the Raspberry Pi, you too can start making your own J.A.R.V.I.S..
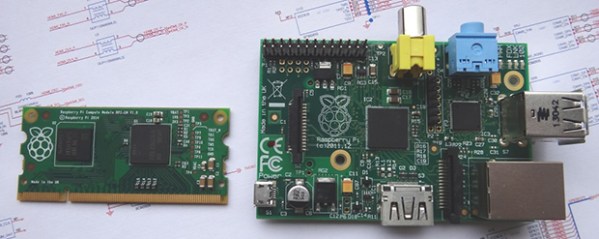
Both [Shubhro] and [Charlie] are undergraduate students at Princeton University, and decided to make their voice-controlled project open-source (code is available on GitHub). Jasper is build on inexpensive off-the-shelf hardware, making it very simple to get started. All you really need is an internet connected Raspberry Pi with a microphone and speaker. Simply install Jasper, and get started using the built in functionality that allows you to interface with Spotify, Facebook, Gmail, knock knock jokes, and more. Be sure to check out the demo video after break!
With the easy to use developer API, you can integrate Jasper into any of your existing Raspberry Pi projects with little effort. We could see Jasper integrated with wireless microphones and speakers to enable advanced voice control from anywhere in your home. What a great project! Thanks to both [Shubhro] and [Charlie] for making this open-source.
Continue reading “Create Your Own J.A.R.V.I.S. Using Jasper”