[Ken Shirriff] Completely Reverse Engineers The 1974 Sinclair Scientific Calculator

Wow. Seriously… Wow! The work [Ken Shirriff] put into reverse engineering the Sinclair Scientific is just amazing. He covers so much; the market forces that led [Clive Sinclair] to design the device with an under-powered chip, how the code actually fits in a minuscule amount of space, and an in-depth look at the silicon itself. Stop what you’re doing and read it right now!

This calculator shoe-horned itself into the market when the HP-35 was king at a sticker price of $395 (around $1800 in today’s money). The goal was to undercut them, a target that was reached with a $120 launch price. They managed this by using a Texas Instruments chip that had only three storage registers, paired with a ROM totaling 320 words. The calculator worked, but it was slow and inaccurate. Want to see how inaccurate? Included in the write-up is a browser-based simulator built from the reverse engineering work. Give it a try and let us know what you think.

Now [Ken] didn’t do all this work on his own. Scroll down to the bottom of his post to see the long list of contributors that helped bring this fantastic piece together. Thanks everyone!

[Thanks Ed]


Reverse-engineering Old Finnish Metro Station Displays

This project definitely was a patience tester. As the control system of the Helsinki metro was (and still is) under big renovation, [Konsta] could buy three old information displays for a very cheap price (5€ each). However, these displays came with no information whatsoever about the way to drive them, thus starting a long reverse-engineering journey.

[Konsta] started by taking one apart, discovering that each side of the display was composed of 10 daisy-chained LCD screens and some kind of control box. As you may have guessed, the key to reverse engineering the display was studying the contents of this box. It turned out that the control electronics were composed of an 8085 CPU, some RAM, a peripheral I/O chip, an UV-erasable EPROM chip (containing 32KB of program memory) and an EEPROM.

[Konsta] used an AVR to dump the memory contents of the two latter chips and it was at this part of the project that the Helsinki Hacklab joined in. Together, they reverse engineered the control PCB, studied the assembler code, sniffed the different on-board buses to fully understand how the display could be controlled.

We strongly recommend reading [Konsta]’s writeup, especially knowing that he made this english page just for us!

Reverse Engineering A Wireless Protocol

logic

Like all good tinkerers, [Andrew] decided to figure out how his wireless security system worked. Yes, it’s an exercise in reverse engineering, and one of the best we’ve seen to date.

After breaking out the handheld spectrum analyzer and TV tuner SDR, [Andrew] cracked open a few devices and had a gander at the circuit boards. The keypad, PIR sensor, and base station all used a TI radio chip – the CC11xx series – that uses SPI to communicate with a microcontroller.

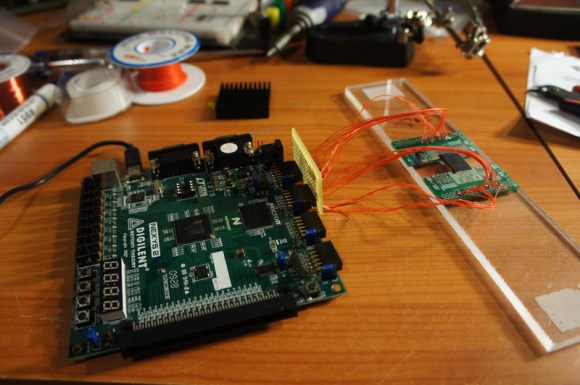
Attaching a logic analyzer directly to the radio chip and reading the bits directly, [Andrew] started getting some very good, if hard to understand data. From the security system specs, he knew it used a ’20-bit code’, but the packets he was reading off the SPI bus were 48 bits long. The part of this code was probably the system’s address, but how exactly does the system read its sensors?

The easiest way to figure this out was to toggle a few of the sensors and look at the data being transmitted. With a good bit of reasoning, [Andrew] figured out how the alarm system’s code worked. This theory was tested by connecting one of the radios up to an Arduino and having his suspicions confirmed.

While [Andrew]’s adventure in reverse engineering is only a benefit for people with this model of security system, it’s a wonderful insight into how to tear things apart and understand them.

Tamagotchi ROM Dump And Reverse Engineering

tamagotchi-rom-dump-and-reverse engineering

Often the true key to success is persistence and that holds true for this project which dumped the ROM from the current generation of Tamagotchi toys. If you’re a fan of learning the secrets built into consumer electronics — and you know we are — you’ll want to go back and watch the 24-minute lecture on Tamagotchi hacking which [Natalie Silvanovich] gave a 29C3 last year. She had made quite a bit of headway hacking the playable pods, but wasn’t able to get her hands on a full ROM dump from the General Plus chip on board processor. This update heralds her success and shares the details of how it was done.

As we learned form the video lecture it was a huge chore just to figure out what processor this uses. It turned out to be a 6502 core with a few other things built in. After prowling the manufacturer’s website she found example code for writing to Port A. She was then able to execute her own code which was designed to dump one byte of ROM at a time using the SPI protocol.

[Natalie] posted her code dump if you’re interested in digging through it. But as usual we think the journey is the most interesting part.

[Thanks Itay]

Reverse Engineering Challenge Starts Off Simple

img_20130326_102537

We love seeing hard-core firmware reverse engineering projects, but the number of hackers who can pull those off is relatively small. It’s possible to grow the ranks of the hacker elite though. A hackerspace is a great place to have a little challenge like this one. [Nicolas Oberli] put together a capture the flag game that requires the contestants to reverse engineer Teensy 3.0 firmware.

He developed this piece of hardware for the Insomni’hack 2013 event. It uses the Teensy 3.0 capacitive touch capabilities to form a nine-digit keypad with a character LCD screen for feedback. When the correct code is entered the screen will display instructions on how to retrieve the ‘flag’.

To the right you can see the disassembly of the .elf file generated by the Arduino IDE. This is what [Nicolas] gave to the contestants, which gets them past the barrier of figuring out how to dump the code from the chip itself. But it does get them thinking in assembly and eventually leads to figuring out what the secret code is for the device. This may be just enough of a shove in the right direction that one needs to get elbow deep into picking apart embedded hardware as a hobby.

Continue reading “Reverse Engineering Challenge Starts Off Simple”

Extending Old Games With Reverse Engineering And MAME

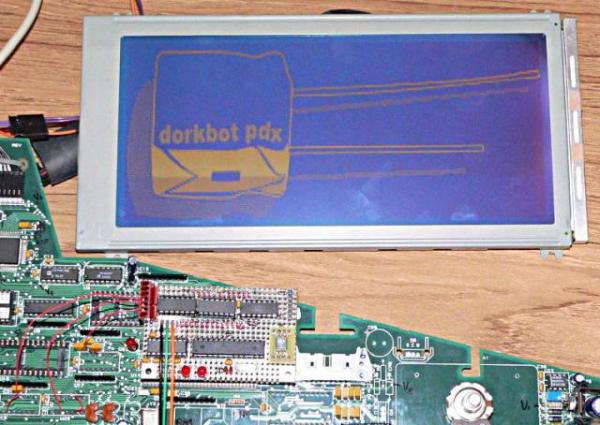
For last year’s Toorcamp, the folks over at DorkbotPDX helped out with the Church of Robotron installation. A religion founded on the prophesy of a cybernetic uprising in the year 2084 is a little esoteric even for us, so the Dorkbot crew wanted a way to make playing Robotron: 2084 a little more visceral. Using MAME and a few debugging tools, they were able to read the memory of a machine playing Robotron to extend the game into the physical world. When the player dies, lights go off, alarms sound, and the prophet of the Church of Robotron is pleased.

The setup at the Church of Robotron included a machine running MAME with a Robotron ROM. When events happened in the game, such as lasers firing or a player death, physical events would be triggered. To do this, the Dorkbot team read the memory locations of a game of Robotron at different times and found memory locations tied to in-game events. On their blog they go over using the MAME debug tool to detect a player’s death which can then be translated into physical apparitions for the Church of Robotron.

It’s a very cool hack, and one we wish we had a video of. Having a plastic ghost hit a player while playing Pac-Man seems like an awesome idea, and with the Dorkbot tutorial, it looks fairly easy.

Digging Deep Into How The 8085 Processor’s Registers Were Designed

Hardware design enthusiasts should already be salivating just looking at this image. But [Ken Shirriff’s] write-up on how the 8085 processor’s registers were designed will put you in silicon reverse-engineering heaven. He manages to get to the bottom of the tricks the designers used to make register access as efficient as possible, like routing some through the ALU on their path elsewhere.

We’re certainly not experts in studying dies like the one seen above. Luckily [Ken] does a great job of zooming in on important parts, then dissecting how they work by representing the silicone image as a functional flow chart. One of the parts which we found most interesting is the WZ temporary registers. These are a set of internal registers that are not accessible to the programmer. They’re only used internally by the chip. They act as temporary storage for multiple operand functions, and also hold register addresses for a handful of instructions (JMP, CALL, RST, etc.).

If you’re more interested in how images of these chips are attained you should do some searching on Hackaday. Just last week we featured one such project in a links post.

[via Reddit]