The clicking of a Geiger counter is well enough known as a signifier of radioactive materials, due to it providing the menacing sound effect any time a film or TV show deals with radiation. What we’re hearing is the electronic detection of an ionization event in a Geiger-Muller tube due to alpha or beta radiation, which is great, but we’re not detecting gamma radiation.
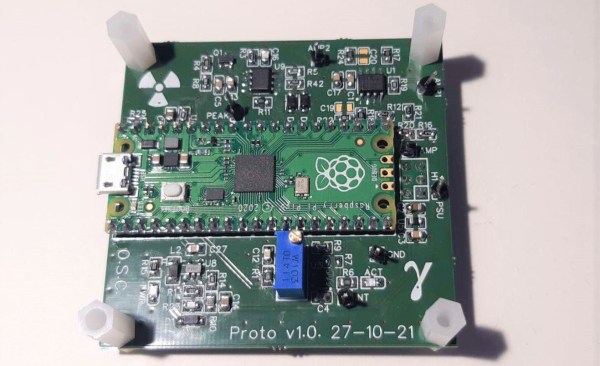
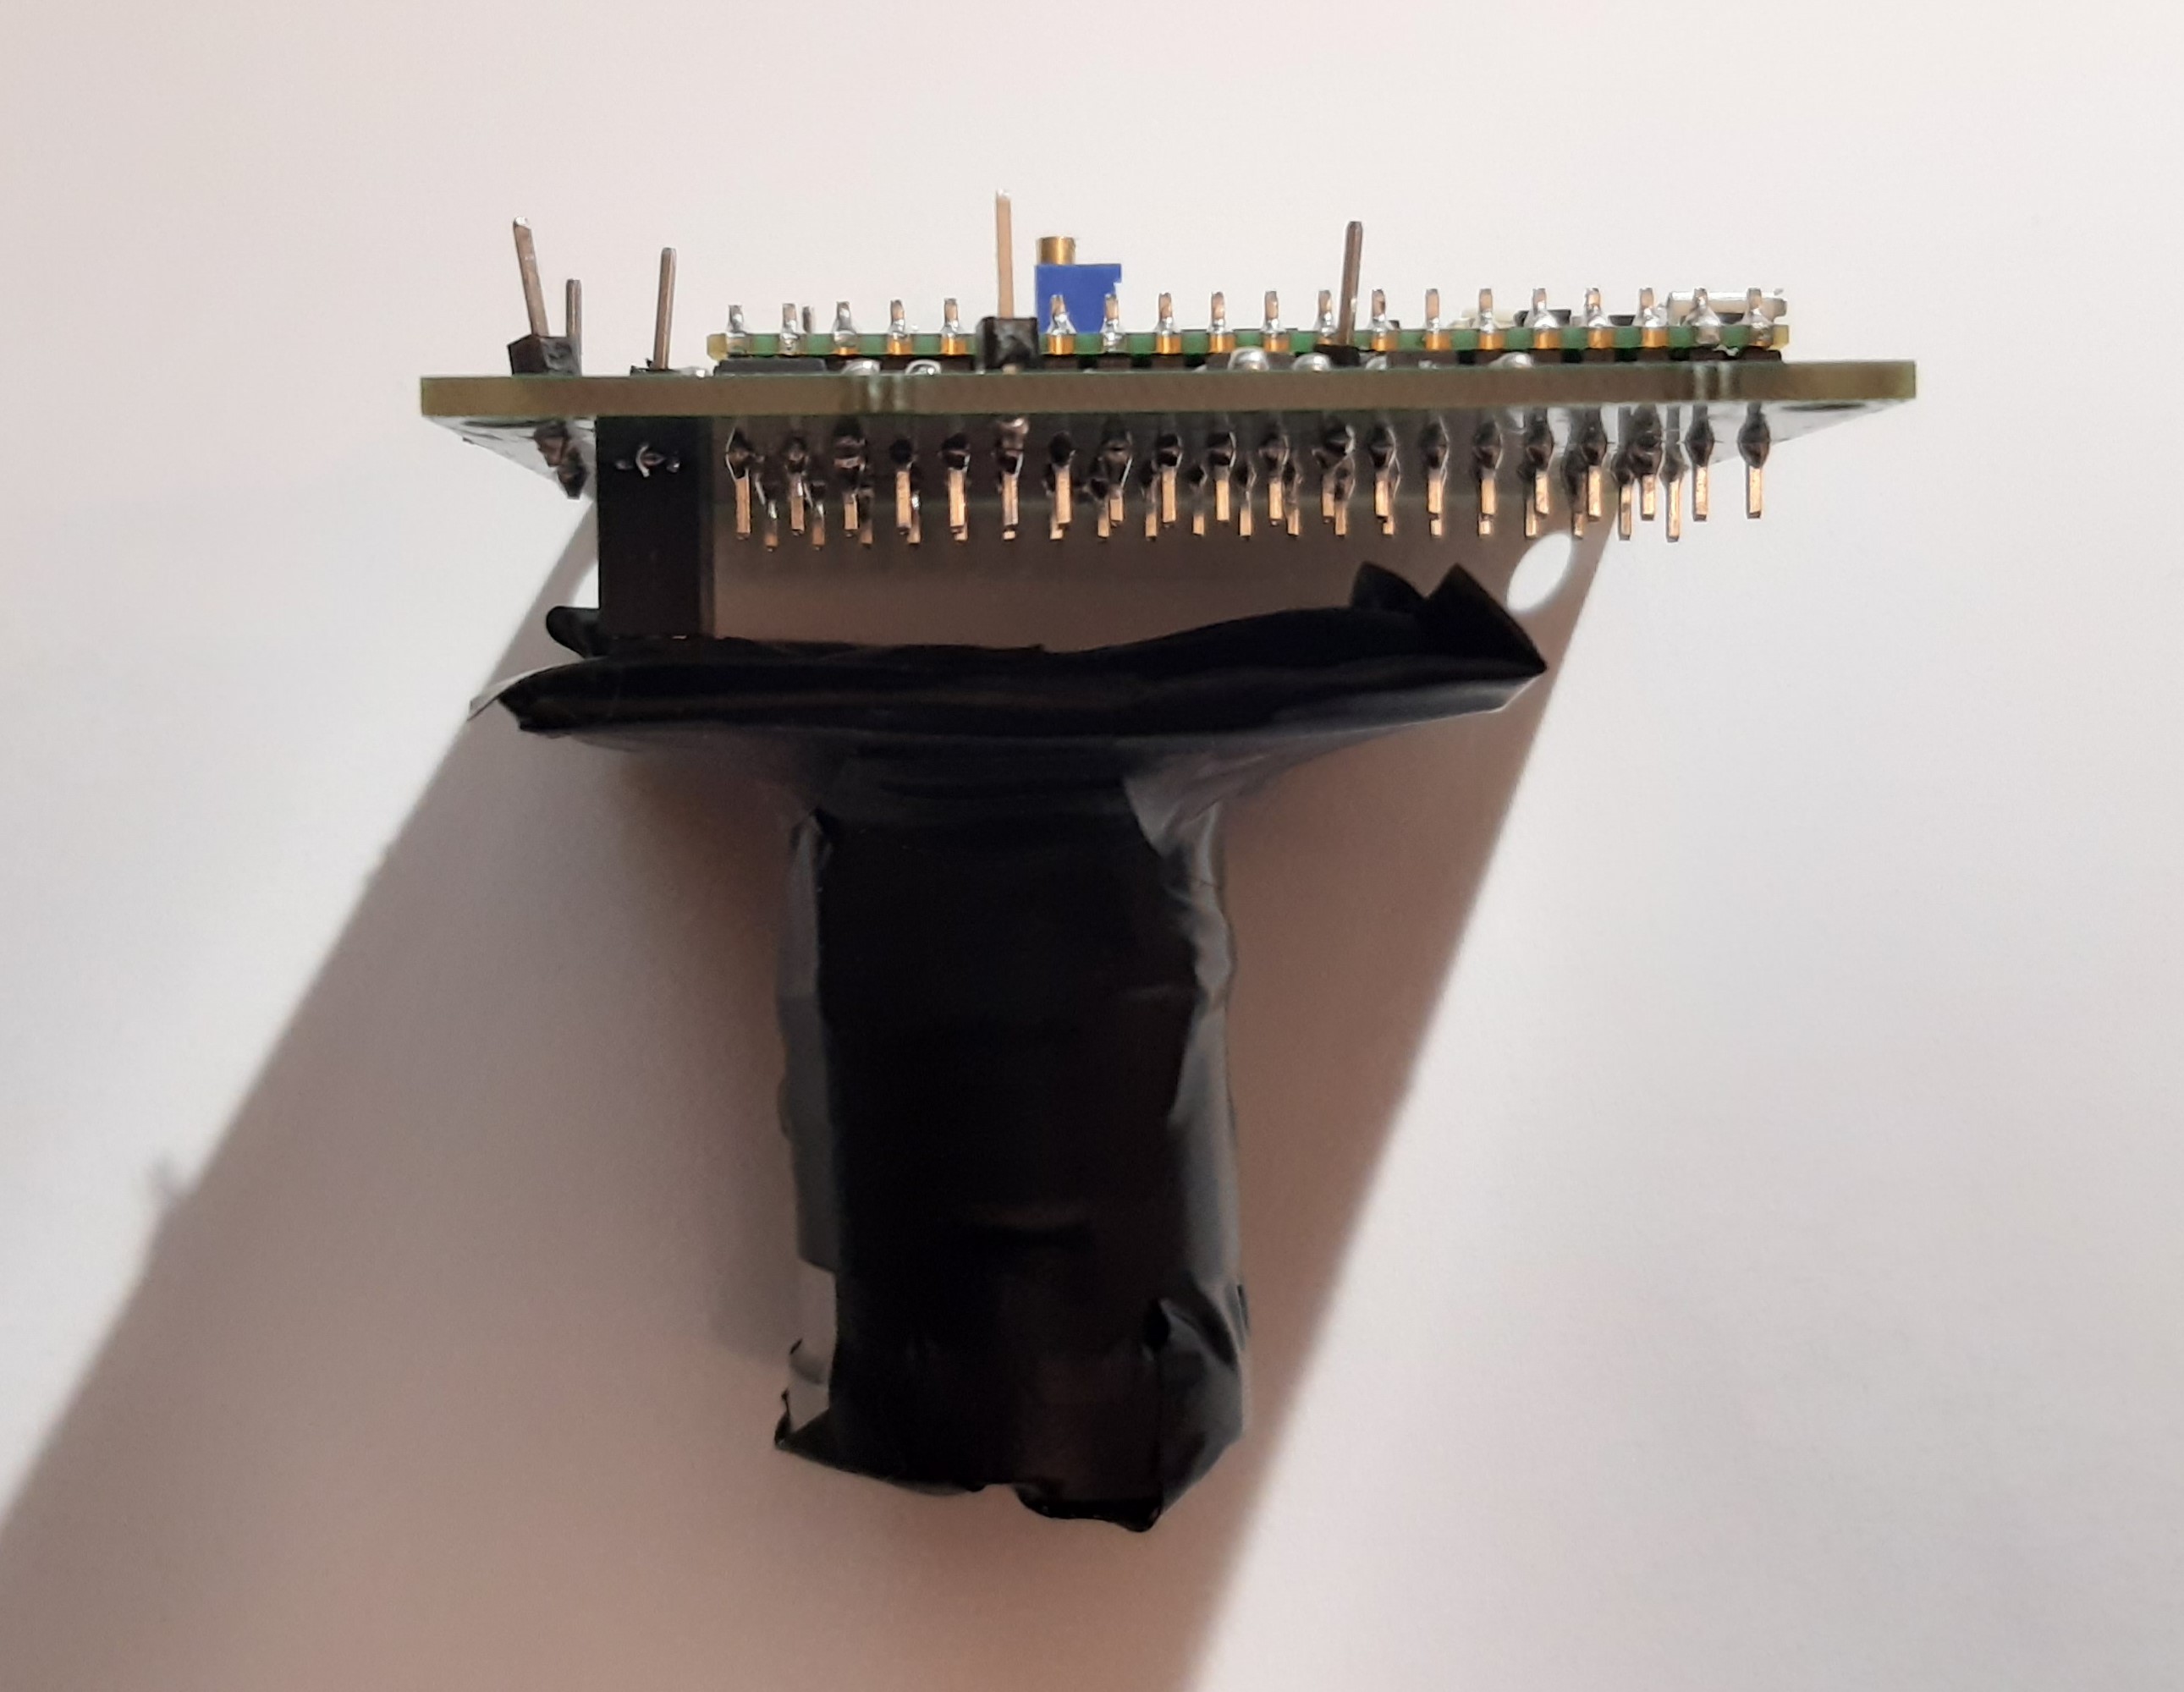
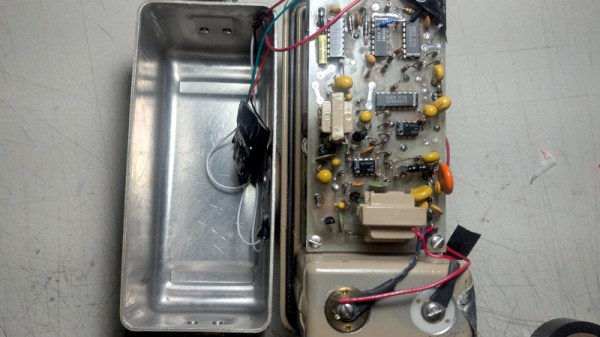
For that a scintillation detector is required, but these are so sensitive to background radiation as to make the clicking effect relatively useless as an indicator to human ears. Could a microcontroller analyse the click rate and produce an audible indication? This is the basis of [maurycyz]’s project, adding a small processor board to a Ludlum radiation meter.
When everything sounds like a lot of clicks, an easy fix might be to use a divider to halve the number and make concentrations of clicks sound more obvious. It’s a strategy with merit, but one that results in weaker finds being subsumed. Instead the approach here is to take a long-term background reading, and compare the instantaneous time between clicks with it. Ths any immediate click densities can be highlighted, and those which match the background can be ignored. SO in goes an AVR128 for which the code can be found at the above link.
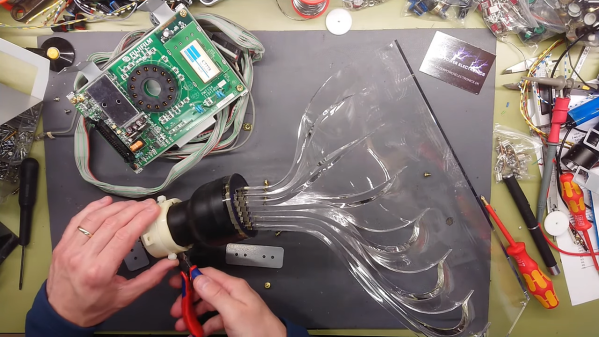
The result is intended for rock prospecting, a situation where it’s much more desirable to listen to the clicks than look at the meter as you scan the lumps of dirt. It’s not the first project in this line we’ve brought you, another one looked at the scintillation probe itself.