Give Your SMD Components A Lift

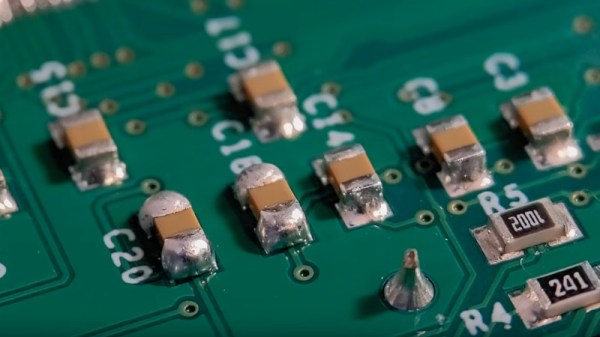
When you are troubleshooting, it is sometimes useful to disconnect a part of your circuit to see what happens. If your new PCB isn’t perfect, you might also need to add some extra wires or components — not that any of us will ever admit to doing that, of course. When ICs were in sockets, it was easy to do that. [MrSolderFix] shows his technique for lifting pins on SMD devices in the video below.

He doesn’t use anything exotic beyond a microscope. Just flux, a simple iron, and a scalpel blade. Oh, and very steady hands. The idea is to heat the joint, gently lift the pin with the blade, and wick away excess solder. If you do it right, you’ll be able to put the pin back down where it belongs later. He makes the sensible suggestion of covering the pad with a bit of tape if you want to be sure not to accidentally short it during testing. Or, you can bend the pin all the way back if you know you won’t want to restore it to its original position.

Continue reading “Give Your SMD Components A Lift”

SMD Soldering, Without The Blobs

Hand soldering of surface mount components is a bread-and-butter task for anyone working with electronics in 2024. So many devices are simply no longer available in the older through-hole formats, and it’s now normal for even the most homebrew of circuits to use a PCB. But how do you solder your parts? If like us you put a blob of solder on a pad and drop the part into it, then [Mr. SolderFix] has some advice on a way to up your game.

The blob of solder method leaves a little more solder on the part than is optimal, sometimes a bulbous lump of the stuff. Instead, he puts a bit of flux on the pad and then applies a much smaller quantity of solder on the tip of his iron, resulting in a far better joint. As you can see in the video below, the difference is significant. He starts with passives, but then shows us the technique on a crystal, noting that it’s possible to get the solder on the top of these parts if too much is used. Yes, we’ve been there. Watch the whole video, and improve your surface mount soldering technique!

He’s someone we’ve featured before here at Hackaday, most recently in lifting surface mount IC pins.

Continue reading “SMD Soldering, Without The Blobs”

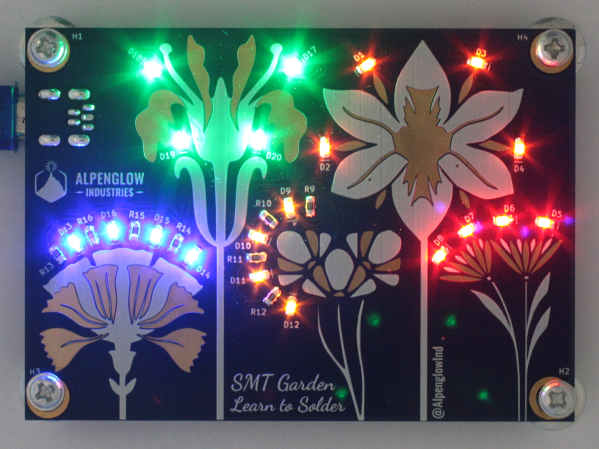
Front of PCB for "SMT Garden" with glowing LEDs

Surface Mount Soldering Practice For Budding Electrical Engineers

Electronics components are steadily moving away from through hole parts to using surface mount technology (SMT) exclusively. While the small size of the SMT components can be intimidating, with a little practice, soldering can come pretty naturally. To help folks get over their fear of soldering small parts, [Alpenglow Industries] have created a charming board to practice SMT soldering skills on.

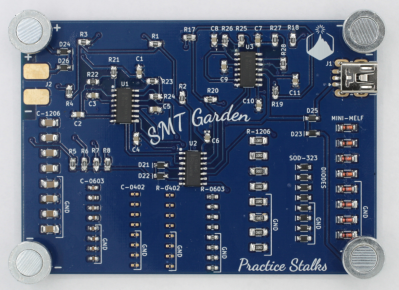
Back of "SMT Garden" PCB with only the 555 timer chips and inverter chip populated

[Alpenglow Industries] board, called the “SMT Garden”, combines a variety of SMT sizes ranging from 0402 to 1206 with beautiful PCB artwork to highlight the variety of LEDs on board. [Alpenglow Industries] provides detailed instructions on the various aspects of SMT soldering including what the terminology is and providing various techniques to help in soldering. The boards have practice “stalks” of surface mount component pads, so that folks can practice on columns of similarly sized SMT components to perfect their technique. The training stalks themselves aren’t functional but are there to provide practice for when folks feel comfortable soldering the LEDs, 555 timer and inverter chips to make the board functional.

[Alpenglow Industries] have provided all the KiCAD project files, gerbers and schematics available online. SMT soldering is more accessible than ever and when you can even use your phone as a microscope, it’s a good excuse to try it out, if you haven’t already.

Iron Becomes SMD Hot Plate

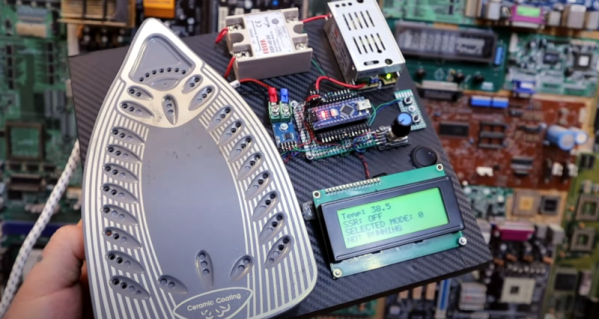
Few things have changed our workshops more than surface mount components. In 1980 it would have been strange to see a hobby bench with a microscope, hot air equipment, tweezers, and all the other accouterments that are a necessity today. [Electronoobs] wanted a reflow hot plate and decided that he could repurpose a consumer laundry iron for the job. You can see the results in the video below.

Opening the iron revealed surprisingly simple circuitry, so the build has some additional parts along with a controller and an LCD, of course. The power requirement for the heating element is significant — 13 amps — so the plate uses a solid state relay to turn things on and off.

Continue reading “Iron Becomes SMD Hot Plate”

Can You Use An Easy-Bake Oven For Reflow Soldering?

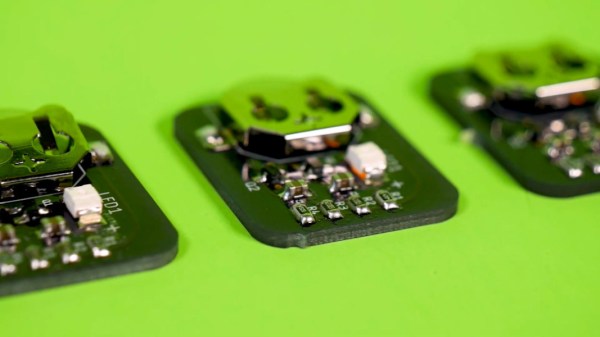
The answer is yes, yes you can. As long as you have one made after about 2011, at least. In the video after the break, [Blitz City DIY] takes us briefly through the history of the venerable Easy-Bake Oven and into the future by reflow soldering a handful of small blinky boards with it.

You’re right, these things once used special light bulbs to cook pint-sized foods, but now they are legit ovens with heating elements that reach 350°F and a little above. The only trouble is that there’s no temperature controller, so you have to use low-temperature solder paste and an oven thermometer to know when to pull the little tray out. Other than that, it looked like smooth sailing.

If you’re only doing a board every once in a while, $40 for a reflow oven isn’t too shabby. And yeah, as with all ovens, once you’ve reflowed a board in it, don’t use it for food.

If you’d rather build an oven, high-powered light bulbs will still do the trick.

Continue reading “Can You Use An Easy-Bake Oven For Reflow Soldering?”

Magnifying On The Cheap

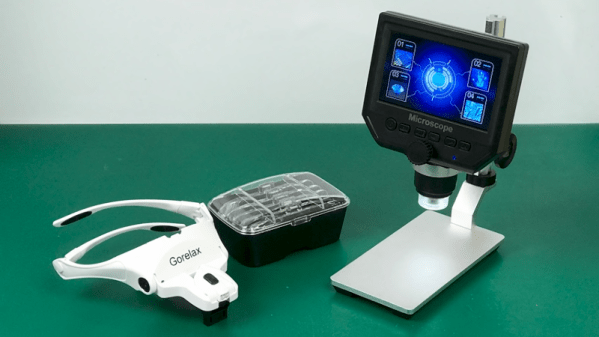
If there is one thing we’ve learned during several years of running the Hackaday SMD soldering challenge it is this: Most people need magnification to do good soldering at a tiny scale. The problem is, like most tools, you can buy something as cheap as a $5 binocular headset or you can spend $1,000 or more on a serious microscope. What’s in between? [Noel] looks at some affordable options in a recent video that you can see below.

[Noel] started out with a cheap “helping hand” that has a simple little magnifying glass attached to it. The major criterion was to find something that would have no delay so he could solder under magnification. While it is possible to work under a scope with a little lag in the display, it is frustrating and there are better options.

Continue reading “Magnifying On The Cheap”

Robotics Club Teaches Soldering

Oregon State University must be a pretty good place to go to school if you want to hack on robots. Their robotics club, which looks active and impressive, has a multi-part video series on how to solder surface mount components that is worth watching. [Anthony] is the team lead for their Mars Rover team and he does the job with some pretty standard-looking tools.

The soldering station in use is a sub-$100 Aoyue with both a regular iron and hot air. There’s also a cheap USB microscope that looks like it has a screen, but is covered in blue tape to hold it to an optical microscope. So no exotic tools that you’d need a university affiliation to match.

Continue reading “Robotics Club Teaches Soldering”