Way back in the previous century, people used to use magnetized strips of tape to play music. It might be hard to believe in today’s digital world, but these “cassette” tapes were once all the rage. [Steve] aka [pinter75] recently found a Bang & Olufsen stereo with this exact type of antequated audio playback device, and decided to upgrade it with something a little more modern.
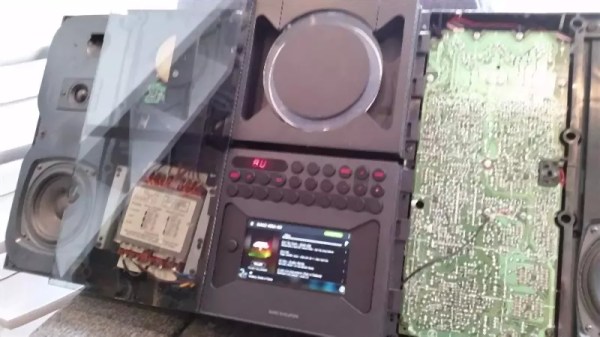
Once the unit arrived from eBay and got an electronic tune-up, [pinter75] grabbed a Galaxy S3 out of his parts drawer and got to work installing it in the old cassette deck location. He used a laser cutter to make a faceplate for the phone so it could be easily installed (and removed if he decides to put the tape deck back in the future).
The next step was wiring up power and soldering the audio output directly to the AUX pins on the stereo. Once everything was buttoned up [pinter75] found that everything worked perfectly, and mounted the stereo prominently on his wall. It’s always great when equipment like this is upgraded and repaired rather than thrown out.