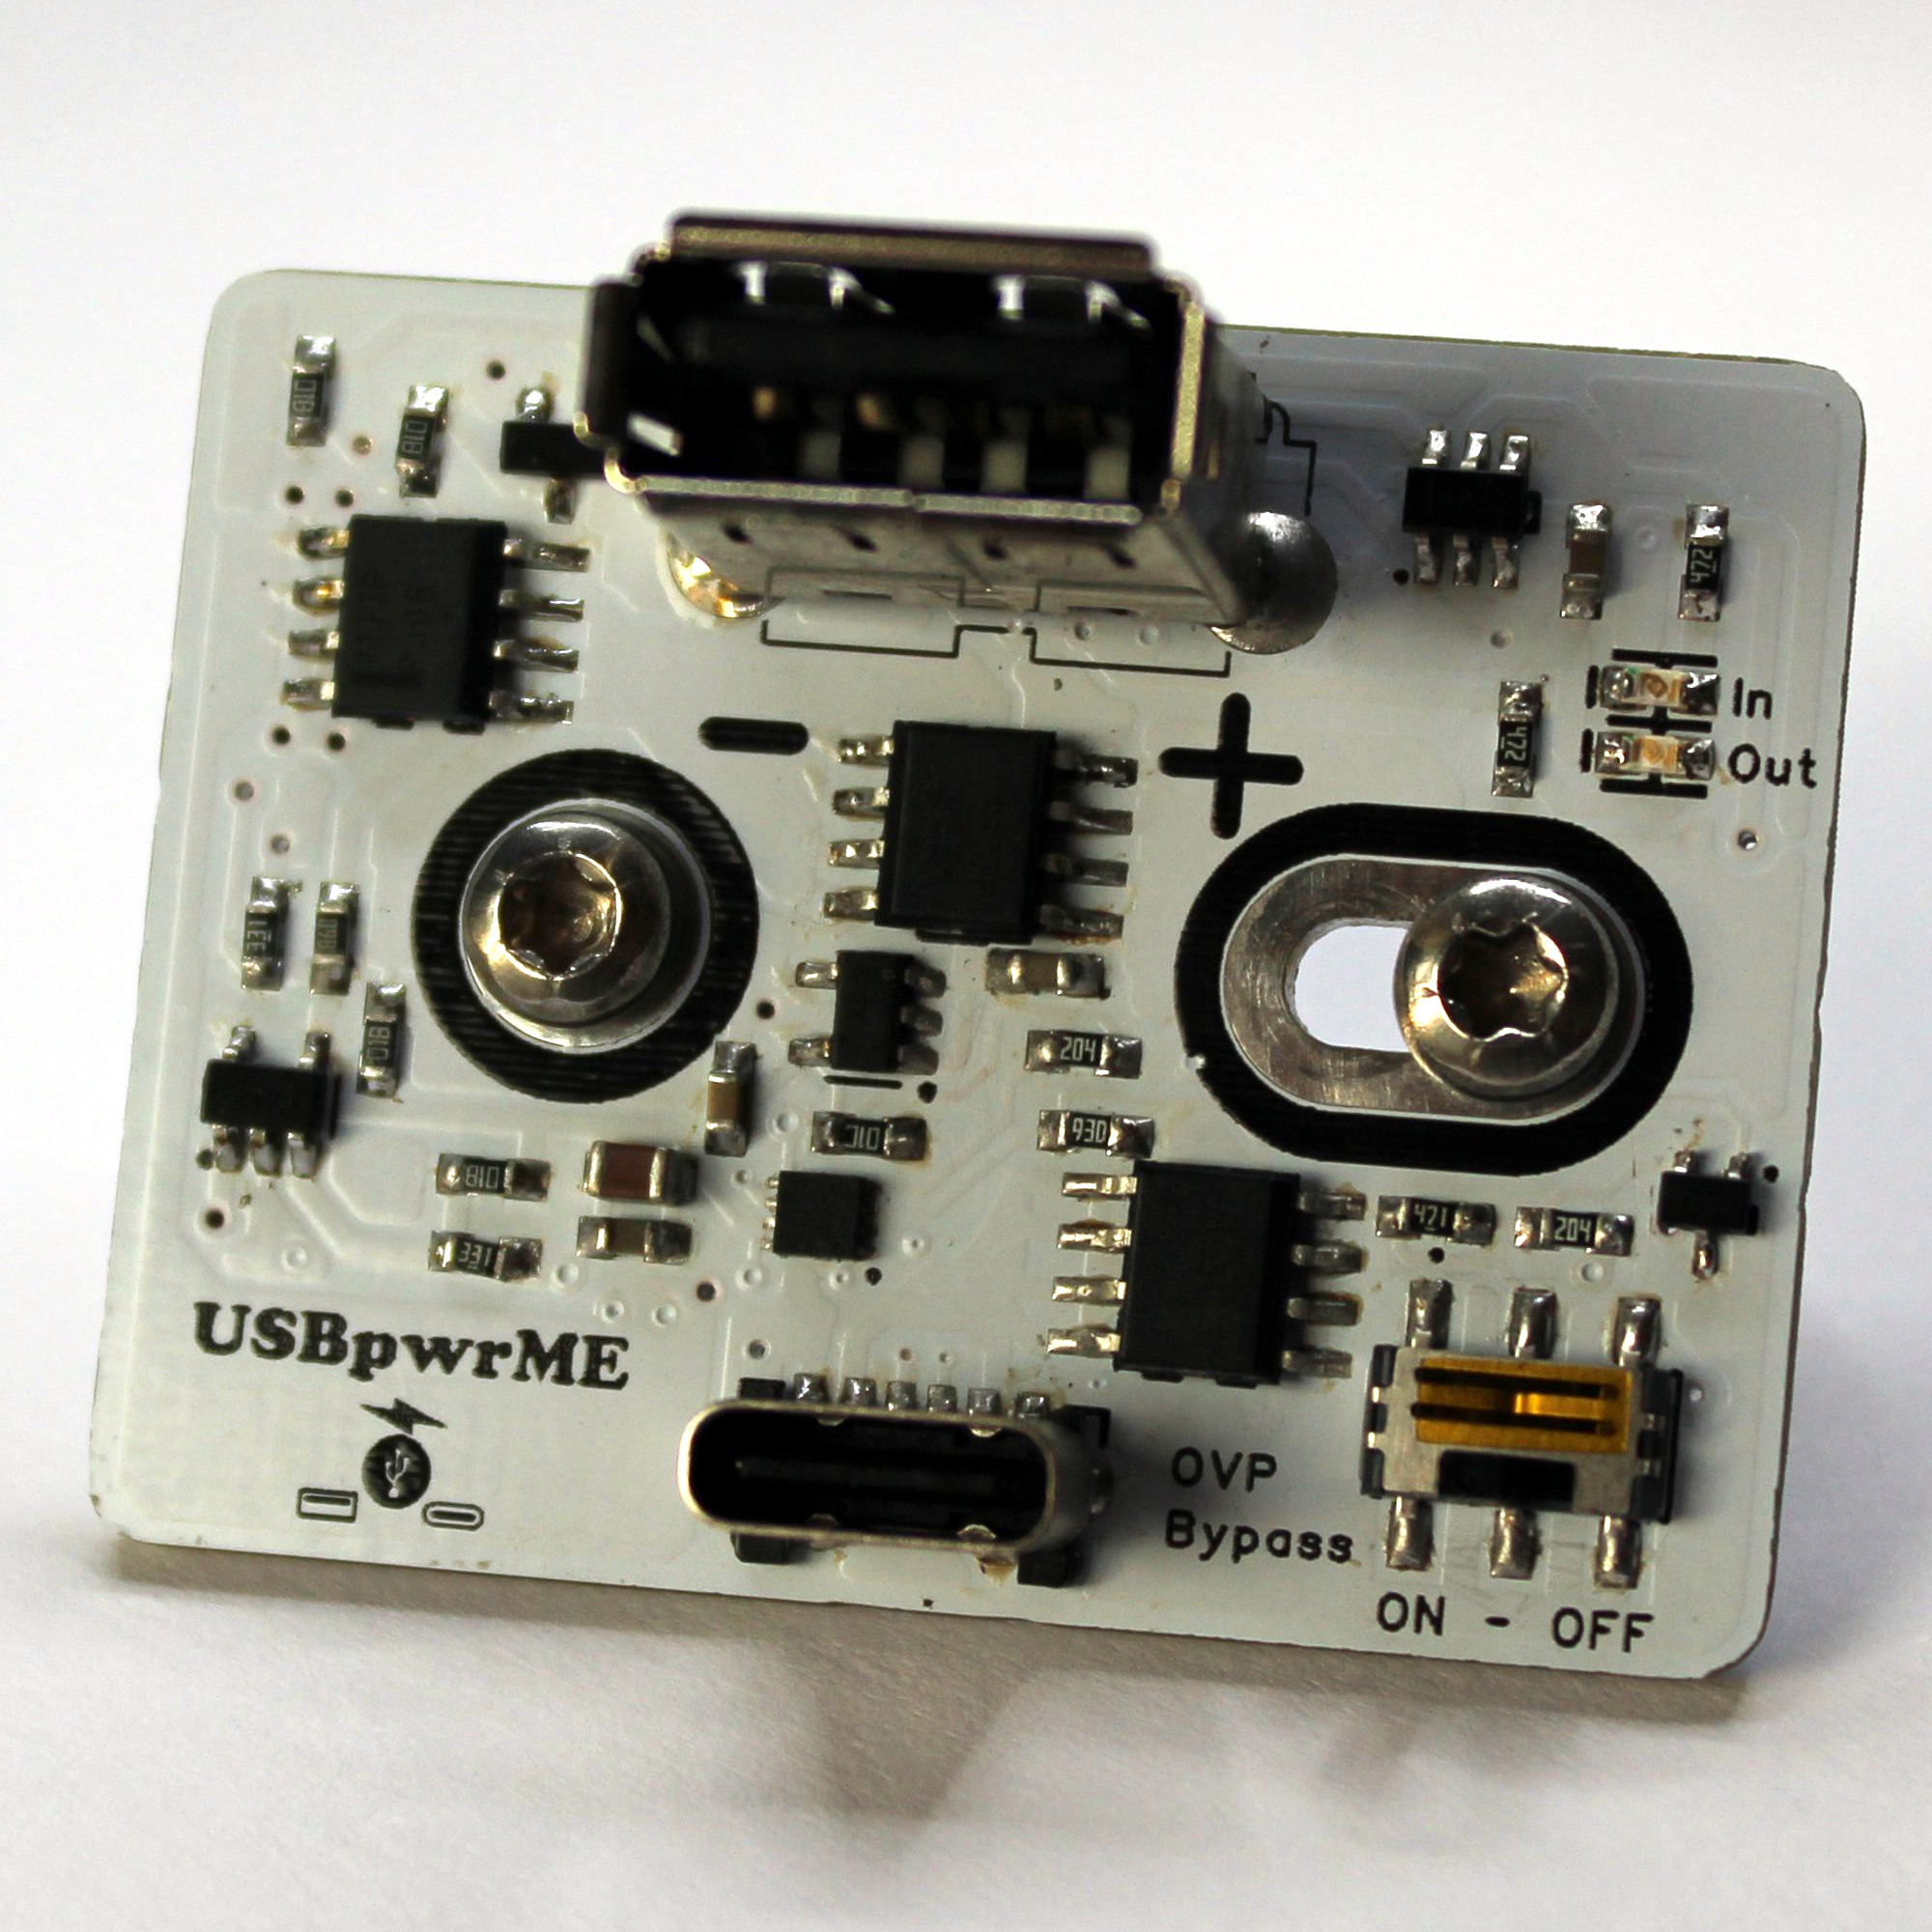
If you want to maximize the life of your lithium-ion batteries, proper storage voltage is critical. That is, don’t store them empty, and don’t store them completely full either. “Almost fully charged” is a sweet spot for occasional-use devices. Sadly, this is easier said than done. While many devices use integrated rechargeable batteries these days, most provide no method of limiting charge level. That’s where [DaverDavid]’s ChargeCap comes in.
ChargeCap sits between a USB charger and target device, disconnecting when it detects that recharging is 80 to 90 percent complete. This is particularly useful for maximizing the cell life of devices that see only intermittent use.
The way ChargeCap does this is clever, and relies on the fact that all lithium-ion charging curves look the same regardless of cell capacity or cell count. Charge current remains at pretty much the same level for most of the charging process, but tapers off quickly (and in a linear fashion) as cells approach their maximum capacity. That’s because charging a battery is a lot like blowing up a balloon: the first breaths are easy, but once the balloon fills out, every breath needs to push harder than the last.
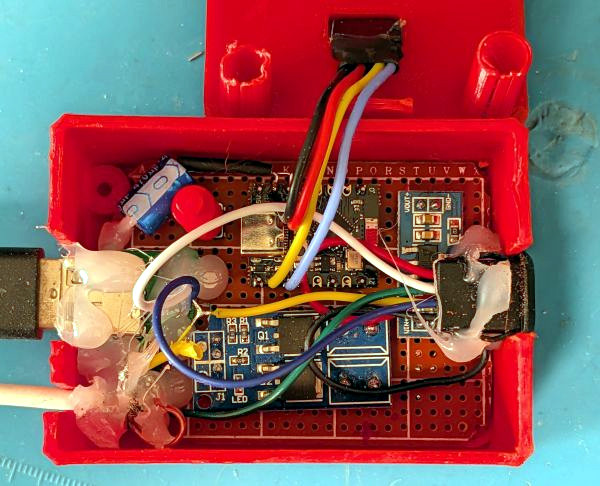
ChargeCap works by sampling the peak charge current at the beginning of the charge cycle, then detecting when it drops below 50 percent of peak, at which point charging is stopped. The result is a device that reliably charges to 80 to 90 percent of capacity, and no more. ChargeCap uses an ESP32-C3 and a small OLED display that, as a nice touch, inverts colors to signal charge completion. Design files and code are at the GitHub repository.
Lithium-ion cells are fantastic devices, so flesh out your knowledge by reading [Arya Voronova]’s primer on designing them into your own projects, or a more in-depth explanation of how they work.