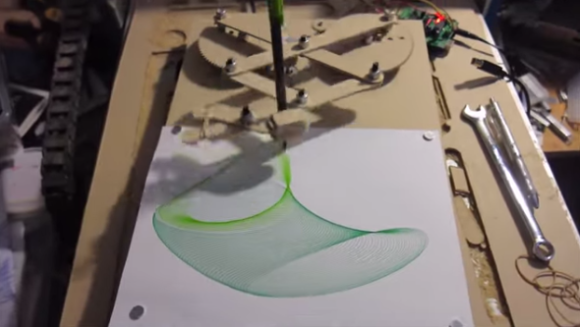
Master LEGO builder [Yoshihito Isogawa] has been on a roll lately, cranking out a number of robots that make drawings reminiscent of the classic Spirograph toy. For instance, he built an elegant drawbot out of LEGO elements, seen above. At first glance the monicker “spirograph” seems wrong, because where are the gears? However, [Yoshihito] has them stashed underneath the sheet of paper, with magnets controlling the pens.
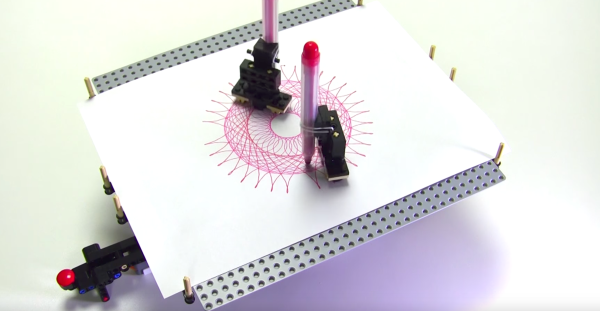
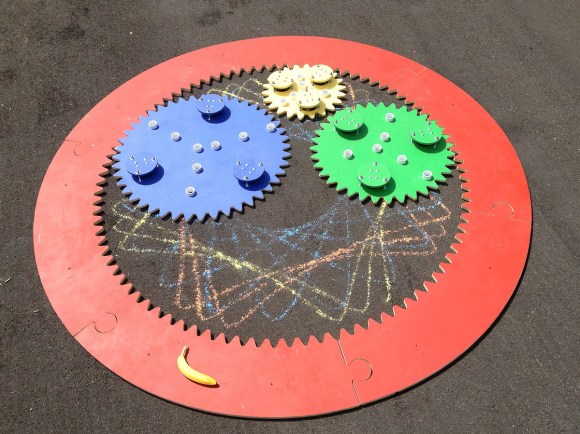
 His drawbot consists of a platform (cleverly, an inverted LEGO plate) upon which a sheet of paper is laid. One or two pen holders, each with a pair of magnets underneath, rest on the sheet of paper. Beneath the plate, two pairs of spinning magnets rotate around a double layer of 11×11 curved racks, which then play the role of the classic spirograph rings. An EV3-controlled motor powers the whole thing.
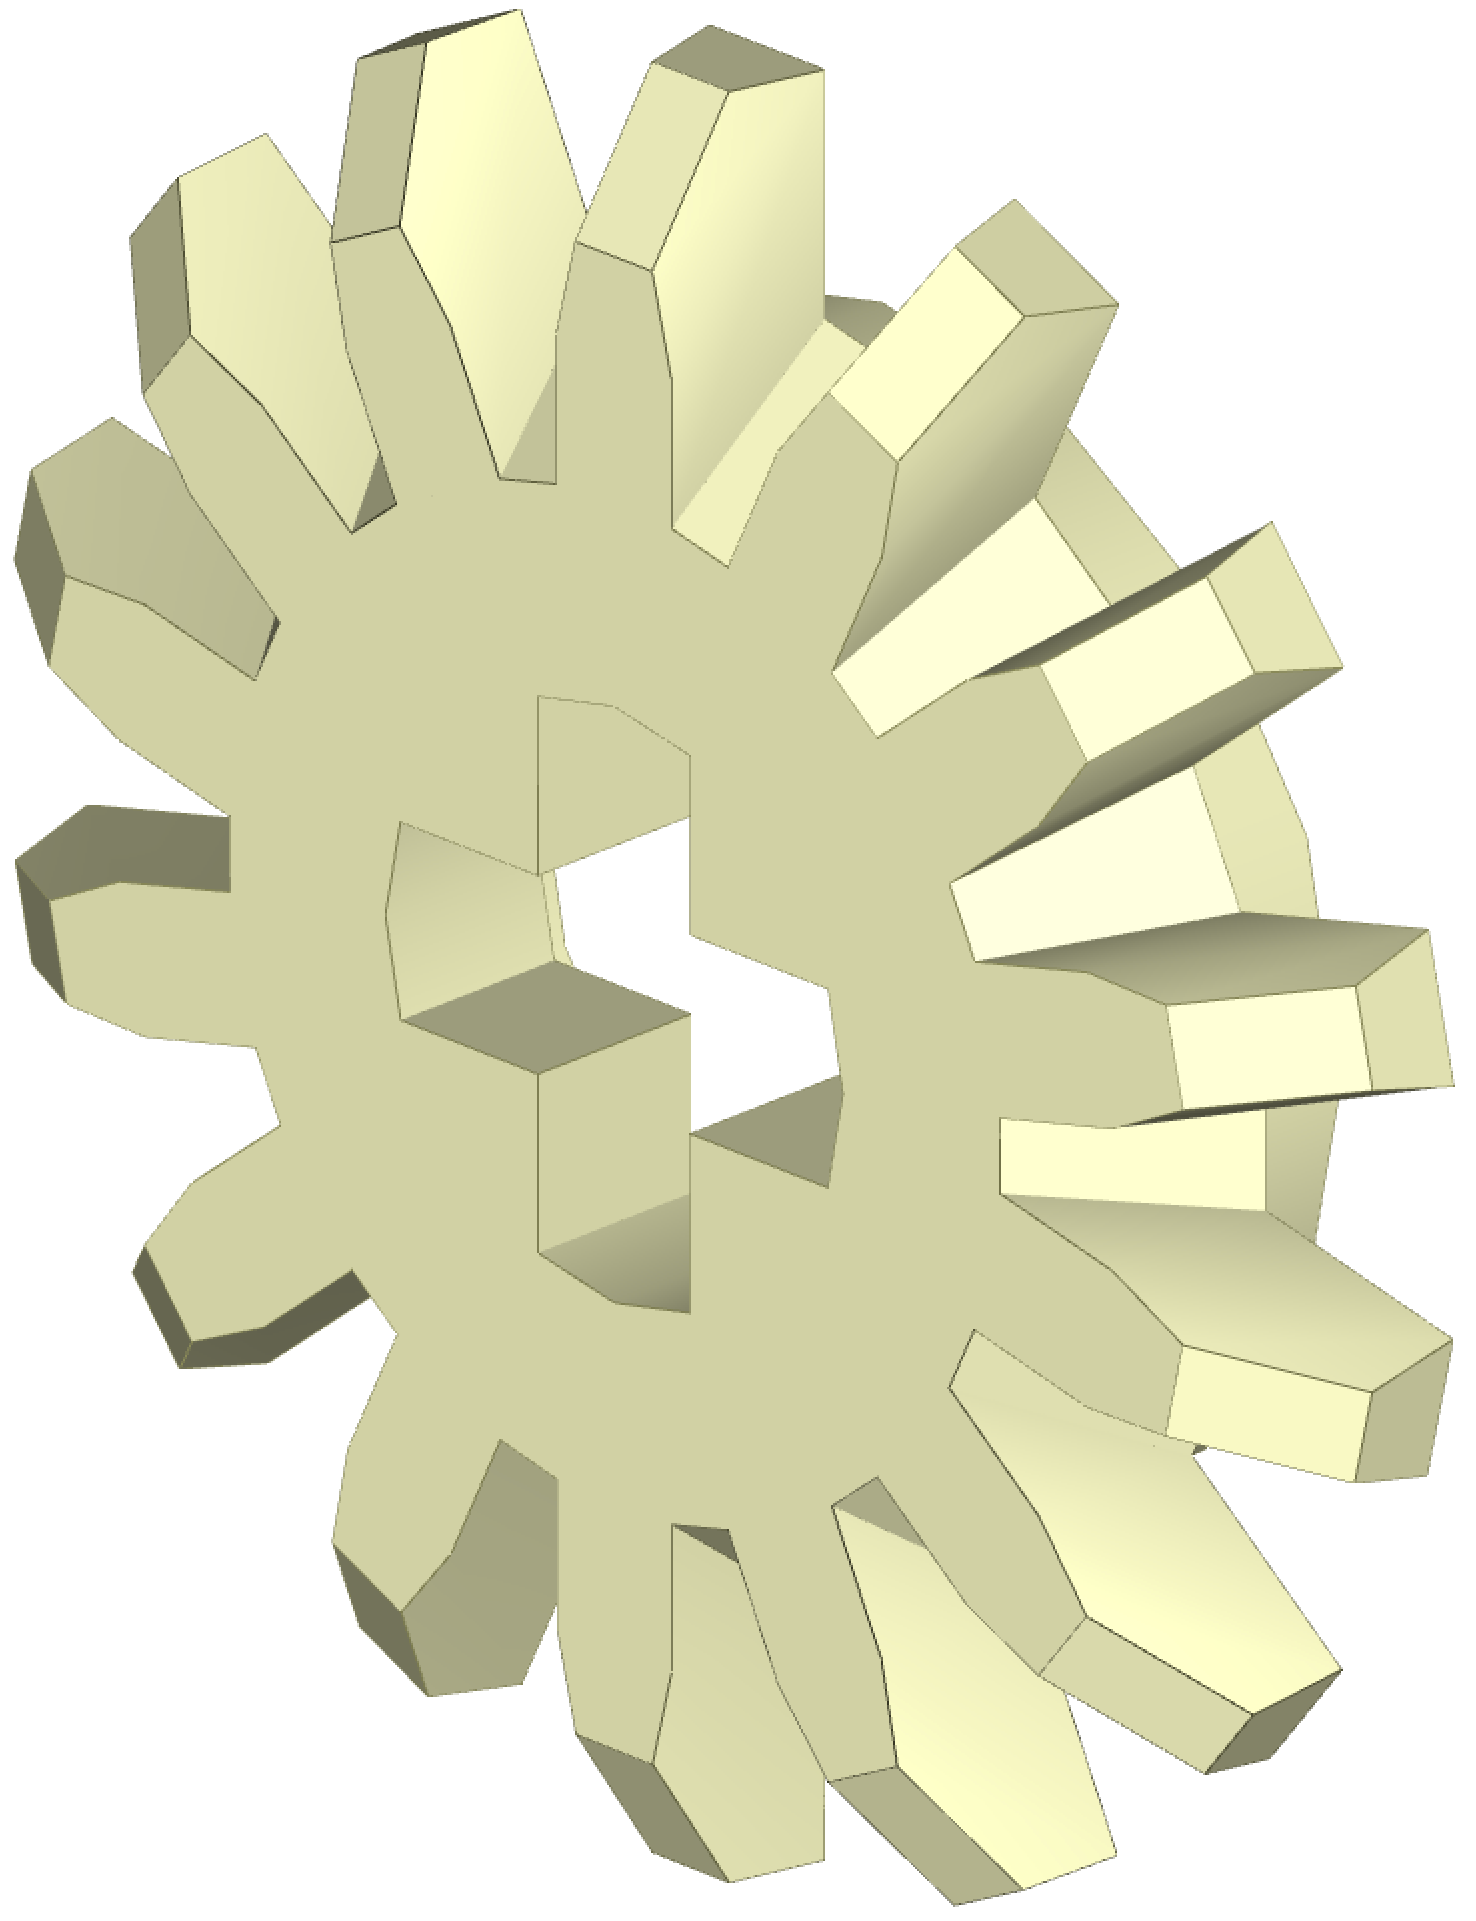
He also makes use of an obscure part–the 14-tooth bevel gear, last manufactured by LEGO in 2002 and even then it was mostly sold in part assortments intended for the education market. It’s so obscure LEGO doesn’t even provide the gear in their online building program LEGO Digital Designer, though (of course) the LDraw folks re-created it — it’s brick 4143 in the library, seen below.

Spirograph Gear Math
This gear becomes important in spirograph-style projects because tooth count is everything. There really aren’t that many spirograph designs that can be made with LEGO, because there are a limited number of gears and they mostly have the same tooth counts–the smaller ones sport 8, 12, or 16 teeth, medium-sized ones 20 or 24 teeth, and larger ones 36 or 40 — see a pattern? Such predictability may be great for a building set, but it doesn’t engender a lot of spirograph diversity.
When you compute the number of vertices in a spirograph shape, you take the least common multiple of the two gears (or sets of gears) and divide by the small gear. So a 60-tooth turntable turning a pair of 14-tooth gears has an LCM of 420, and you divide by 28 to get the number of vertices: 15. Remove one of those smaller gears and the vertices increase to 30. The challenge in creating new shapes with a LEGO spirograph lays in swapping in new gears, just like the original toy, and having more ways to come up with unusual gear ratios makes for more interesting drawings.
Another that makes the 14-tooth gear so alluring to [Yoshihito] is that it’s one of the few LEGO gears with a number of teeth not divisible by 4. Among other things this means the gear meshes with an identical gear at 90 degrees. Usually the gears have the same number for each quarter of the circumference and meshing becomes a matter of jogging one gear a scosh. This can be a problem because LEGO axles have a “plus” shaped profile, and you may not want everything on that axle tilted as well — having a 90-degree solution makes a lot of sense.
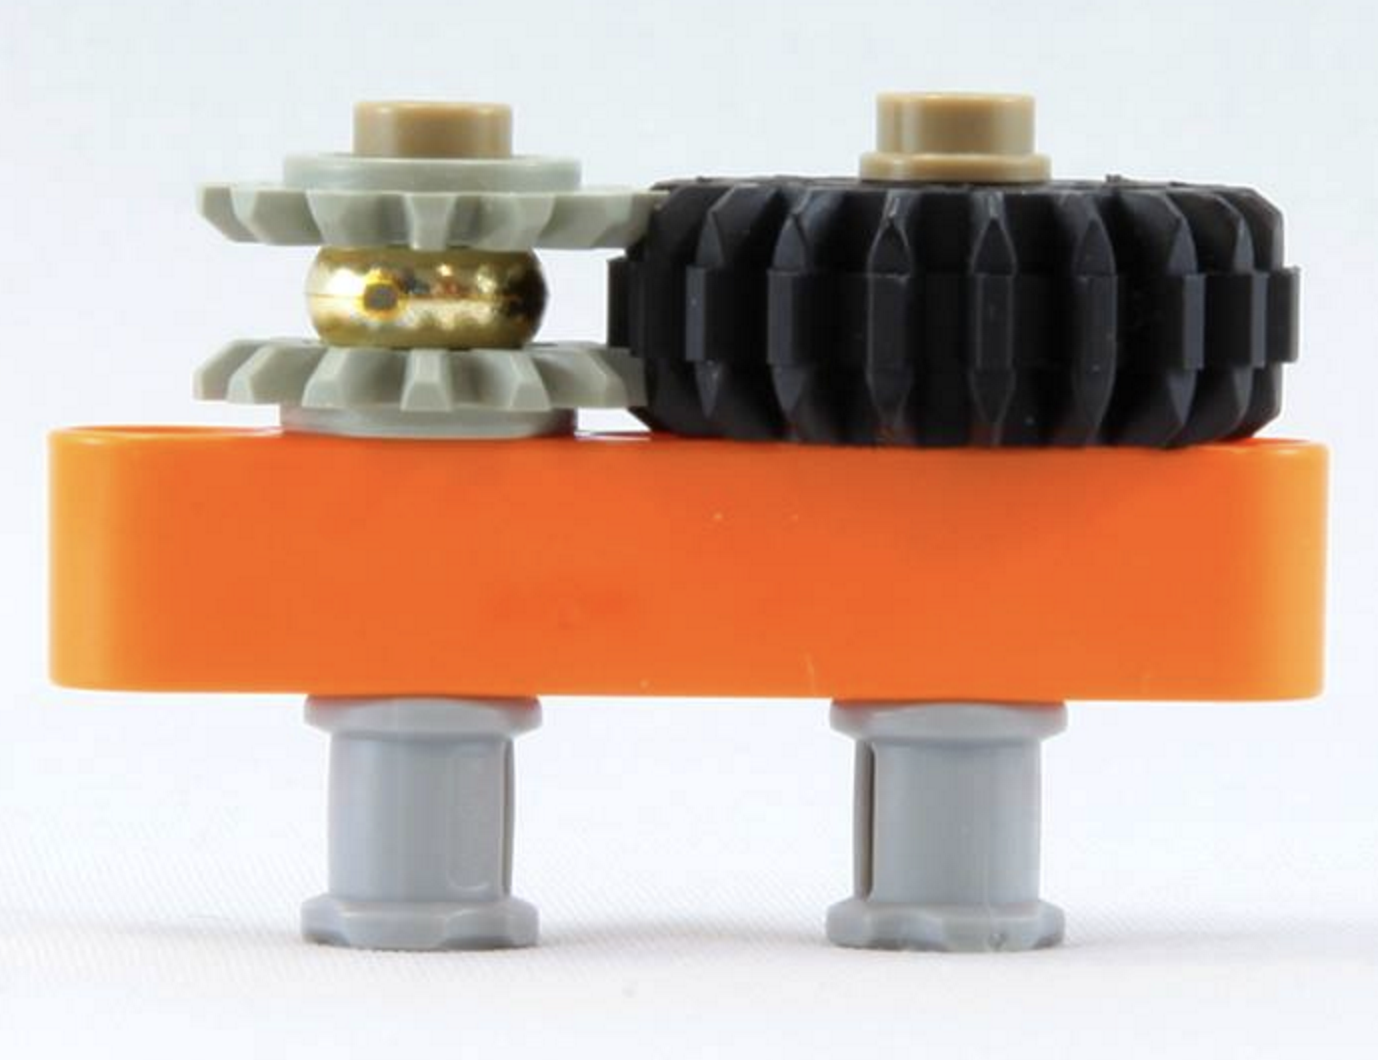
 [Yoshihito] designs LEGO robots out of Isogawa Studio and has written several books on advanced LEGO techniques, published by No Starch. He specializes in small and elegant mechanisms — finding the perfect set of elements that work together effortlessly. You can see an example in the gear assembly to the right — a pair of the aforementioned 14-tooth bevel gears, turned into a normal gear with the help of that golden spacer, none other than a One Ring from LEGO’s Lord of the Rings product line. You can find videos of his projects on YouTube.
[Yoshihito] has released a number of variants of the spirographing drawbot. What’s next? Maybe a harmonograph?
Continue reading “Making Spirographs With LEGO And Math” →

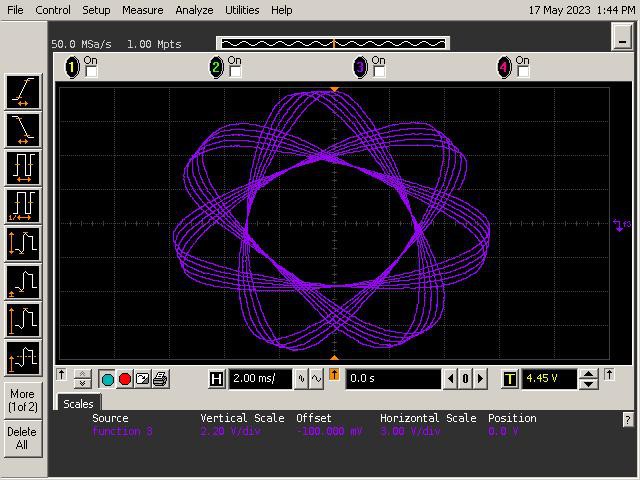 To draw either a hypotrochoid or an epitrochoid, you need to generate sine and cosine waves of various frequencies, and then add them with a certain scaling factor. Generating sines and cosines is not so hard to do with op amps, but making an adjustable oscillator that reliably churns out matching sine and cosine waves over a large frequency range turned out to be tricky. After a bit of experimentation, [Craig] discovered that a phase-shift oscillator was the right topology, not only for its adjustability but also because it generates sine, cosine and inverted sine terms that all come in handy when drawing various Spirograph shapes. Continue reading “Op Amp Contest: Generate Spirograph Shapes Using Only Op Amps And Math”
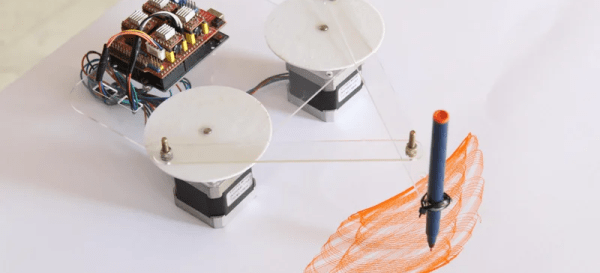
 Late last year at a craft show, [hahabird] and a friend came across a laser-cut Spirograph and they both had a go at it. After mocking his friend’s lack of fine motor skills, [hahabird] was struck with the idea of making