Stay in the amateur radio hobby long enough and you might end up with quite a collection of antennas. With privileges that almost extend from DC to daylight, one antenna will rarely do everything, and pretty soon your roof starts to get hard to see through the forest of antennas. It may be hell on curb appeal, but what’s a ham to do?
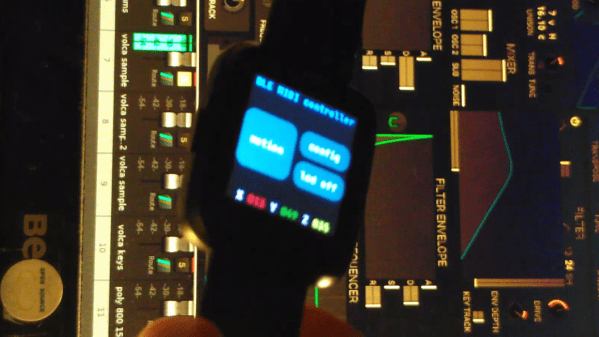
One answer could be making one antenna do the work of two, as [Guido] did with this diplexer for dual APRS setups. Automatic Packet Reporting System is a packet radio system used by hams to transmit telemetry and other low-bandwidth digital data. It’s most closely associated with the 2-meter ham band, but [Guido] has both 2-meter (144.8-MHz) and 70-cm LoRa (433.775-MHz) APRS IGates, or Internet gateway receivers. His goal was to use a single broadband discone antenna for both APRS receivers, and this would require sorting the proper signals from the antenna to the proper receiver with a diplexer.
Note that [Guido] refers to his design as a “duplexer,” which is a device to isolate and protect a receiver from a transmitter when they share the same antenna — very similar to a diplexer but different. His diplexer is basically a pair of filters in parallel — a high-pass filter tuned to just below the 70-cm band, and a low-pass filter tuned just above the top of the 2-m band. The filters were designed using a handy online tool and simulated in LTSpice, and then constructed in classic “ugly” style. The diplexer is all-passive and uses air-core inductors, all hand-wound and tweaked by adjusting the spacing of the turns.
[Guido]’s diplexer performs quite well — only a fraction of a dB of insertion loss, but 45 to 50 dB attenuation of unwanted frequencies — pretty impressive for a box full of caps and coils. We love these quick and dirty tactical builds, and it’s always a treat to see RF wizardry in action.