DHT11 Humidity And Temperature Sensor Package

Temperature and humidity measurements are a nice addition to many hobby projects. But [Rajendra Bhatt] makes the point that many of these sensors have a price tag that is well above what most hobbiests are willing to spend. He decided to take an in-depth look at the DHT11 sensor; which you can get your hands on for under $3 if you know where to look.

The four-pin device uses a 1-wire protocol. [Rajendra] discusses the ins and outs of the communications, demonstrating the part using a PIC 16F628. It’s a snap to connect to your project, requiring VCC, GND, and a pull-up resistor on the single data line. We’ve already seen it used on at least one project, and hope to see more of this little guy in your own hacks.

Now we found this part listed on eBay for less than $3 (buy it now price including shipping… how can they do that?). But Octopart didn’t come up with any options. If you know how to get this through traditional parts suppliers let us know in the comments.


Adjustable Rapid Fire For Xbox 360 Controller

[Shawn] wrote in to share his post outlining the addition of rapid fire to an Xbox 360 controller. He’s going all out with this mod by including a pretty beefy microcontroller. But you get a lot of functionality for that. You can just make out the trimpot below and to the right of the green A button. This tweaks the speed at which your right trigger repeats. Next to the trimmer is an amber LED which indicates whether the hack is enabled or not. The switch to the left of the D-pad simply patches the add-on circuit into the right trigger hardware.

Some might raise an eyebrow when we call the ATtiny85 used here beefy. But considering the job at hand, we’re sure a lot of the lower end of the ATtiny family will work just as well. [Shawn] soldered everything up on a piece of protoboard and removed one of the rumble motors to make room inside the controller. The video after the break is pretty shaky and out of focus, but you can clearly hear him explain how the hack works.

If you’re looking for a rapid fire mod that doesn’t require programming a chip, perhaps you could just repurpose the PWM from the LED. Continue reading “Adjustable Rapid Fire For Xbox 360 Controller”

Power Wheels Jeep Makes An Awesome R/C Car

powerwheels-remote-control

[Will] from RevoltLab wrote in to share part one of a cool project he is working on right now, a remote-controlled mobile rocket launcher. Before you run off and call the Department of Homeland Security, he says that the launcher will be used for personal hobby rockets, which are typically considered mostly harmless.

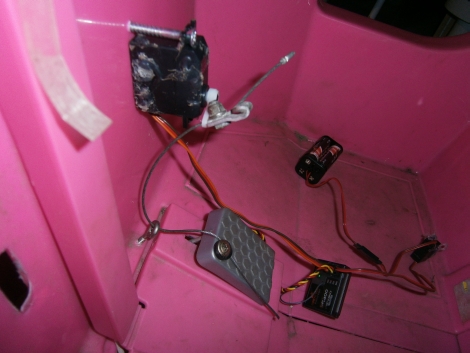
The first part of the build is mostly concerned with obtaining a Power Wheels car and tweaking it to be driven remotely. After stripping out most of the odds and ends out of a Barbie Jeep he found via Craigslist, he added a small hobby servo under the dashboard to actuate the pedal. A larger (and much more expensive) servo was attached to the Jeep’s steering bar, allowing [Will] to easily turn the wheels with the flick of a switch.

With the mechanical bits out of the way, he installed an R/C receiver and took to the streets lawn with his creation.

The car seems to handle pretty well, and although the price of the components quickly start to add up, we’d be more than happy to spend that kind of cash for an R/C car that size!

Continue reading to watch a short video of the Jeep in action, and be sure to check Revolt Labs’ site often to follow [Will’s] progress.

Continue reading “Power Wheels Jeep Makes An Awesome R/C Car”

Building An EEPROM Programmer

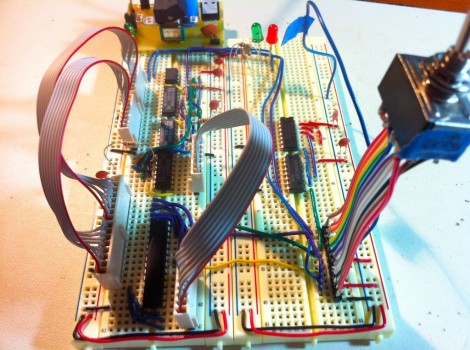
Behold this ATtiny85 based EEPROM programmer. It seems like a roundabout way of doing things, but [Quinn Dunki] wanted to build to her specifications using tools she had on hand. What she came up with is an ATtinyISP USB programmer, pushing data to an ATtiny85, which then programs an EEPROM chip with said data.

The hardware is the next module for her Veronica 6502 computer build. When we last saw that project [Quinn] was planning to add persistent storage for the operating firmware. This will be in the form of an EEPROM programmed with this device. Using ISP and an ATtiny as a go-between means that she should have no problems reflashing the OS without removing the chip. But it all depends on how she designs the interface.

For example, she blew a whole bunch of time troubleshooting the device because garbage data was being written to the chip. In the end, having her manual bus programmer hooked up during the flashing operation was the culprit. Lesson learned, it’s onward and upward with the build.

We’ve been featuring [Quinn’s] projects a lot lately. That’s in part because they’re really interesting, but also because she does such a great job of documenting her experience.

Microcontroller Based Audio Volume Level Compressor

In an effort listen to his music on shuffle without the need to touch the volume knob [Mike] build his own automatic volume leveling hardware. He knows what you’re thinking right now: there’s software to do that for you. But building the feature in hardware is a great stepping off point for a project.

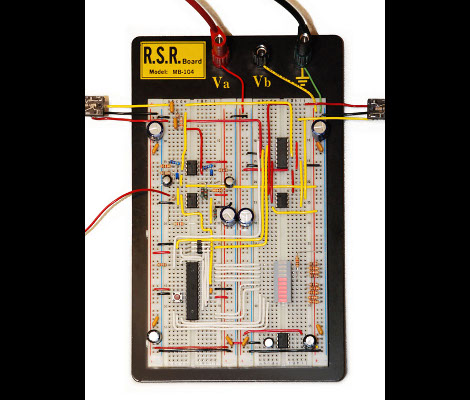
He started the prototype using LabVIEW along with a Mobile Studio development board and a Bus Pirate. This project will be a mix of digital and analog components and it’s a bit easier starting off the exploration with these tools rather than jumping right into the AVR code.

The circuit will sample the incoming audio, modify it accordingly, and output the result. The output side is where the Bus Pirate really shines. He’s using some MCP42010 digital potentiometer chips to make the necessary changes to the levels. They communicate via SPI and it’s nice to have the Bus Pirate’s terminal to issue commands without the need to reflash a microcontroller.

[Mike] made a video showing an audio waveform with and without the hardware leveling. Sound quality is still great, and each clip is played at a reasonably comfortable listening level. We’ve embedded that demonstration after the break.

Continue reading “Microcontroller Based Audio Volume Level Compressor”

Matchbox Launcher Reacts To Emergency Band Radio Dispatcher

[Jeff] and his wife put together a firefighter themed birthday celebration for their son. As he’s not entirely handy in the kitchen, [Jeff] decided not to lend a hand with the baking or cake decorating. But he didn’t forego the opportunity to combine a couple of different projects to make a Matchbox car launcher that responds to emergency band radio.

Since he’s an amateur radio enthusiast he already had a scanner to monitor the air waves. Apparently there’s a band just for relaying dispatch messages to emergency vehicles. He set the radio equipment to only monitor that channel. An Arduino was added to the mix, taking measurements of the voltage level on the scanner’s audio output. When it’s driven high enough the Arduino trips the toy car launcher.

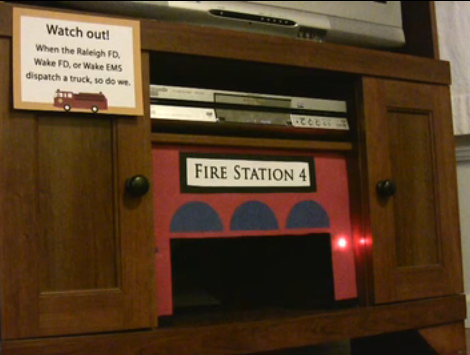
The car launcher itself is a pretty nifty setup. There are five chutes at the top of a ramp that each fit a car. A sliding gate holds them in place, but can be removed one slot at a time by a geared motor. The addition of a poster board facade and two flashing red LEDs makes the setup look right at home with the other party decorations.

See a call come into the station in the clip after the break. We don’t have a category called “fun parenting” so “toy hacks” will have to do.

Continue reading “Matchbox Launcher Reacts To Emergency Band Radio Dispatcher”

More Laser Shooting Range Goodness; Now With Duckies

Here’s another project that reminds us of the shooting games at a carnival. This was actually inspired by the video game Duck Hunt, and was undertaken as a class project between four students at San Jose State University. It uses moving glass targets that look like rubber duckies. The player shoot sensors at their base with a laser-tipped gun. A direct hit is indicated by the duck glowing blue.

[Lananh Nguyen] is a Business Marketing major, but he’s also minoring in Studio Art and has been blowing glass for years. We think he’ll always have a side job making and selling glass because those ducks look fantastic. [Michael] and [Chris] worked together, building out the oscillating platform which moves the targets back and forth, as well as wiring up light sensors to the Arduino. A green laser diode was added to an acrylic gun to complete the project. Check out the game play video after the break to see how it all comes together.

If you missed the other laser shooting range when we featured it last week, you’ll want to revisit that project which uses tin cans as targets.

Continue reading “More Laser Shooting Range Goodness; Now With Duckies”