Ever since [will1384] watched “The Lawnmower Man” as a wee lad, he’s been interested in virtual reality. He has been messing around with it for years and even had a VictorMaxx Stuntmaster, one of the first available head mounted displays. Years later, the Oculus Rift came out and [will1384] wanted to try it out but the $350 price tag put it just out of his price range for a discretionary purchase. He then did what most of us HaD readers would do, try building one himself, and with a goal for doing it for around $100.
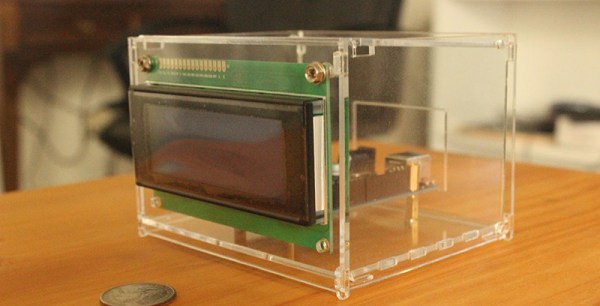
The main display is a 7″ LCD with a resolution of 1024×600 pixels and has a mini HDMI input. Some DIY head mounted display projects out on the ‘web use ski goggles or some sort of elastic strap to hold the display to the wearer’s head. [will1384] took a more industrial approach, literally. He used the head mounting system from a welding helmet. This not only has an adjustable band but also has a top strap to prevent the entire contraption from sliding down. Three-dimensional parts were printed out to secure the LCD to the welding helmet parts while at the same time creating a duct to block out external light.
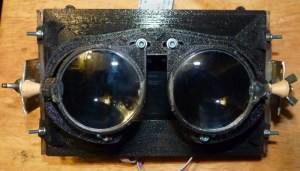
Inside the goggles are a pair of 5x Loupe lenses mounted between the user’s eyes and the LCD screen. These were made to be adjustable so that the wearer can dial them in for the most comfortable viewing experience. The remote mounted to the top strap may look a little out-of-place but it is actually being used to capture head movement. In addition to a standard wireless remote, it is also an air mouse with internal gyroscopes.
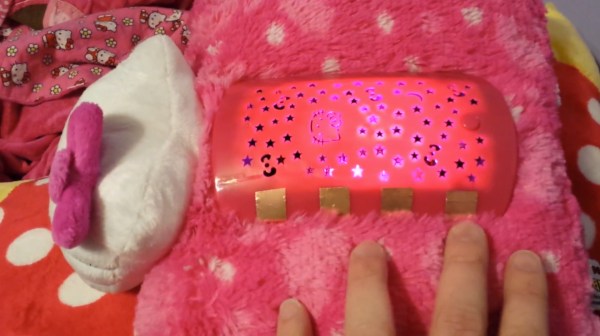
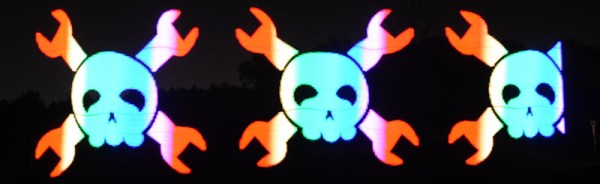
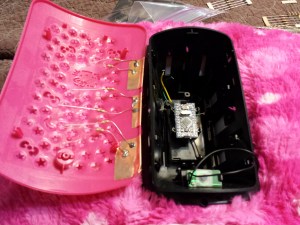 As a thing whose one purpose was to shine bright starry patterns on a child’s wall at night, the pillow failed miserably. [Dan] Wondered why his daughter’s toy couldn’t live up to reasonable expectations all while sucking batteries dry, so he opened the large pink plastic casing in the center of the pillow to find a rather minimal board driving three very dim LEDs. The LEDs that faded on and off to create mixtures of different colors weren’t even red, green and blue either. The makers of the toy used yellow instead of the slightly more expensive blue color. Having none of this, [Dan] replaced these sad innards with an Arduino Pro Mini which he programmed to drive an old salvaged speaker and three bright RGB LEDs borrowed from the end of a light strip. For the unnecessary but cool part, he used the additional pins of the Arduino micro-controller to add four touch sensitive buttons on the outside of the pink casing. These small capacitive tiles made from copper tape activate sound and change the color of the LEDs when touched, making the pillow a lot more reactive than it was before.